Repurpose Denim into a “Be Kind” Sweatshirt
Are you looking for a project you can make with your kids and teens? Well, here it is! This idea was actually the brain child of my 17 year-old daughter who was bored one day and came up with this brilliant little fun little project that I am now obsessed with!

She is a sporty girl and has more sweatshirts in her wardrobe than anything else, so of course, when she was feeling crafty one day, another sweatshirt was in order!
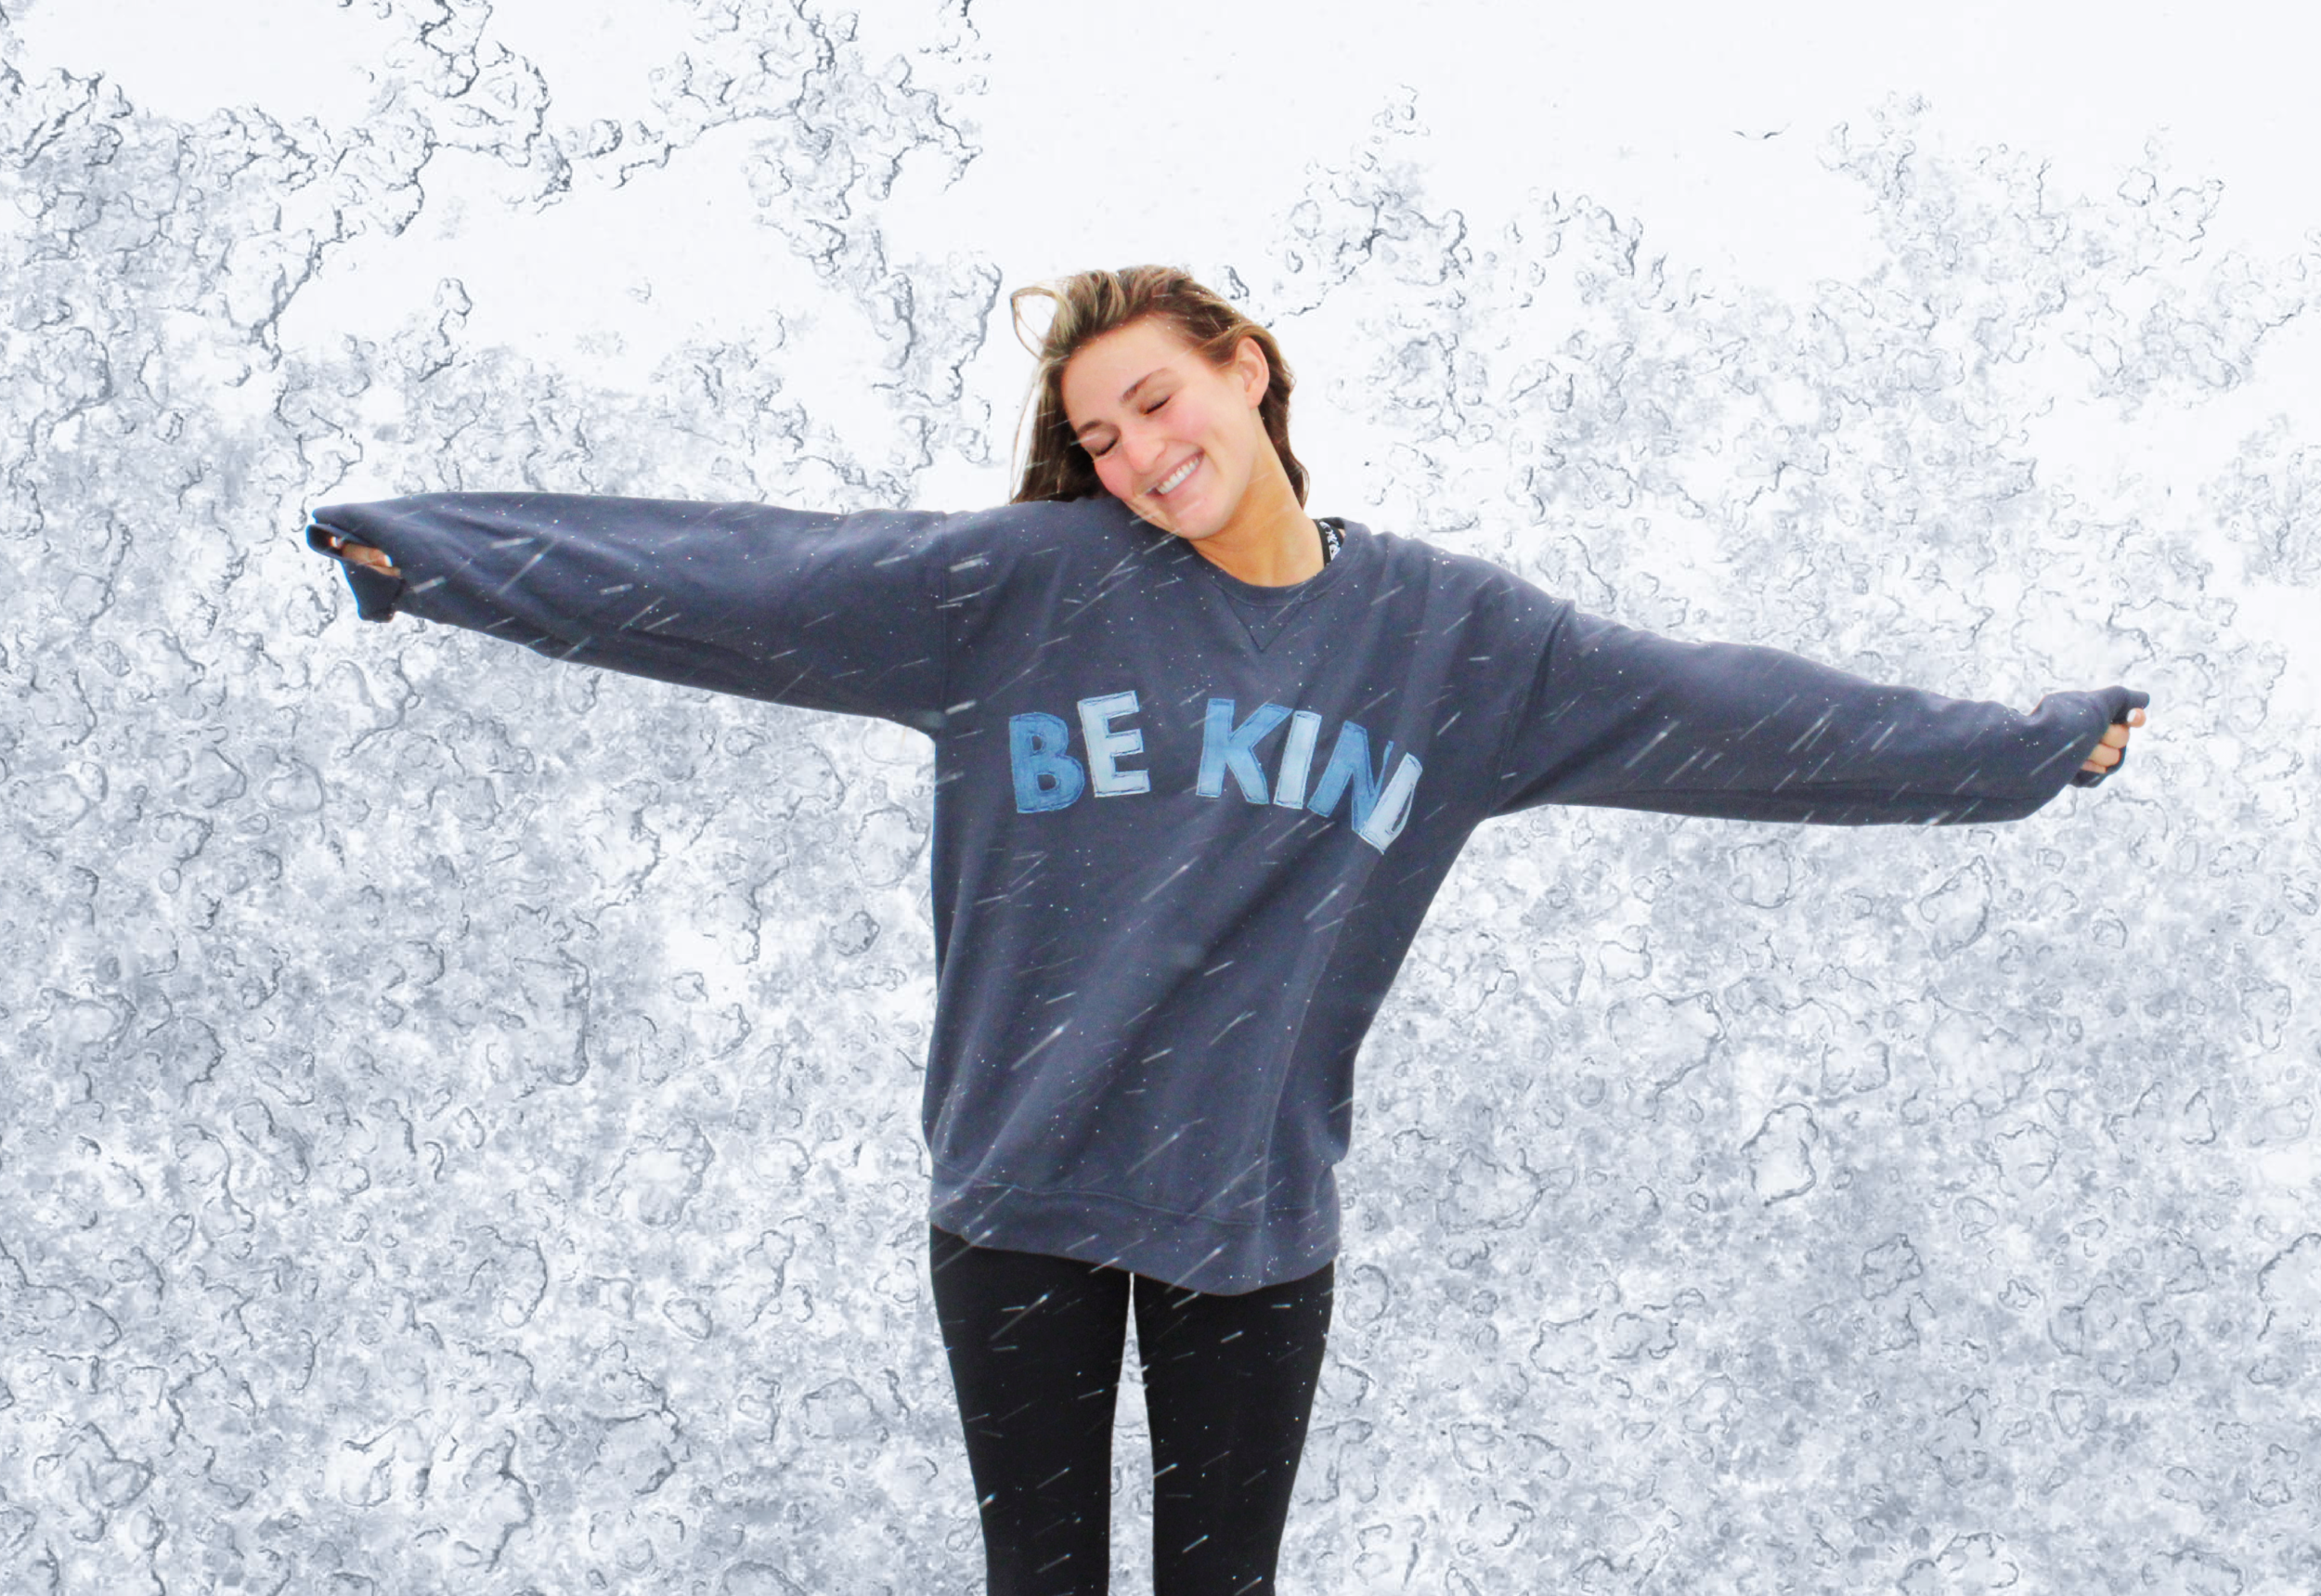
She picked up an inexpensive blank sweatshirt at our local WalMart and rummaged through my little bin of denim scraps (I always keep one bin of cut up jeans to recycle. Any jeans that don’t fit in my little recycle bin get donated.) She has amazing handwriting and drew her letters by hand, but since we can’t all be so talented, I have provided a downloadable PDF with the letters for the rest of us.

The original tutorial for this project was shared on The Polka Dot Chair blog which you can see HERE. Melissa has loads of projects and tutorials for sewing and crafters with just about any level of experience.
In addition to the original tutorial, I am sharing a video where I walk you through the project from start to finish, so you really can’t go wrong!

To make this project you will need:
A blank sweatshirt
Denim Scraps
Heat n Bond Fusible Adhesive (I am using Heat n Bond Soft Stretch here. Heat n Bond Lite would also work well.)
Downloadable PDF Letters (see download button below)

The first step is to cut out pieces of Heat n Bond to match the approximate size of your denim scraps.

Press the bumpy glue side of the Heat n Bond to the back of the denim scraps. The paper side is what will be showing on the back of the denim, as seen here.

Print and cut out the letters and pin them to the front of the denim scraps. These letters are sized to fit on a Men’s size Large sweatshirt. If you want to make them smaller, simply reduce the scale on your print settings before printing.

Cut out the letters and the heart. Set the heart aside. We will be using it later on in this project.

Peel the paper backing off the back of each of the letters, making sure the glue portion remains attached to the back side of the letters.

Position the letters across the front of the sweatshirt, curving them in a very slight arch shape. Pin in place.

Press the letters in place with a dry iron.

In this next step, I like to use my free motion quilting foot to do the free motion stitching around the letters. If you have this option, go ahead and switch out your presser foot and drop the feed dogs in preparation for free motion stitching. If you don’t have this option, no worries, you can still achieve the look using a regular presser foot.

Stitch around the letters in irregular lines. You want them a little jagged, wavy, wonky — however you want to call it — so they look like scribbling. Make sure you go over each area multiple times. This will prevent the denim fabric from fraying past your stitching lines.

For the heart detail, place the heart on the back of the sweatshirt just below the neckline. Iron in place.

Stitch in place the same way you stitched the letters to the front of the sweatshirt.

That’s all there is to it! This would be super easy for kids to create with a little grownup assistance, and it’s a fun way to repurpose old bits of denim. And what a great message! This sweatshirt would make a great gift for teens to make and give, or to give to teens. It has just the right amount of “store bought coolness” teens are looking for with the perfect splash of customized handmade goodness. You can’t go wrong with this!

Credit goes to my teen daughter for dreaming up this fun idea. I’m hooked! Share your versions of the Be Kind sweatshirt by tagging me @bayhillstudio on Instagram. I can’t wait to see what you make!