Be a Super Hero - Stuffed Dolls
If you haven’t noticed yet, I love working with fabric panels, but those panels typically are meant for quilts, pillows, or placemats. When I saw the adorable doll panels in the Be a Superhero collection designed by Bee Sew Inspired for Riley Blake Designs, I knew I had to get my hands on some and try them out.

The mini fabric collection features a total of six Superhero Fearless doll panels and two Superhero Dress Up panels.

I opted to work with three of the Fearless doll panels. As you can see, the panel is loaded with goodies! You have the main doll, a teddy bear sidekick, three face masks, a cape for the doll and teddy bear, pajamas, and two shields. Due to time constraints, didn’t sew up everything on the panel, but it’s nice to have the option to add more accessories later on.

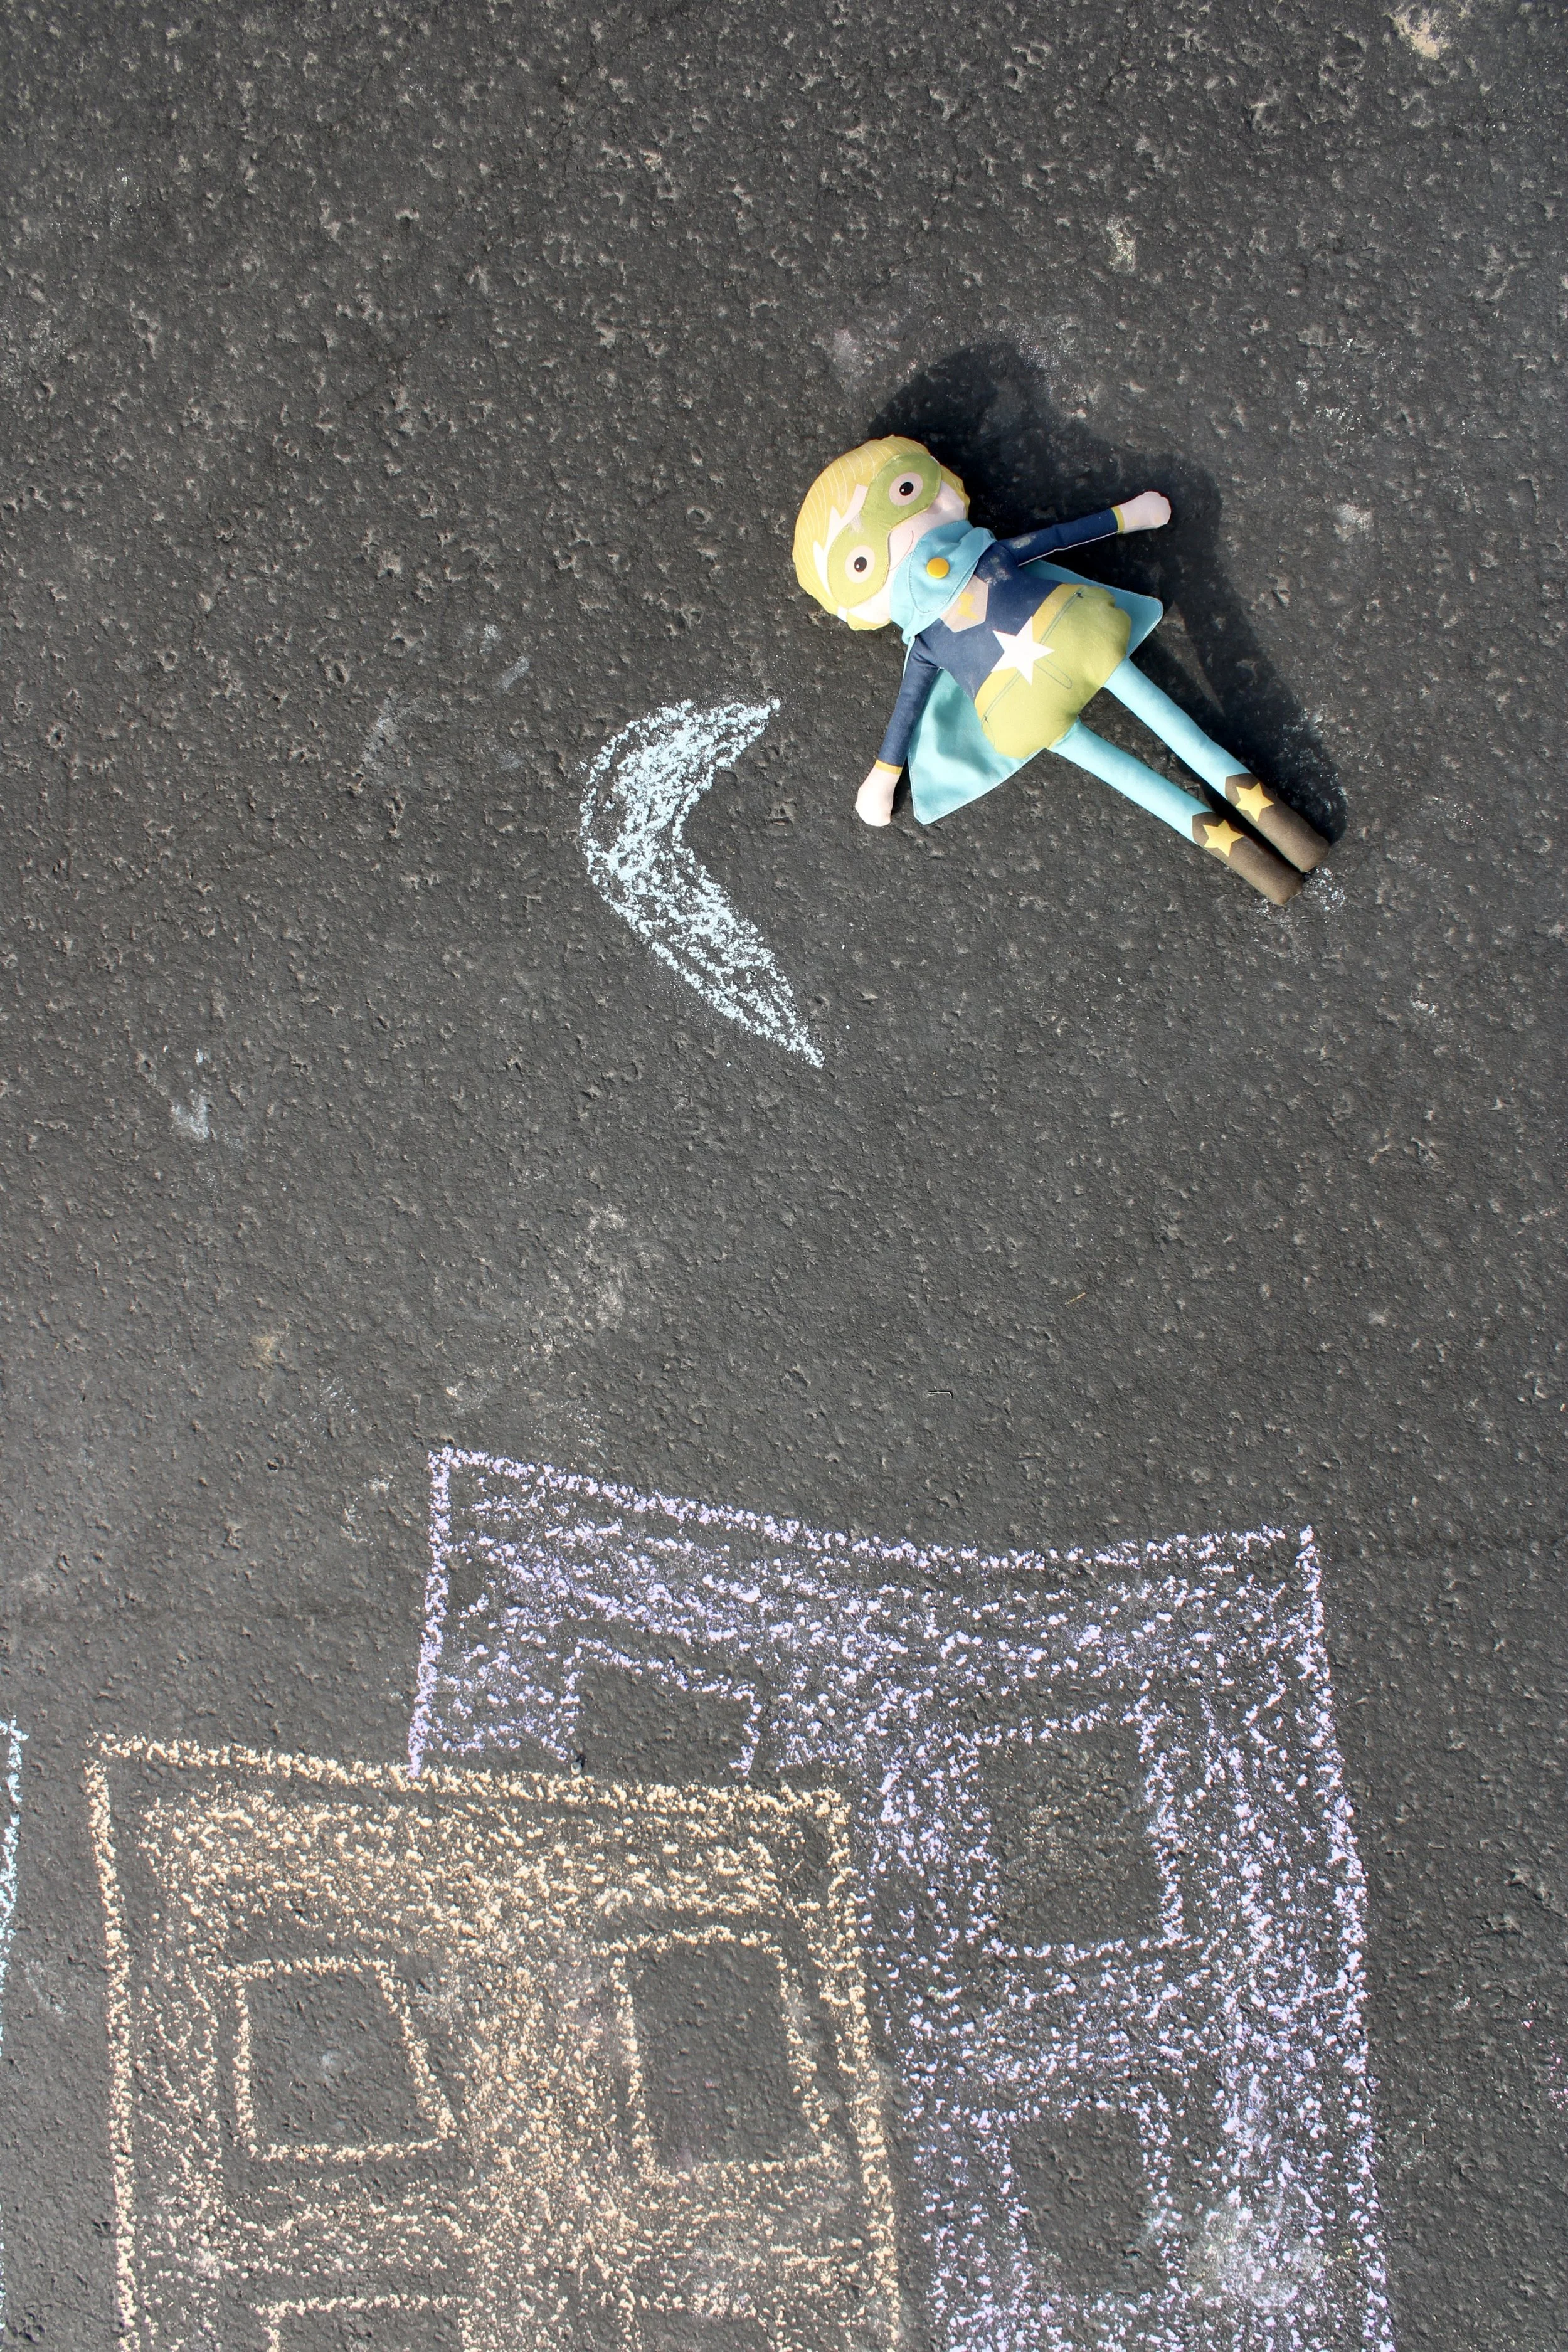
Here are our Fearless friends with their trusty sidekicks. My new little next door neighbors helped me draw the city buildings and pose the dolls. They were so excited about it and immediately claimed their favorite dolls!I love seeing their smudgy fingerprints all over the dolls!

If you’ve never made a stuffed animal or doll before, fear not. Jennifer, of Bee Sew Inspired, is hosting a Superhero Doll Panel Sew Along, so you’ll have tons of tips and advice to help you out. The dates for the Sew Along are listed above.

I have just a couple little tips to share that have helped me tremendously when working with softies.
The first tip is one that someone shared with me years ago, and it has been a game changer. Stuffing softies can be tricky, especially ones like this that have very skinny arms and legs. Grab and old artists paintbrush and we’re going to turn it into a stuffing tool.

Snip off the ends of the bristles so you are left with about 1/4” bristles.
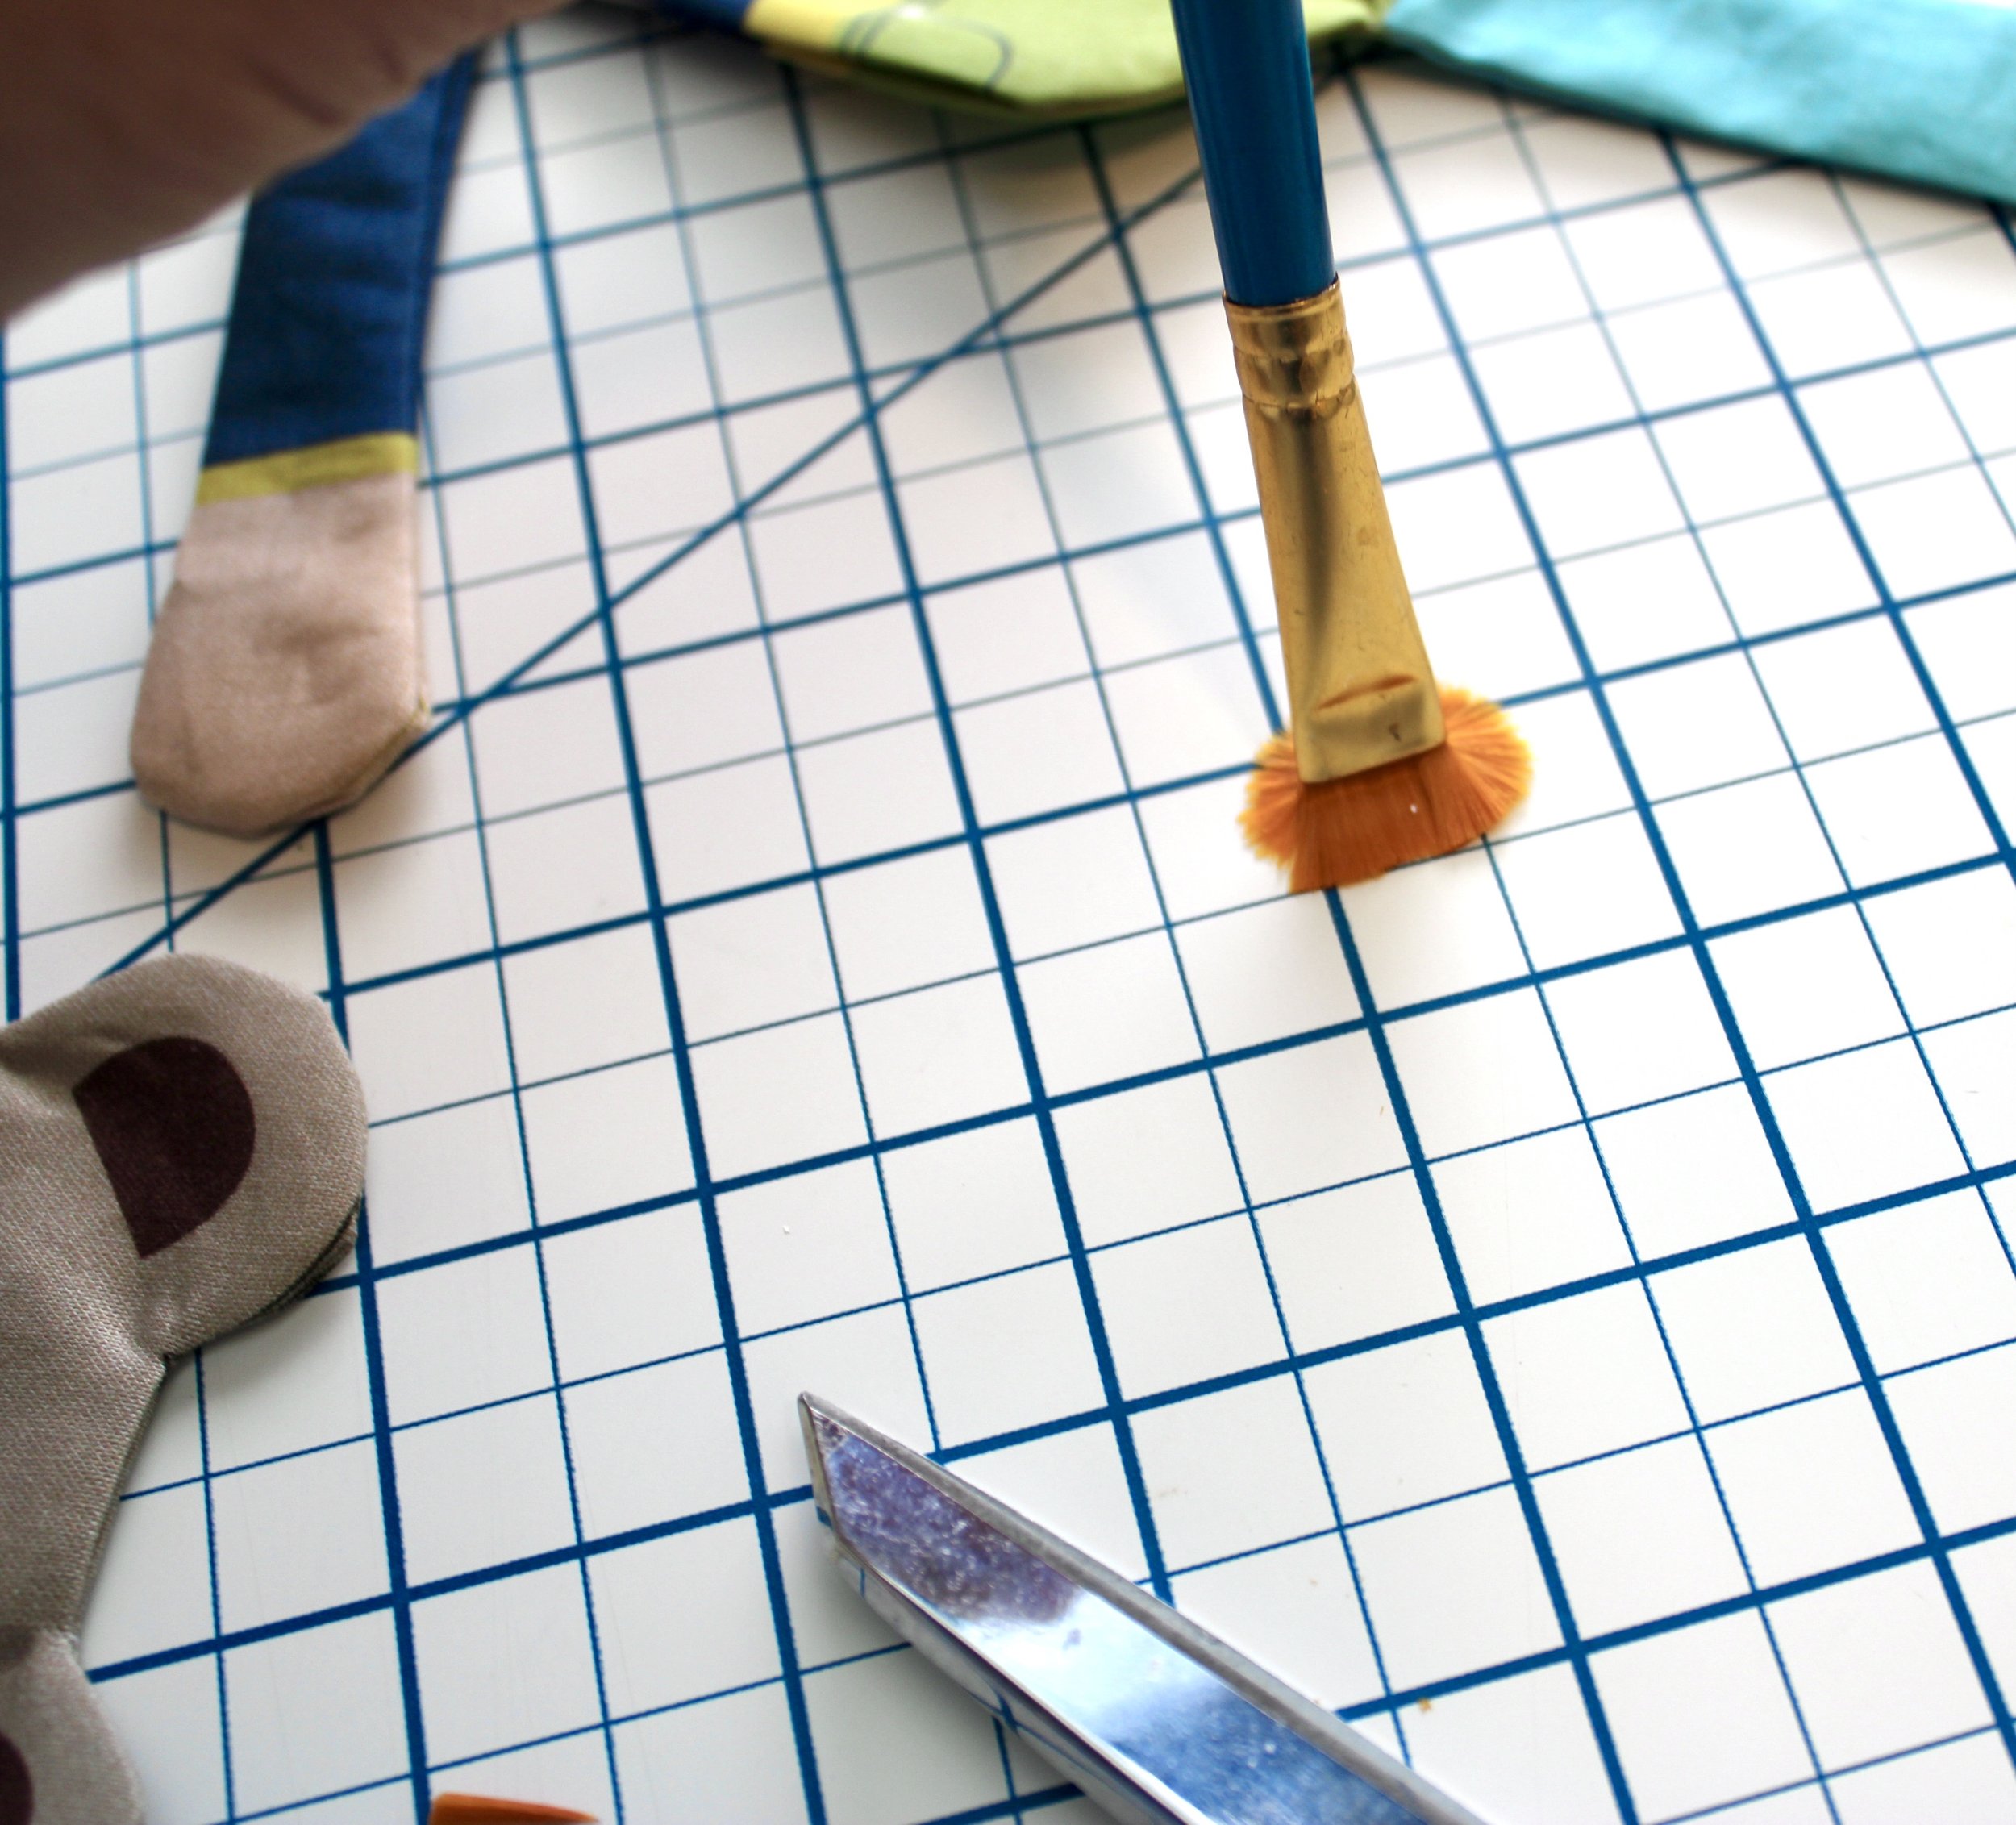
Now press the bristles into your work surface so they spread out.

They will look something like this.

Now use that end of your paintbrush to push small pieces of stuffing into the doll. The bristles will grab the stuffing and allow you to control the placement of the stuffing. I always start with the legs and arms, then fill the head, and finally the body.
Other tips are:
Use polyester thread. Polyester thread is stronger than cotton thread, so it is a better choice for doll making.
Use a polyester Poly Fil, or one that is specifically made for dolls. Both types of Poly Fil are less likely to bunch up, giving your softie a smoother appearance.
Use a ladder stitch to close the opening. A ladder stitch is practically invisible, making it a great choice for these types of closures.

Here is the first doll and his little teddy bear sidekick. My little one-year-old neighbor really wanted to keep this one, probably because it looked just like him! Of course, he was so helpful, I had to give it to him!

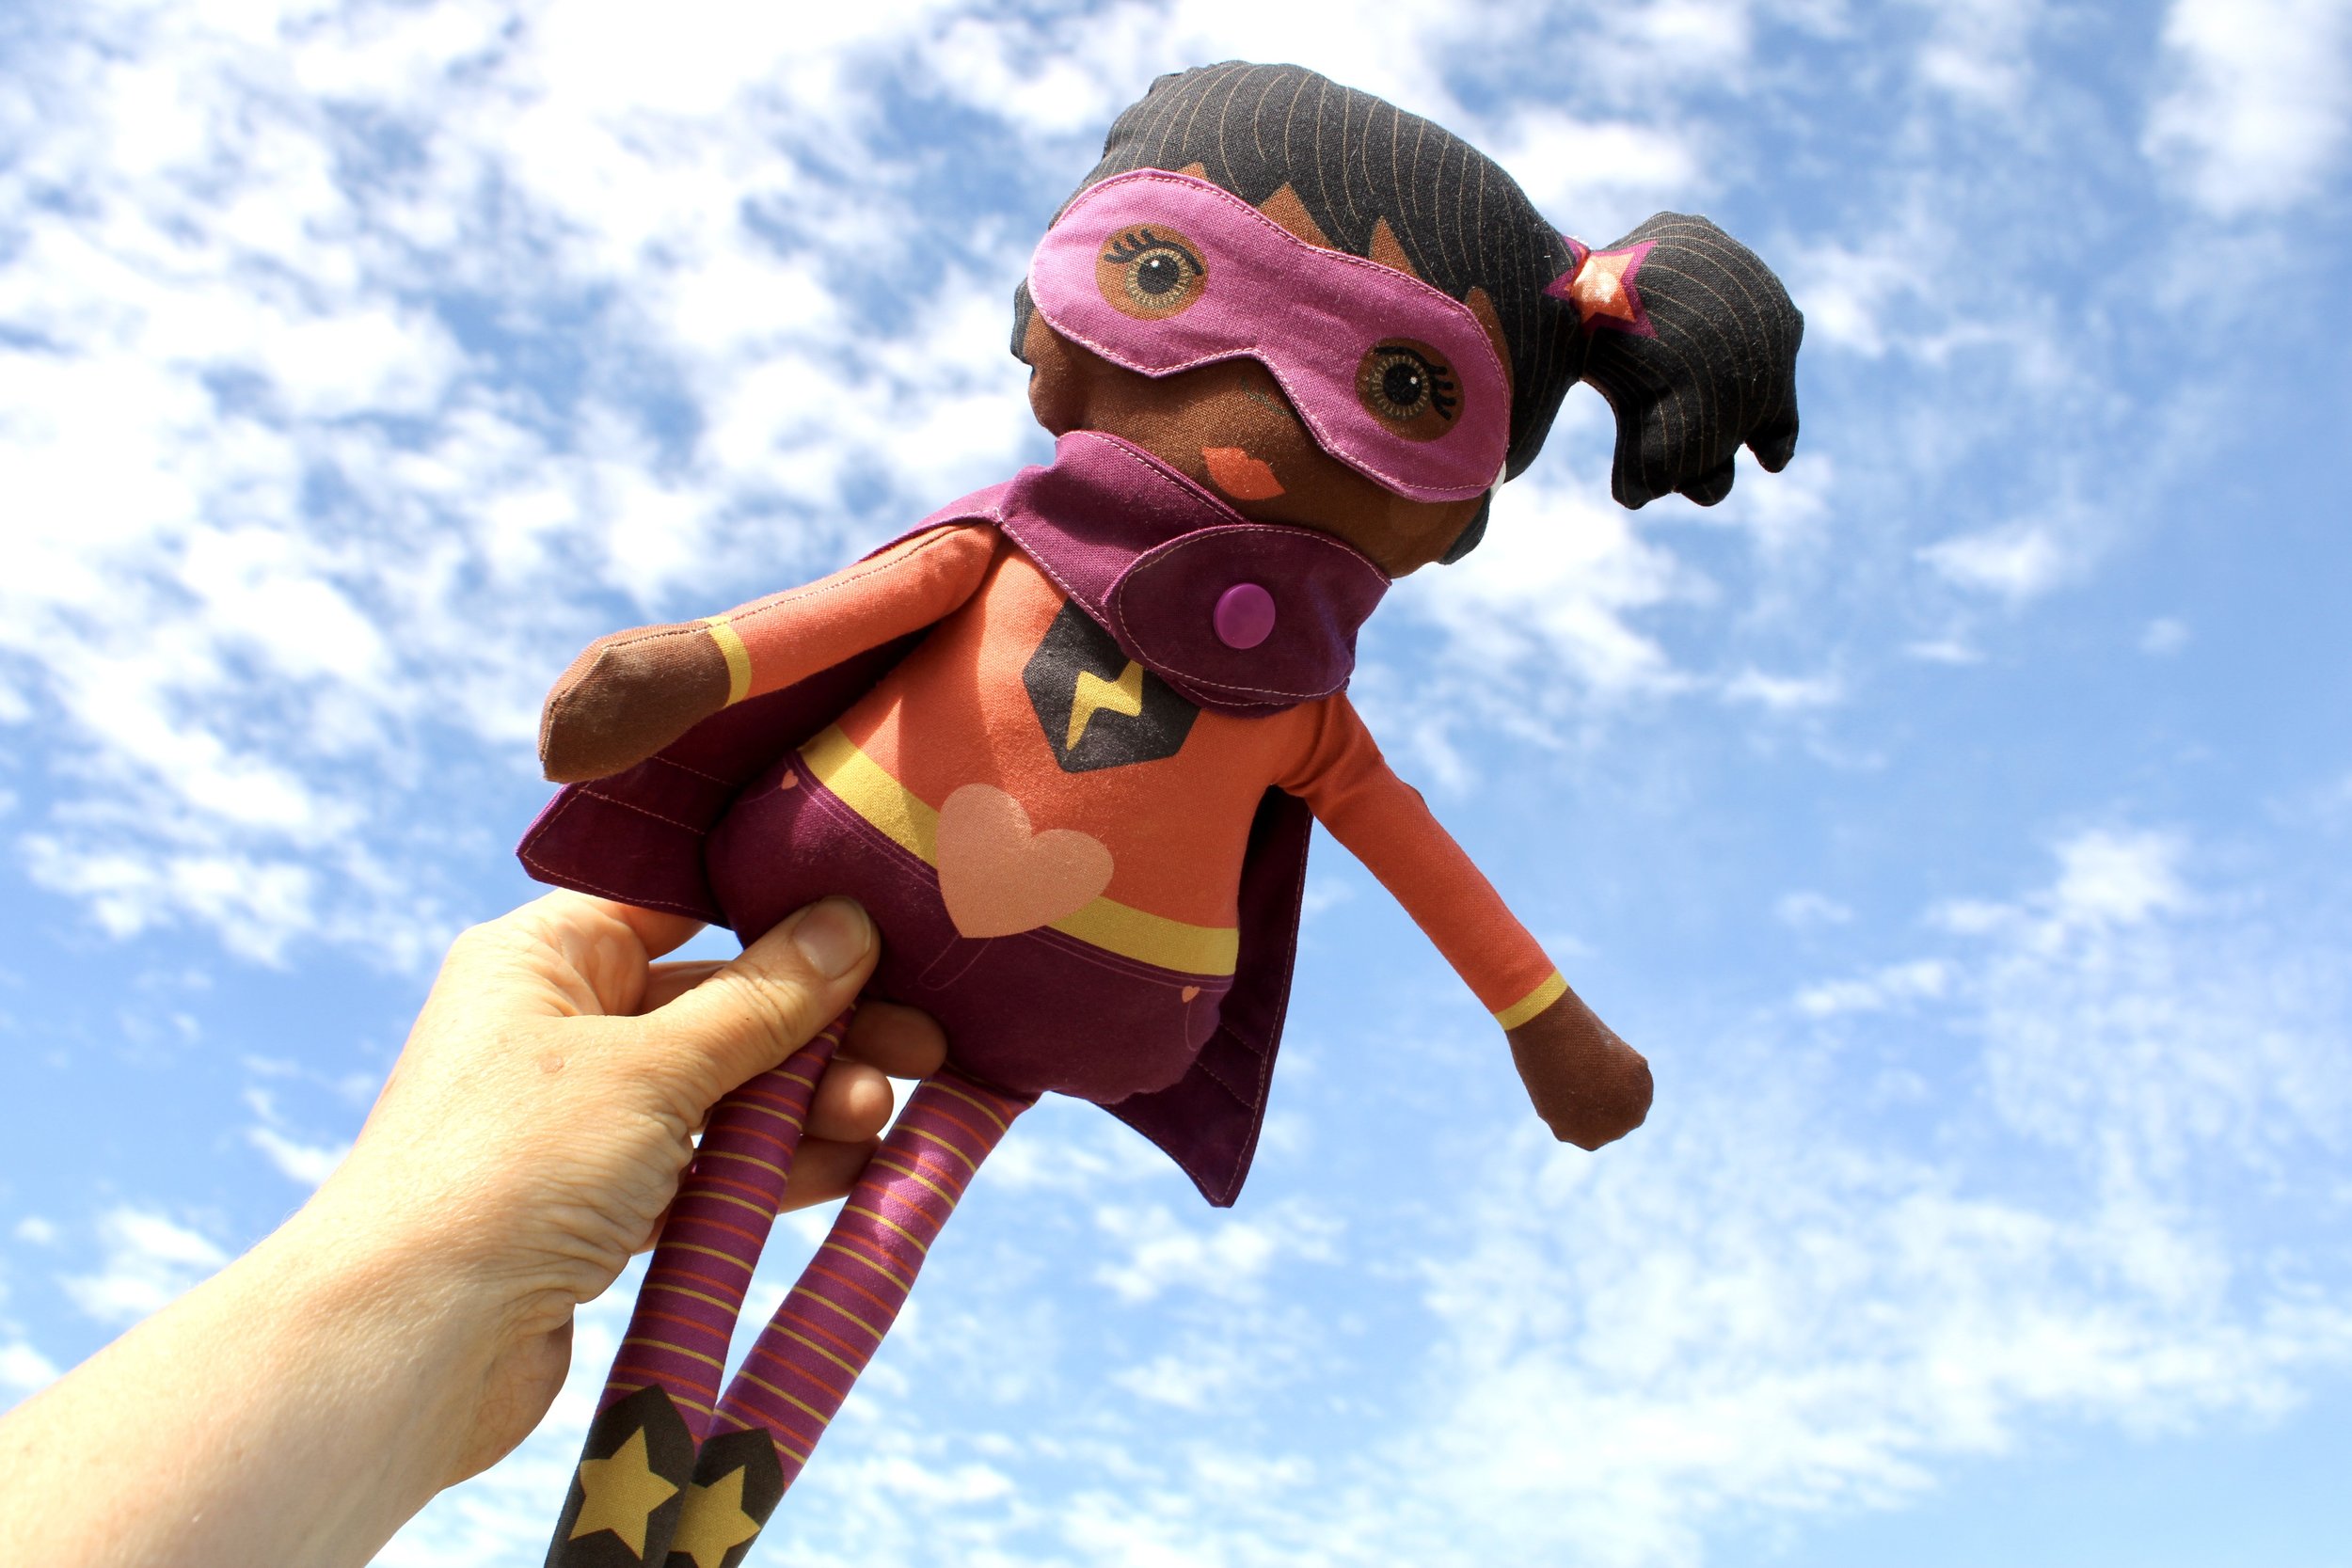
His older sister picked out this sweet doll, and she especially loved her sassy little ponytail with the star embellishment.

Speaking of embellishments, I had this fun comic book ribbon that coordinated perfectly with the purple cape, so I added a strip across the back of the cape.

This sweet little duo hasn’t found a home yet, but I’m sure they will very soon. Who can resist?

The little face masks and capes are removable so our superhero friends can be average citizens by day, and switch to superhero mode when duty calls.


Up, up, and away!

They are adorable! Let’s wish our hero friends good luck in their adventures!
Be sure to follow me on Instagram and subscribe to my YouTube Channel for more creative content and project inspiration. And most of all, I wish you a blessed day!