My Slim Phone Cross Body Bag

Have you seen Minki Kim’s new Slim Phone Cross Body Bag pattern? I came across the video of her making this cute little bag and I knew I had to whip one up. This bag is EASY to sew and is a great homemade gift idea. We have several birthdays in addition to the holidays in the next few months, and this year I am focused on creating handmade items that even my pickiest young adult kids will love. All of my kids love thrifting, so I think they will appreciate the scrappy, repurposed feel of this little cross body bag. You can find Minki’s Cross Body Bag pattern HERE.

I came up with the scrappy idea because I couldn’t settle on a fabric. The pile of scraps led me to do some improv quilting. Quilting scraps, bits of two men’s shirts that landed in my scrap bin, and some lighter weight chambray made the cut.

The stability of this bag comes from the foam stabilizer. You could use traditional quilt batting, but I highly recommend using foam stabilizer. It will take your project up a big huge notch. Trust me.

The next step is to quilt your piece. You don’t need to add a fabric to the back layer like you would with an actual quilt. The bag has a lining fabric that enters the scene later on. I opted to quilt a vertical and horizontal grid pattern, spacing the rows about 1/2” apart. I used a nice golden yellow Aurifil thread, which I selected because I thought it would provide a nice contrast to all of the colors in this mini improv piece. I debated between orange and yellow, and the yellow won.
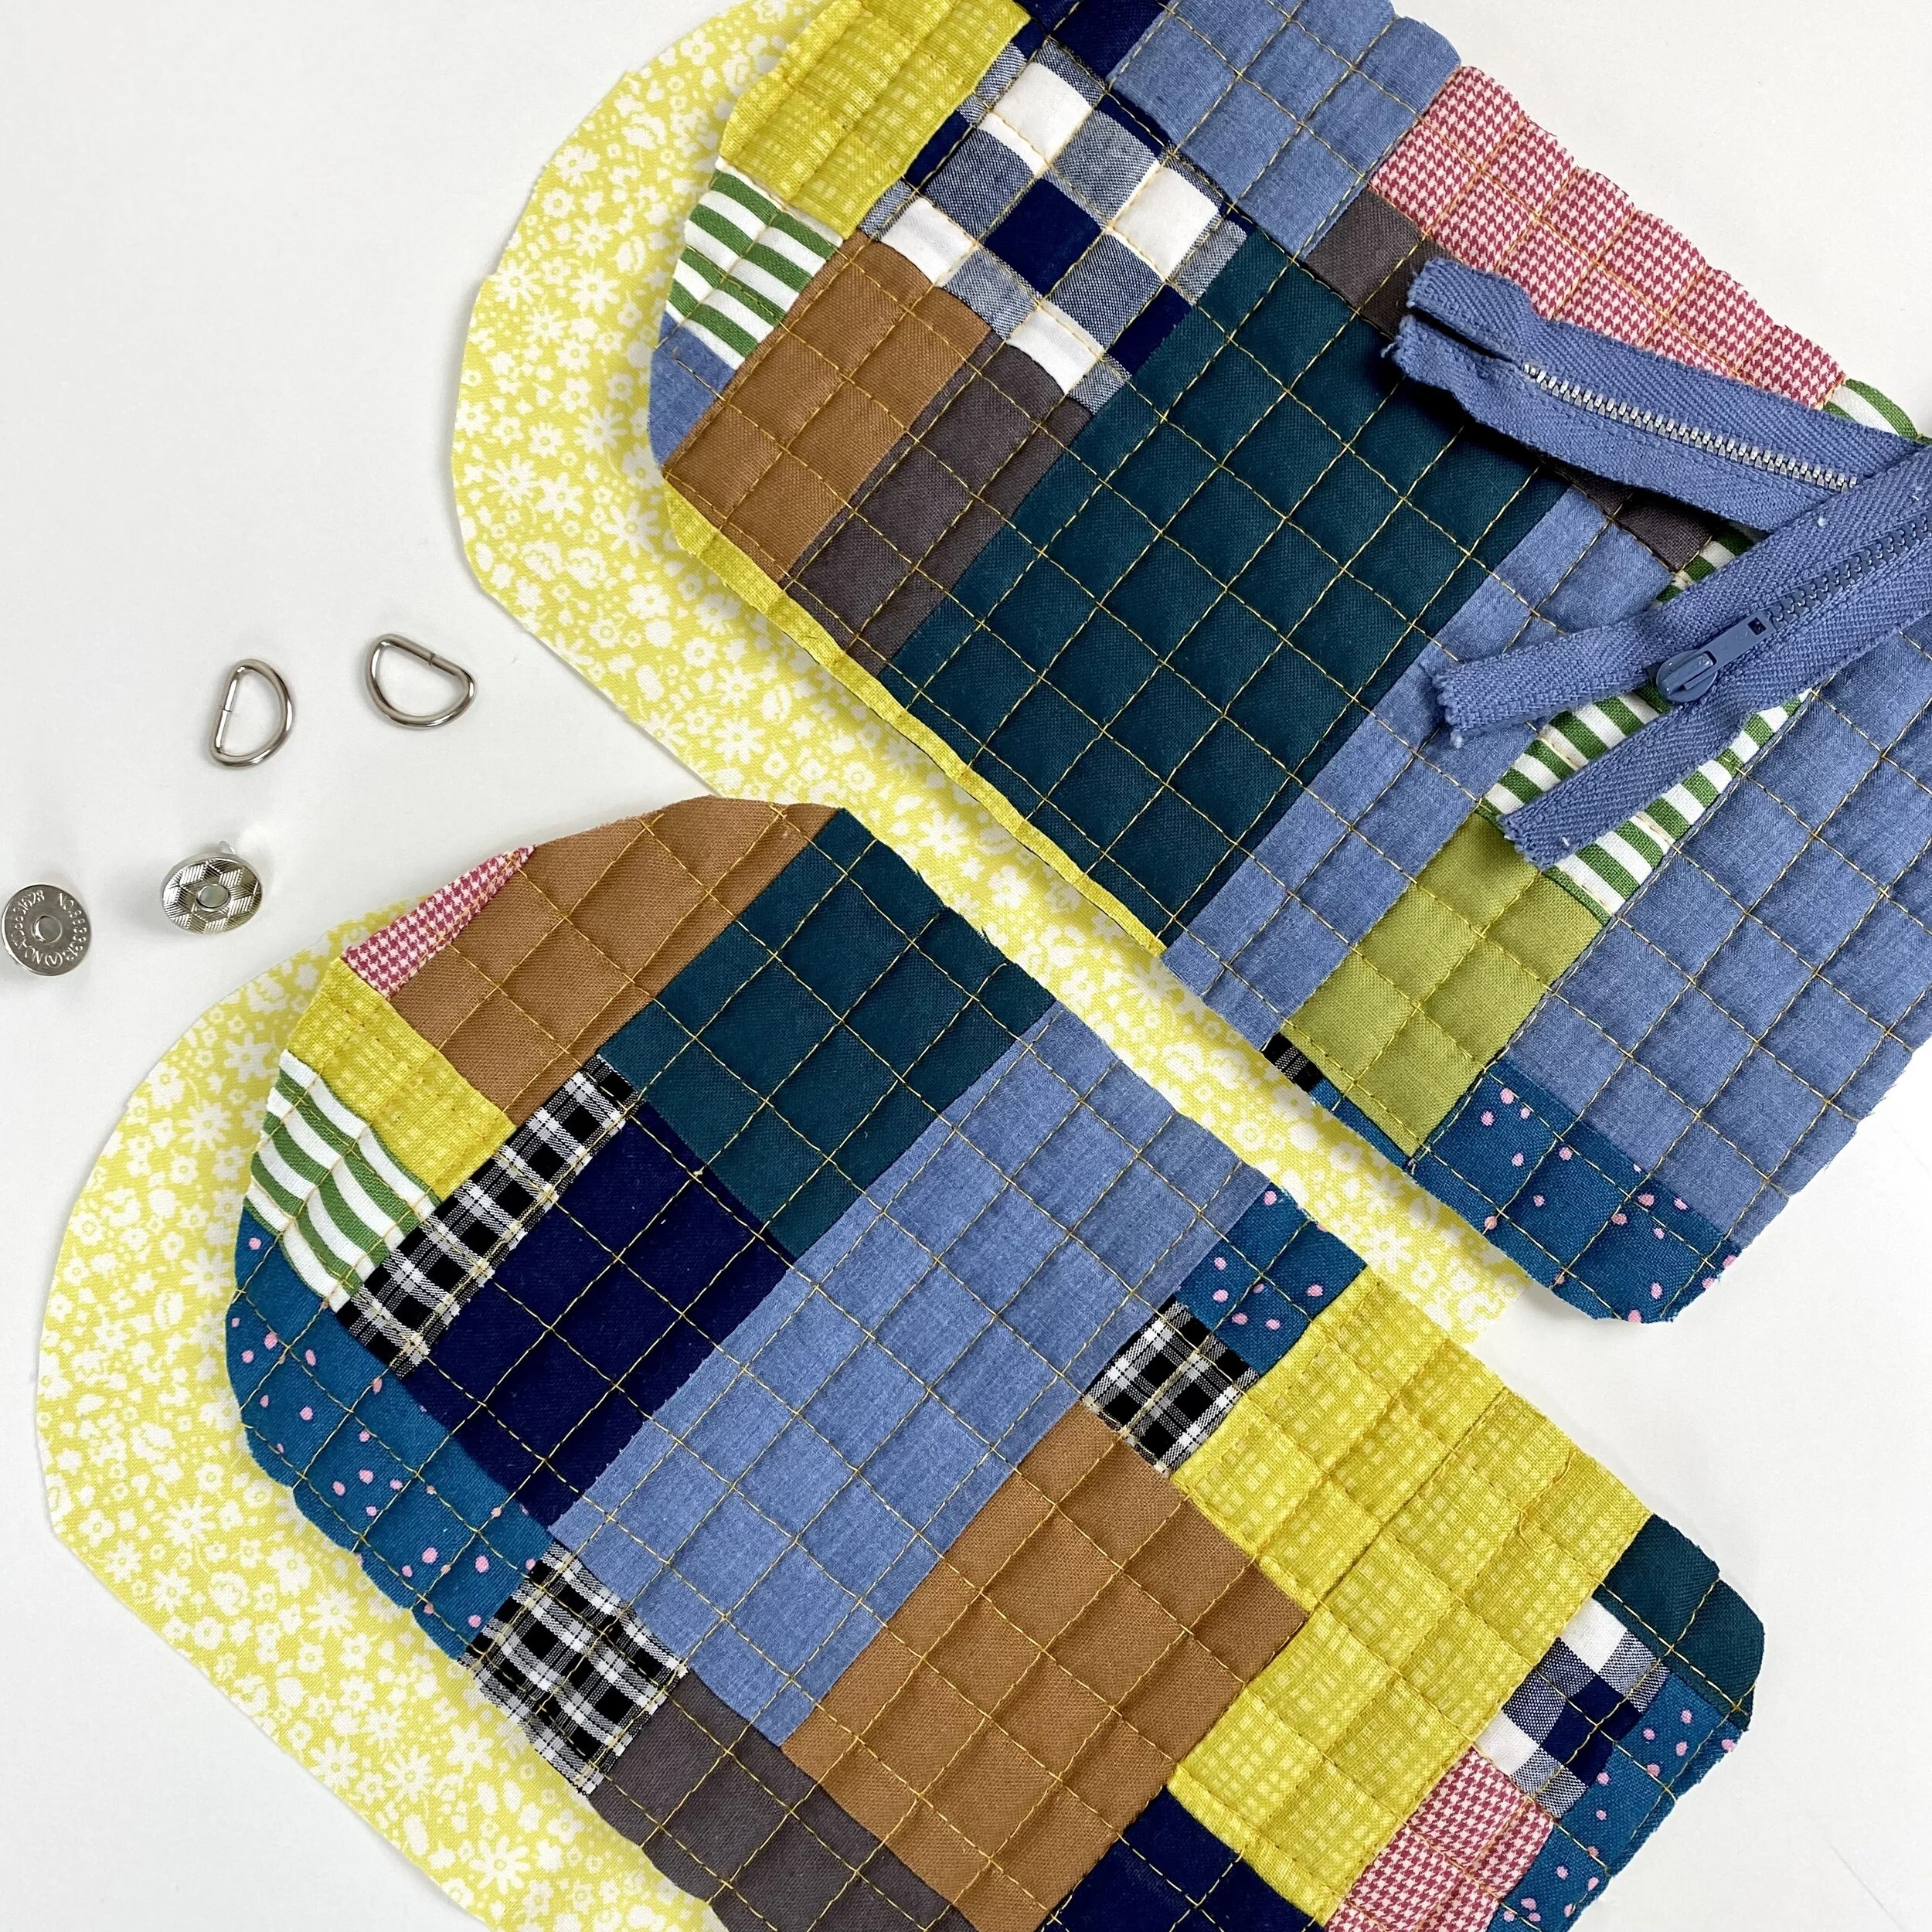
Next, I cut out the bag pieces, lining, pocket, and tab pieces. The lining and tab require interfacing for additional stability. Minki recommends Pellon SF101, and I agree.

The assembly for this bag is FAST. Honestly, I think from this point until the end took about 30 minutes. The pocket/zipper installation is easy, but I didn’t want to mess it up, so I turned on Minki’s YouTube video and sewed along with her. I highly recommend this, especially if you are a visual learner like I am. You can find the YouTube video for this bag HERE.

Zipper is in! I grabbed this zipper out of my stash because the color was too perfect. As I was installing it, I realized this must have come from my mom’s sewing stash, which I inherited, because it obviously VERY vintage. The zipper pull is thin and small, making it tricky to zip up and down. A zipper charm will definitely come in handy here. I LOVE the contrasting pocket fabric, which is a cute little scrap of Liberty Fabrics quilting cotton. I also love how the lining fabric peeks out just a smidge and frames the zipper a bit. These are the details that win my fabric loving heart!

And that’s it! Sew the lining and bag pieces right sides together, turn them right sides out, press, etc. Super easy. Here is a peek at the mushroom charm I decided on. I’ve had this for a few years and I’m glad to find a use for it now.
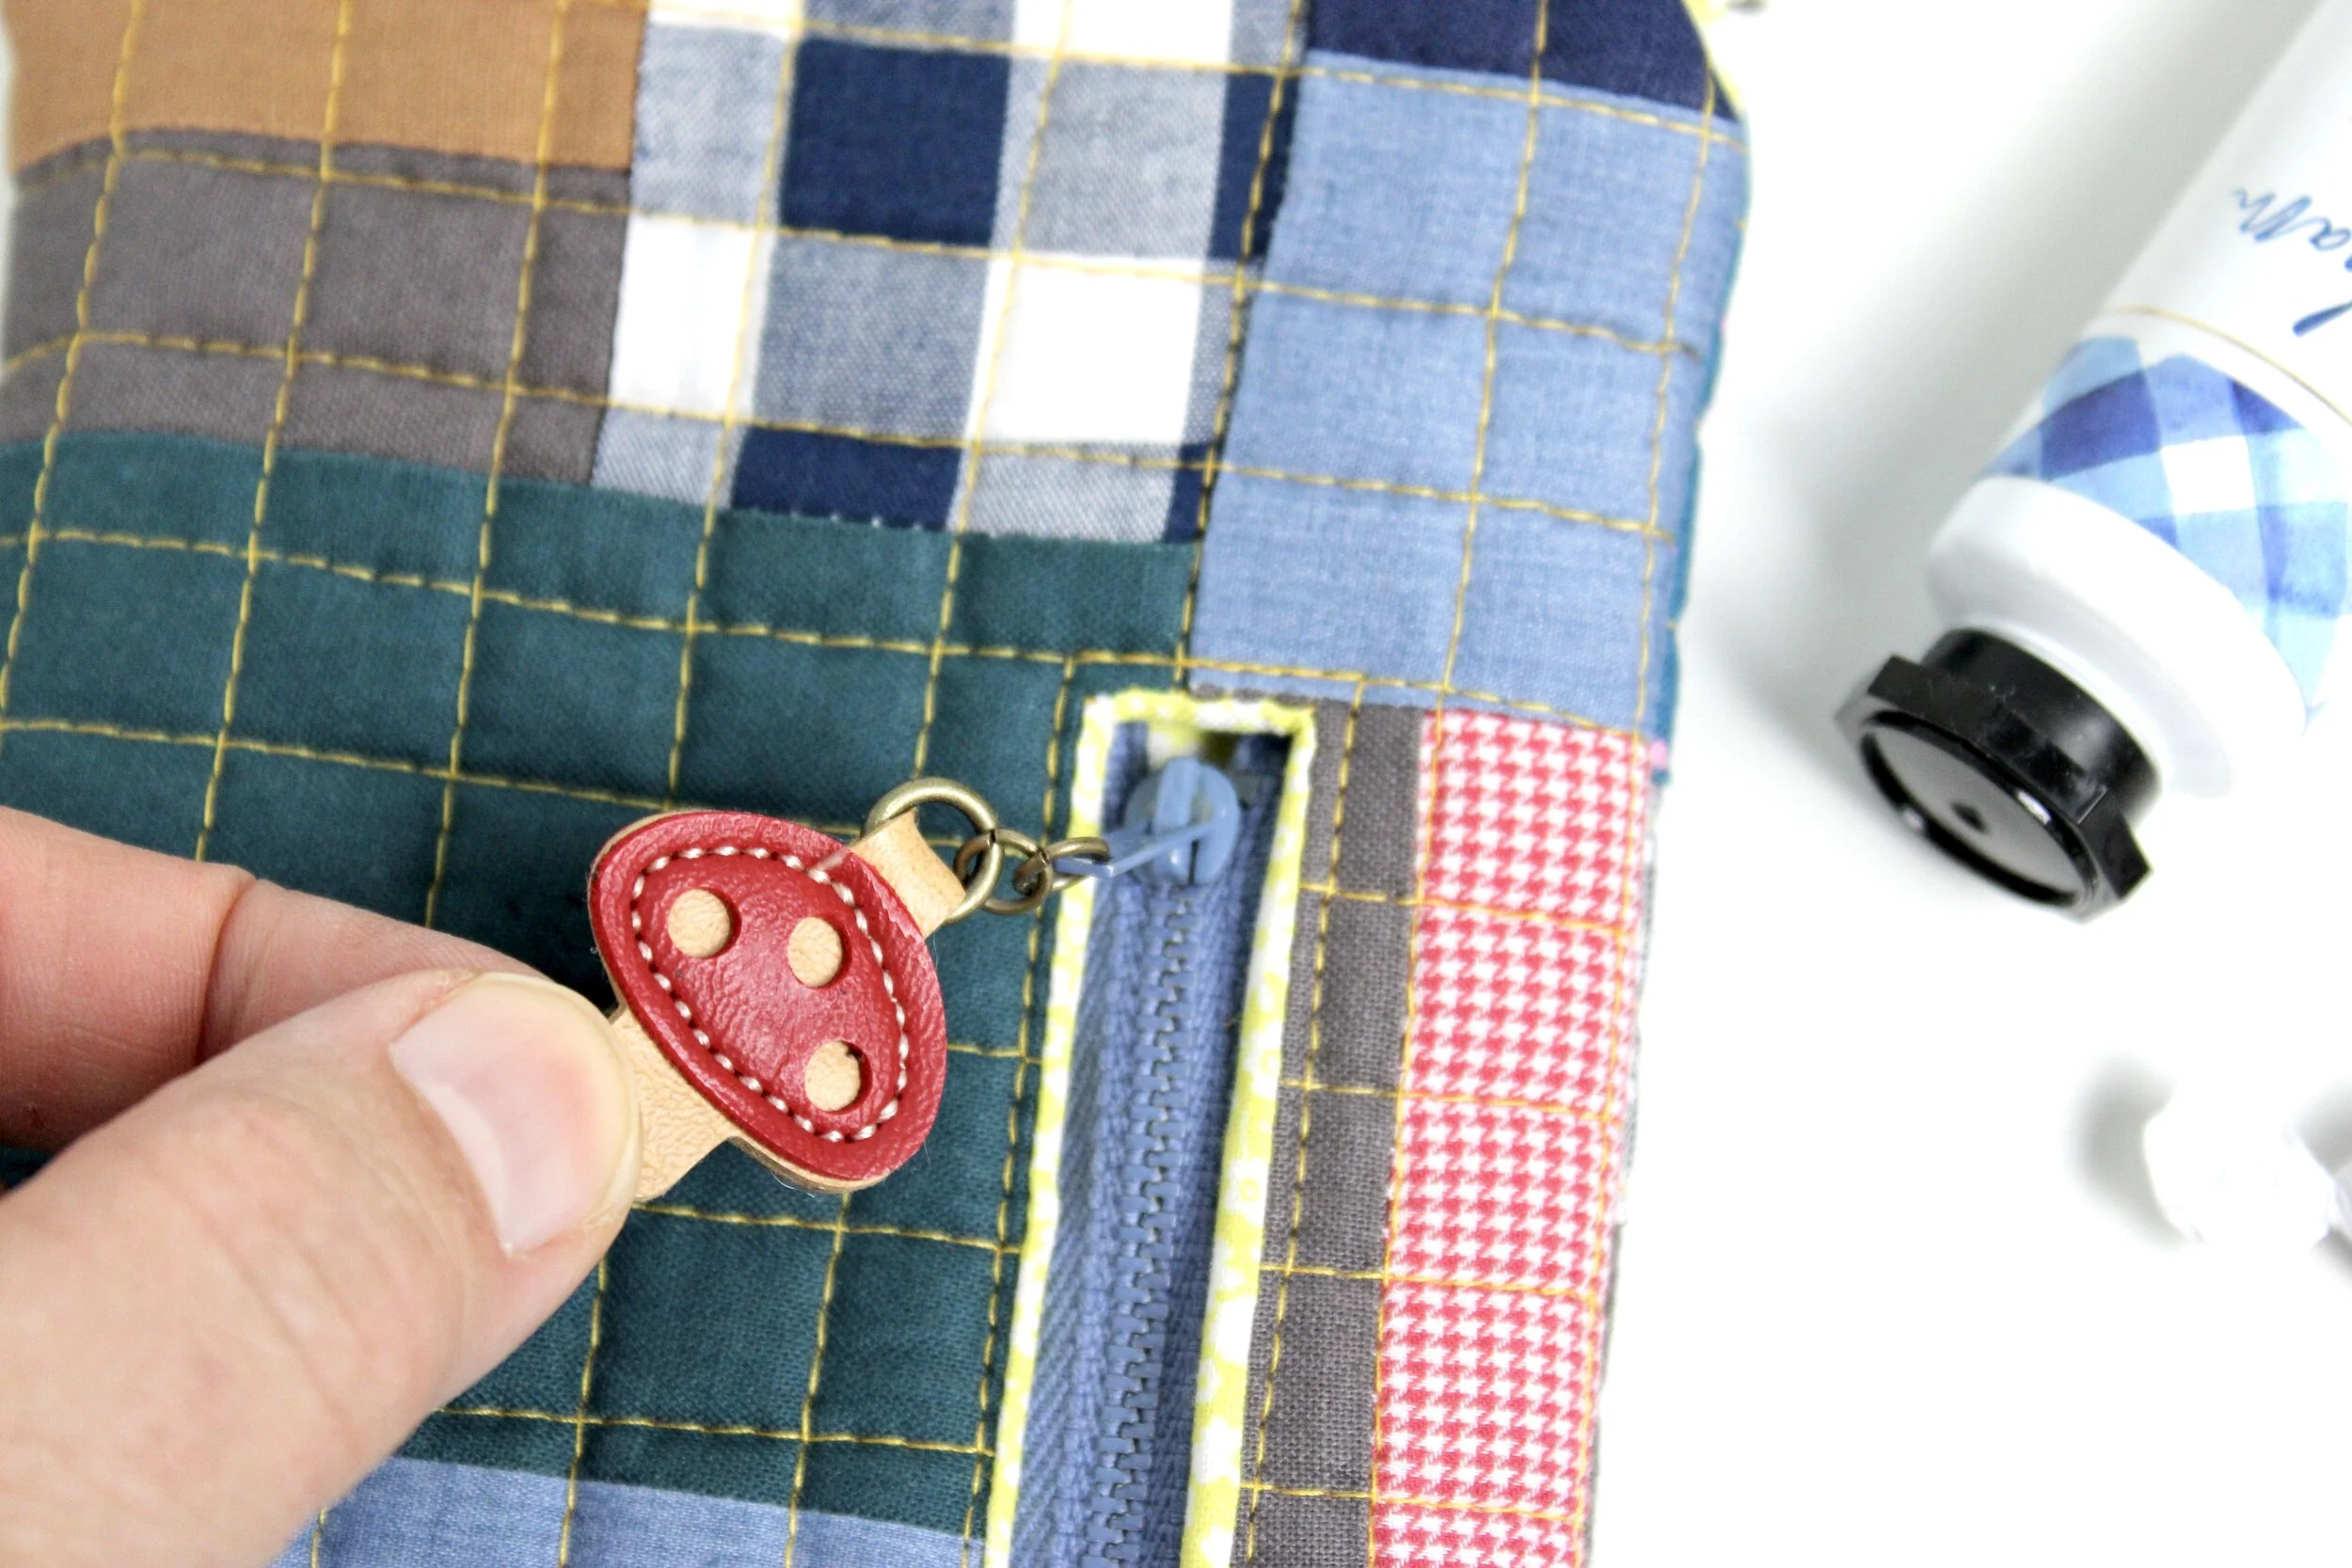
To add the charm, you just take some needle nose pliers, open the little ring, and close the ring around the zipper tab.

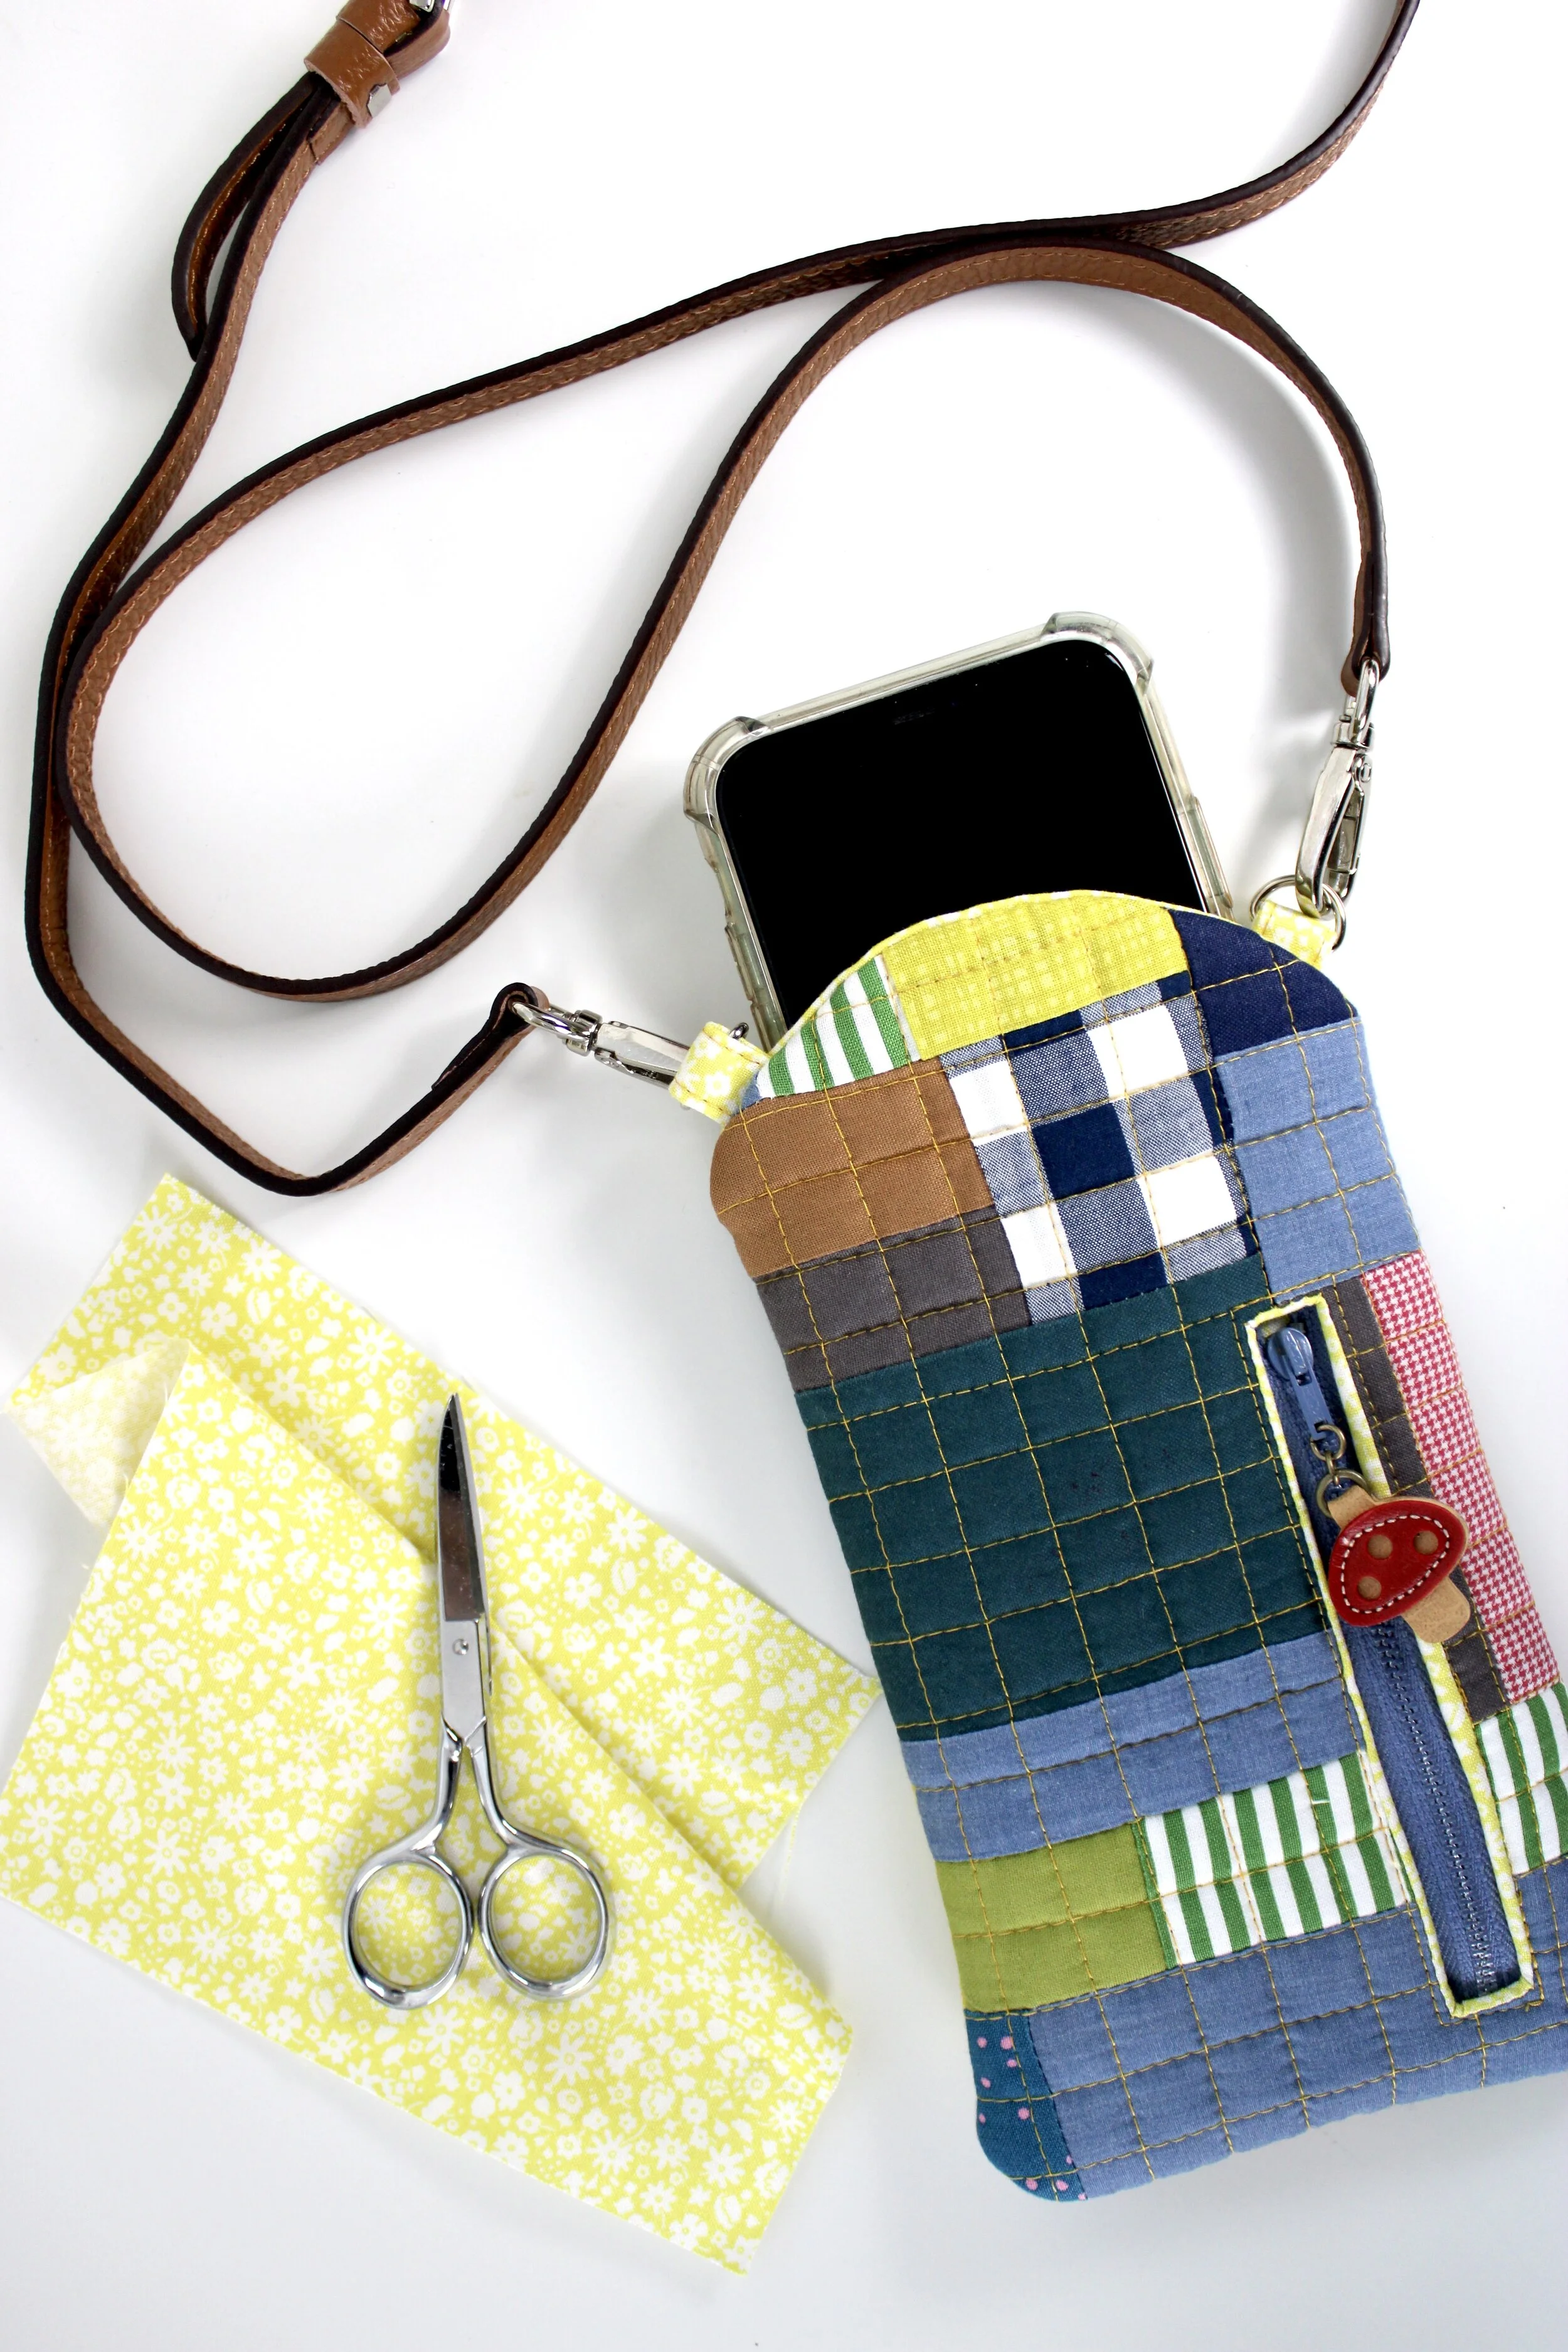
The cell phone just slides in. There are strong magnetic snaps at the opening on the inside, so the bag will stay closed when you are wearing it. The bag holds just a cell phone. The zipper pocket is perfect for a driver’s license, a credit card, and maybe a chapstick or other small item.

The back of the bag is very much like the front, or maybe this is the front (you decide), except without the zipper pocket.
I have three more of these planned, so keep an eye on my Instagram to see more, and be sure to let me know if you decide to make one. I’d love to see what you all come up with! Happy sewing!