Patchwork & Pinwheels 4th of July Quilt
We still have snow on the mountains, so it felt strange to be sewing up a festive 4th of July quilt, but no complaints here because this quilt was so much fun to make!
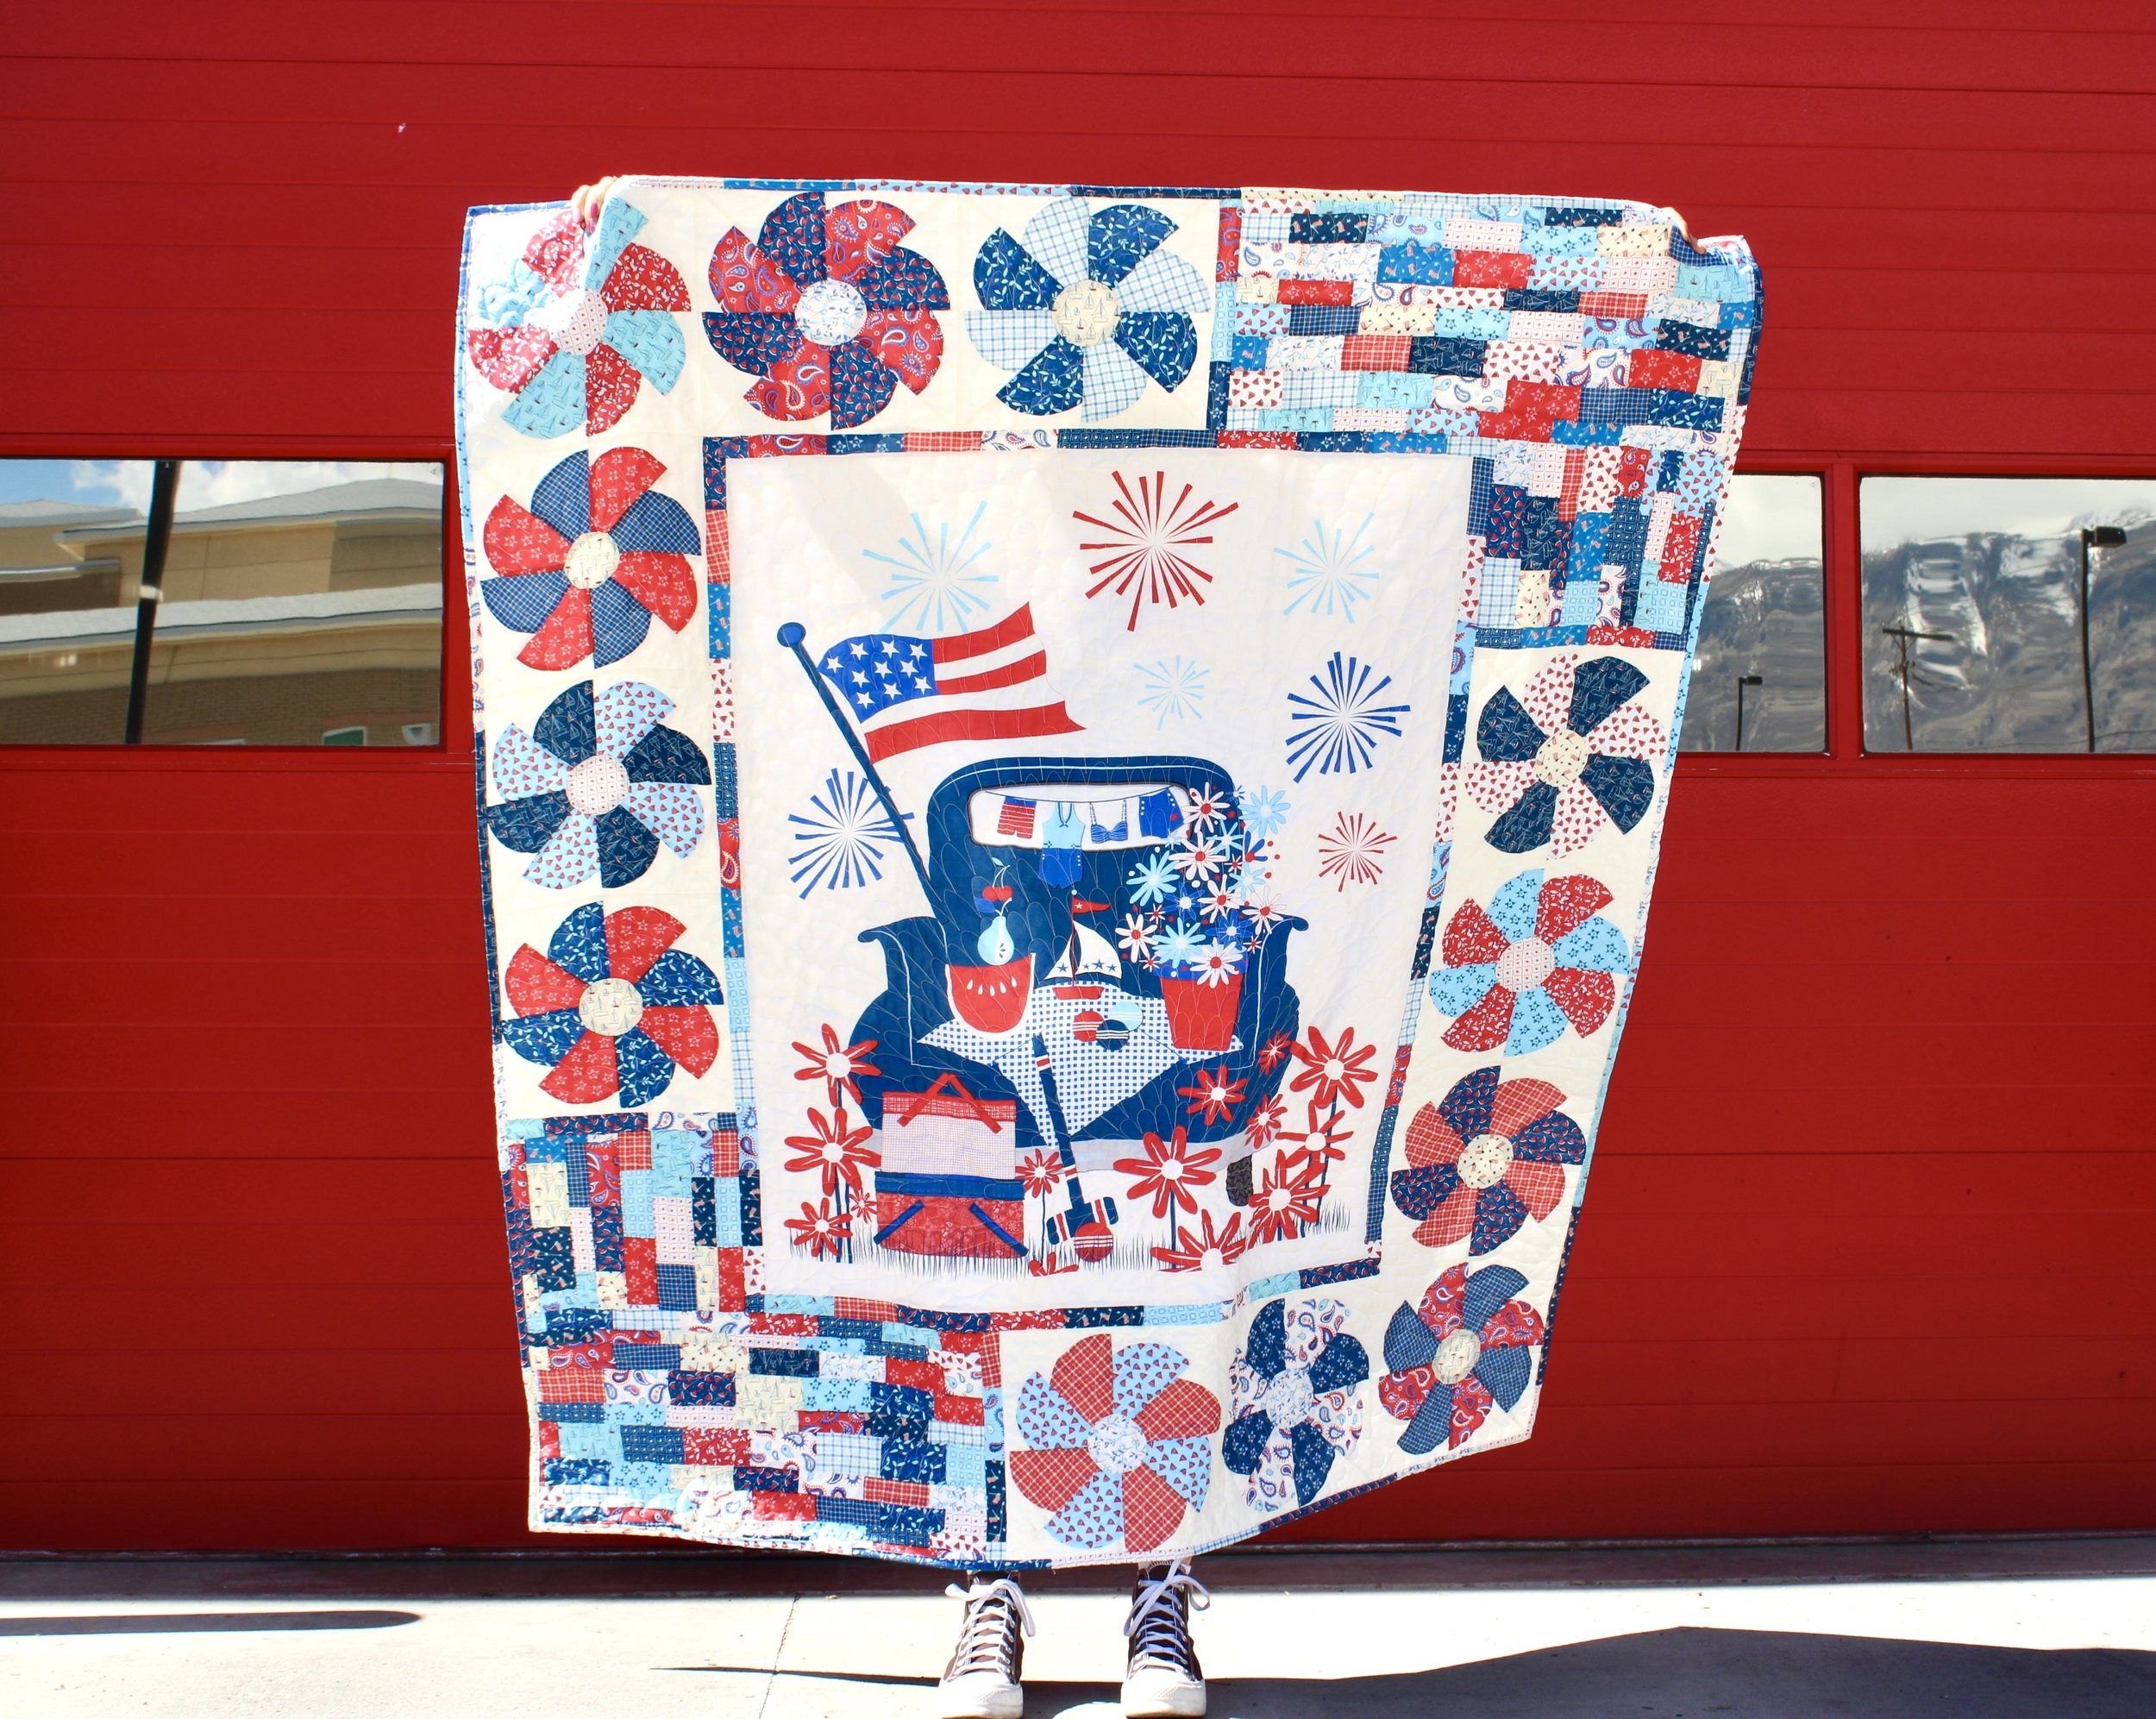
This quilt is part fabric panel, part whirling pinwheel blocks, and part scrappy patchwork.

The fabrics come from the brand new Red, White and Bang! collection designed by Sandy Gervais for Riley Blake Designs. I fell in love with all of the small scale prints — flags, sailboats, watermelon slices, paisley, plaid and more. So fun!

This quilt is so simple, it really doesn’t need an in depth tutorial, but I am happy to share the basics of how it came together.

I started by making 12 whirling pinwheel blocks. I found an acrylic template being sold HERE. The template is super helpful so that all of the shapes are cut out exactly right. Now, this template is supposed to create a 12” finished block, however, a couple of my blocks came out a little wonky and uneven (probably from pairing two incorrect pieces together - my bad), so I ended up trimming them all down to 12”, which gave me an 11-1/2” finished block.

I then set the whirling pinwheel blocks aside and started working on the panel. I created a scrappy border for the panel by sewing one long strip of 1-1/2” wide by approximately 3-4” long bits of fabric. I had quite a bit of extra length from this scrappy border which I ended up using to “cap off” the whirling pinwheel sections.

Next I created 12” wide scrappy patchwork sections. The length was different depending on whether these would be going on the sides or on the top and bottom. I cut out 4” squares and sewed a row of these long enough that they would fill the rest of the section I was working on. For the sides, I needed six 4” squares, and for the top/bottom sections I needed eight 4” squares. After I sewed my row of squares, I cut either down the middle, or I made two cuts for skinnier strips. Then, I started sewing the strips together until I had a section that was at least 12” wide.

To put it all together, I started by sewing the 3 whirling pinwheel blocks for each side section. Then I added that 1-1/2” strip to cap off that section — the end that would be meeting up with the scrappy patchwork section.
Next, I added the scrappy patchwork section, and once I had assembled both sides like this, I added the sides to the panel.

I repeated these exact same steps for the top and bottom border sections, and then sewed the top and bottom sections to the quilt top. Press and it’s time to quilt!

I quilted mine using a simple flower petal design, which is one of my favorite free motion quilting designs because it is so easy and forgiving.
Take a look at this short video where I quickly explain how I create this flower petal/scallop design.

For the quilt back, I used this fun Uncle Sam fabric from the Riley Blake Designs Blossom basics collection. The binding is also scrappy. I cut various random lengths of fabric — all 2-1/2” wide to create one long strip of fabric for the binding.

I hope this quilt gives you another idea for what the possibilities are when working with fabric panels. The scrappy patchwork section creates a cushion so that you don’t have to do exact math to get the whirling pinwheel blocks to fit exactly, but I also love how it also adds a fun, retro vibe to the quilt!

I had so much fun working with these bright, happy fabrics from the Red, White and Bang! collection, with their timeless and charming little designs. This festive collection by Sandy Gervais is coming soon to your favorite local and online quilt shops, so pre-order now to reserve your bundle of fabric goodness! Happy quilting!