Make an Oversized Hershey Trick or Treat Bag
The easiest thing you can make for Halloween might be a quick and simple Trick or Treat Tote Bag, but you can take that tote bag up a giant notch when you are using actual Hershey fabric panels!

Trick or Treat bags are a must for carrying around all of the sweet treats one acquires on Halloween, but we’ve found that as the kids get older, they no longer want the cute pumpkin pails or adorable little totes. A big kid Halloween bag needs to be oversized, as if to tell the world it can hold all of the oversized candy bars and treats you have to offer the sugar hunting urchins.

These totes are seriously the perfect size for all of the tweens and teens in your life. Measuring a generous 17” x 19”, this bag can handle a big haul!

I used this fabric panel from the Celebrate with Hershey collection from Riley Blake Designs. The panel is divided into four sections, and also has an additional trim print at the top and bottom that can be incorporated into your projects. I almost turned these into fun Halloween pillows, and I still might do that, but I opted for these fun Trick or Treat Totes instead.

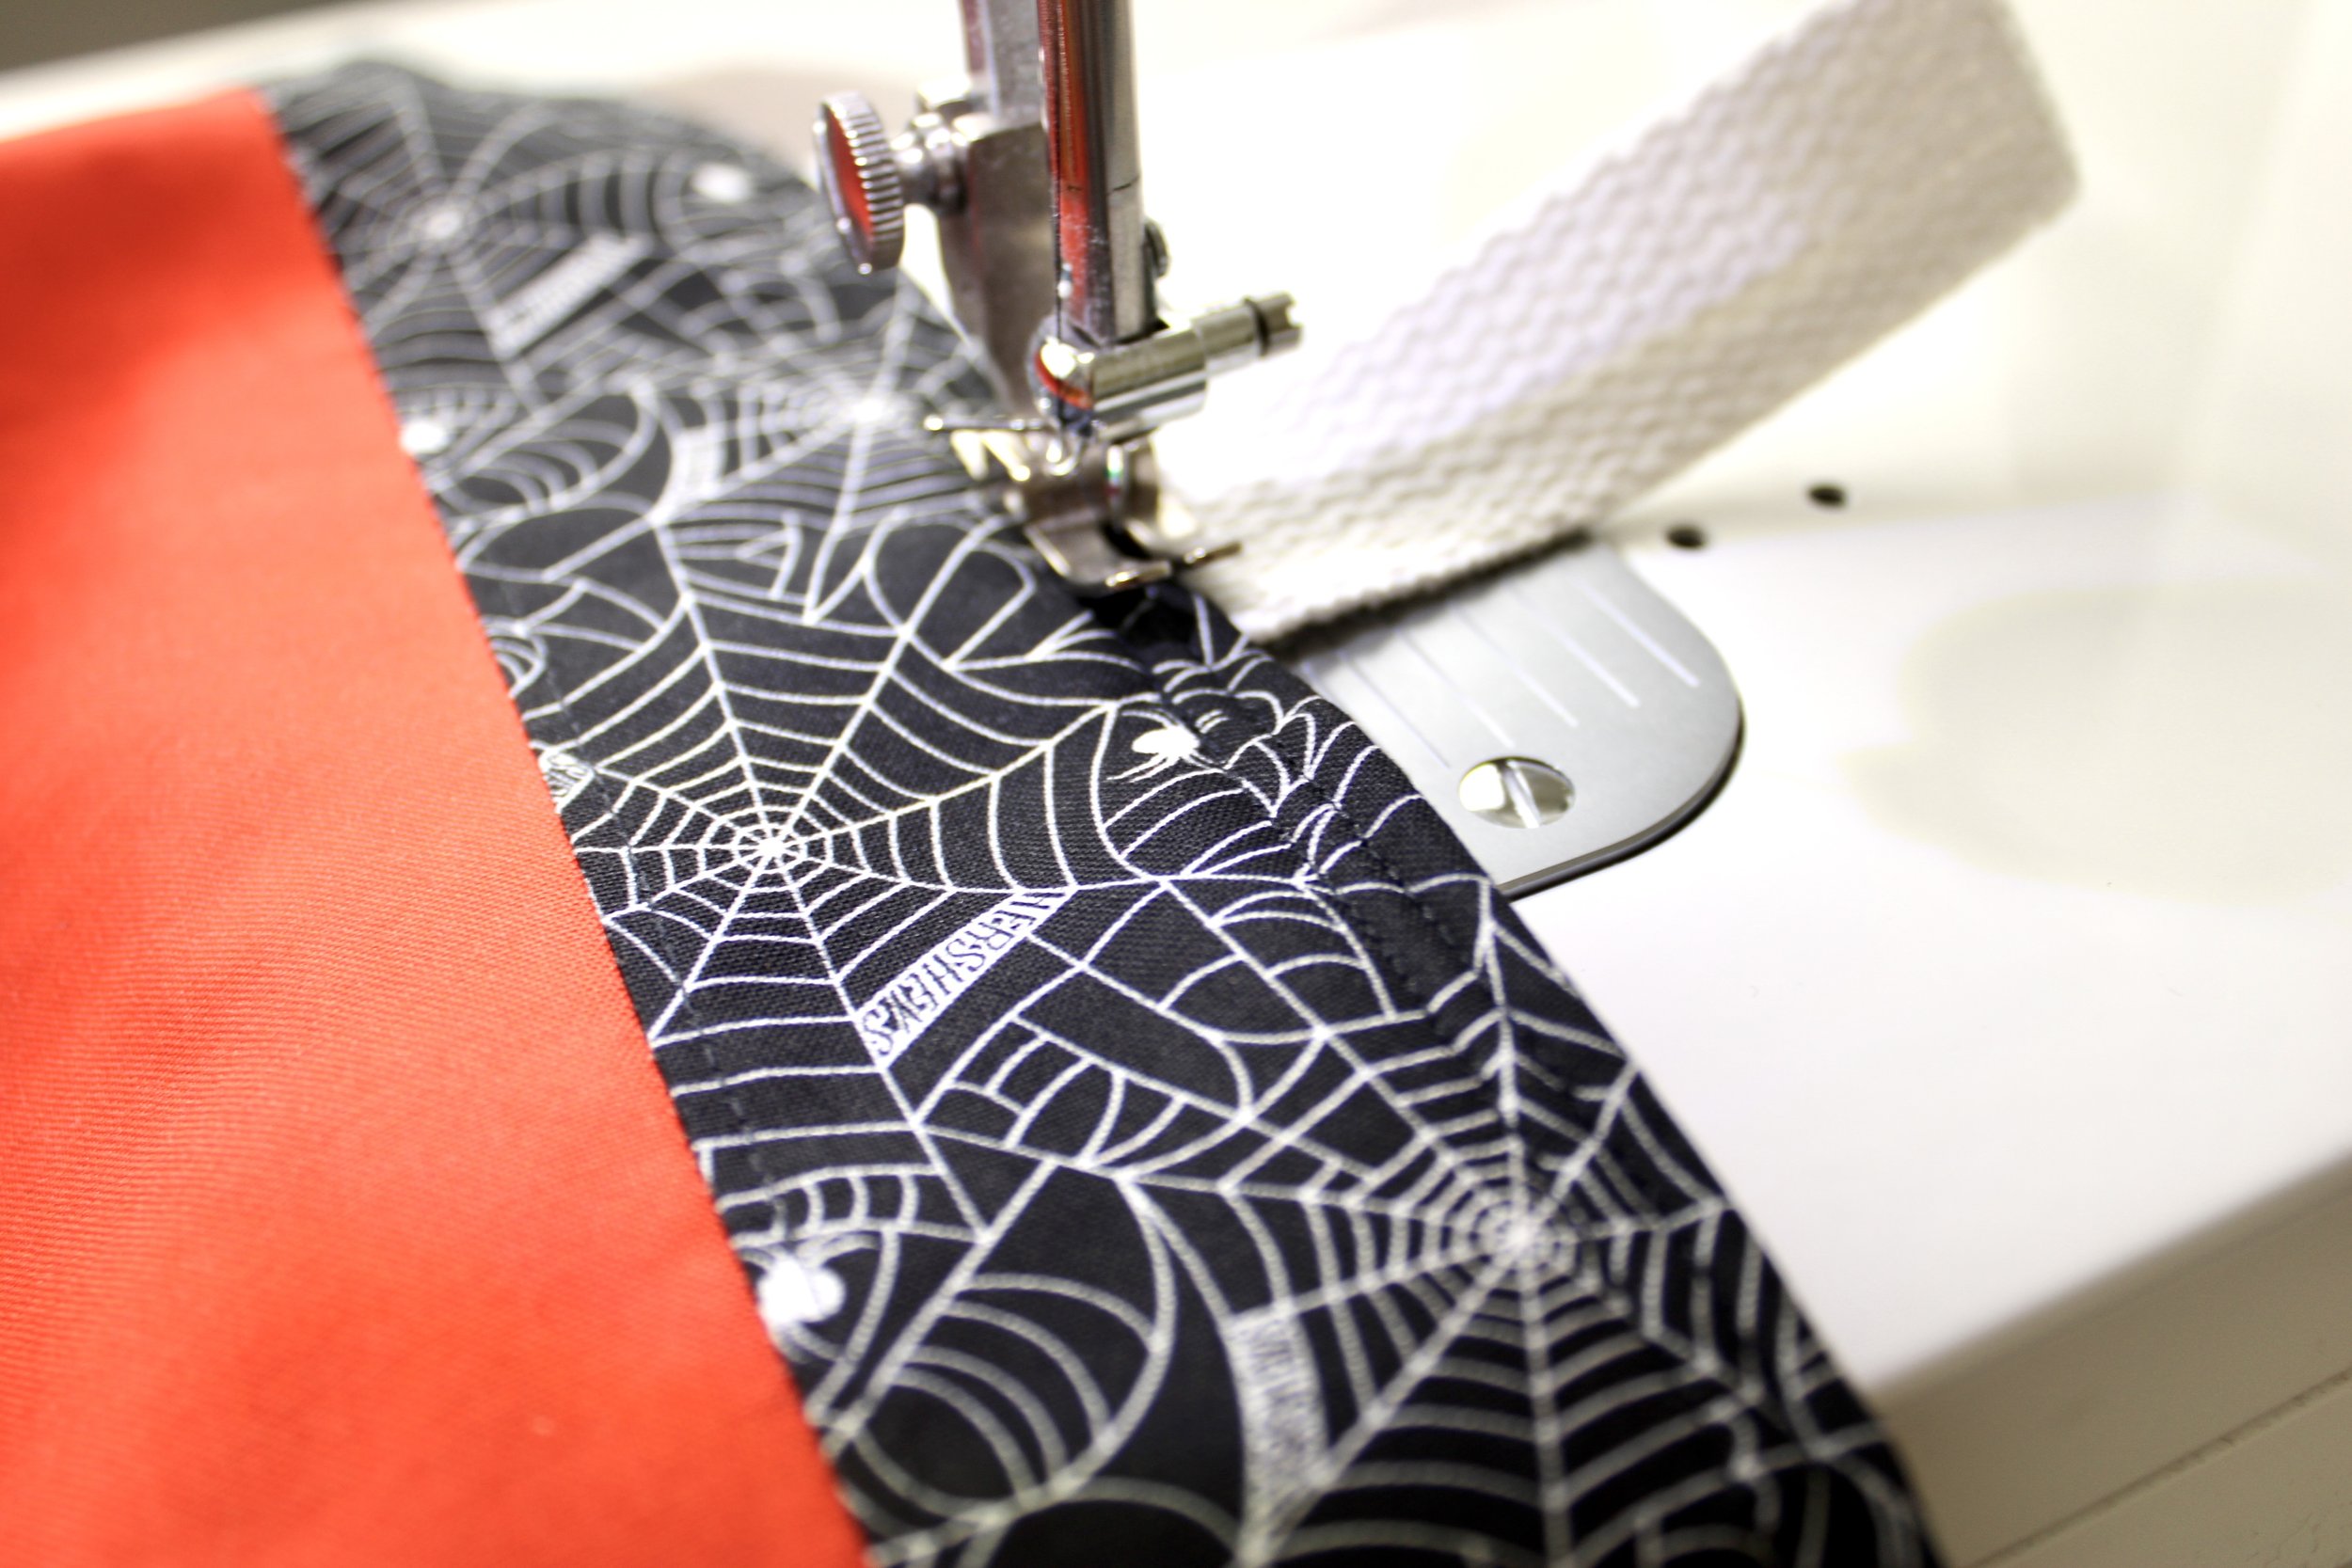
The Trick or Treat Tote Bag uses a panel section for the front and back of the tote — each side has its own unique Hershey themed print. I used the accent trim on the panel at the top of the bag, and I used the Hershey Spiderweb print for the bag lining.

To one of the bags, I added this fun, completely optional, black pom pom trim detail.
In this video, I show how to assemble the bag — with the pom pom trim. Again, simply leave off the trim if you don’t care for it. All of the embellishments and details are completely up to you!

I left off the pom pom trim from this bag. You can see how adding the trim gives the bag a completely different look! Below are instructions for assembling the bag without the pom pom trim. This is a quick overview. Refer to the video above for more detailed instructions.

To Make this Trick or Treat Tote, You Will Need:
1 - Celebrate with Hershey fabric panel
2 - 17 1/2” squares Celebrate with Hershey coordinating fabric
2 - 19 1/2” squares fusible fleece (optional)
36” black pom pom trim (optional)
2 - 1” x 18” webbing strap * I used cotton webbing. Nylon webbing would work great, too.

Step 1
Trim off the excess white spacer fabric and trim two of the squares from the fabric panel so each they measure 17 1/2” x 17 1/2” square.
Cut the black spiderweb accent fabric to 2 1/2” x 36”. Then cut the length in half and trim so each measures 2 1/2” x 17 1/2”.

Step 2
Place the black Spiderweb accent fabric face down along the top edge of the bag panel. Stitch. If you are adding pom pom or other trim, you’ll sandwich it between these two fabrics as you stitch (see video)

Step 3
Press open and topstitch 1/4” from seam on the black accent fabric.

Step 4
If you are adding fusible fleece (great for giving additional structure to the bag) press the glue side of the fleece to the back of your fabric panels.

Step 5
Place bag panels right sides together. Using a 1/4” or 1/2” seam allowance (whatever you prefer) stitch along three sides, leaving the top edges open. Trim corners.
Repeat this step for the lining pieces, but leave a 3-4” opening at the bottom on the lining portion (see video).

Step 6
Turn the bag right side out. Using a ruler, mark 4” from the outer edge of the bag. Place the webbing strap at the 4” mark. Repeat on other edge of the bag as pictured.
Repeat this on other side so you have two straps pinned in place.
*In the video, I pinned the strap to the lining fabric. Either way is completely fine.

Tip:
Pin the webbing strap so it extends about 1/4” beyond the raw edge of the bag. This will ensure the strap is sewn securely in place.

Step 7
Slide the tote bag into the lining fabric. Match up the side seams and pin or clip in place. The top raw edges of the lining and the outer tote bag fabric should all align.

Step 8
Stitch around the entire top edge using a 1/4” or 1/2” seam allowance.

Step 9
Reach in through the hole in the lining fabric and grab hold of the tote fabric, gently pulling it through the hole, turning the entire bag right side out.

Step 10
Edge stitch over the opening in the lining fabric.
Step 11
Tuck the lining into the bag. Press the entire bag. Top stitch around the top edge of the bag opening, and then of you want an extra crisp edge, add another row of stitching 1/8” from the edge of the bag opening.
What’s the difference between using fusible fleece and not using it? The quilting weight cotton alone with have a loose feeling similar to the pillowcases we carried around when we were teens. Fusible fleece adds structure so the bag maintains the “tote bag” look rather than the floppy pillowcase look. For a lighter weight in between option, you could substitute fusible fleece for a medium weight interfacing. Any of these options is great, it’s up to you!

Another option available to you is to skip the step of adding the spiderweb accent fabric. If you do this, simply cut your lining fabric to 17 1/2” square - the same as the fabric panels. This will give you a square tote instead of a rectangular tote.

I am loving these fabrics! The adorable characters and mouth watering candy bars…and the subtle “Hershey” spelled out in the spider web fabric…they are all too cute!


Happy Sewing and Happy Halloween!