Retro TV Placemats
Sometimes a project or pattern determines the fabric, and sometimes the fabric determines the project, am I right? When I laid eyes on the Mister Rogers’ Neighborhood collection from Riley Blake Designs, I immediately remembered sitting in front of the television as a child watching the classic show every day after kindergarten.

In my mind, I started remembering our television with the little dial with channels 1-13. There were no remotes — you had to walk over to the t.v. and turn the knob to find a channel that was airing a show, and children’s shows only aired at certain times, so being in the right place at the right time to catch an episode of Mister Rogers was a big deal!

The fabric line features snapshots from the television show, a knit sweater print, a text print loaded with the best Mister Rogers quotes, a logo print, and a tossed sneaker/sweater print, all in bright primary colors.
I didn’t use a pattern for this project, so I’ll try to describe how I put these together.
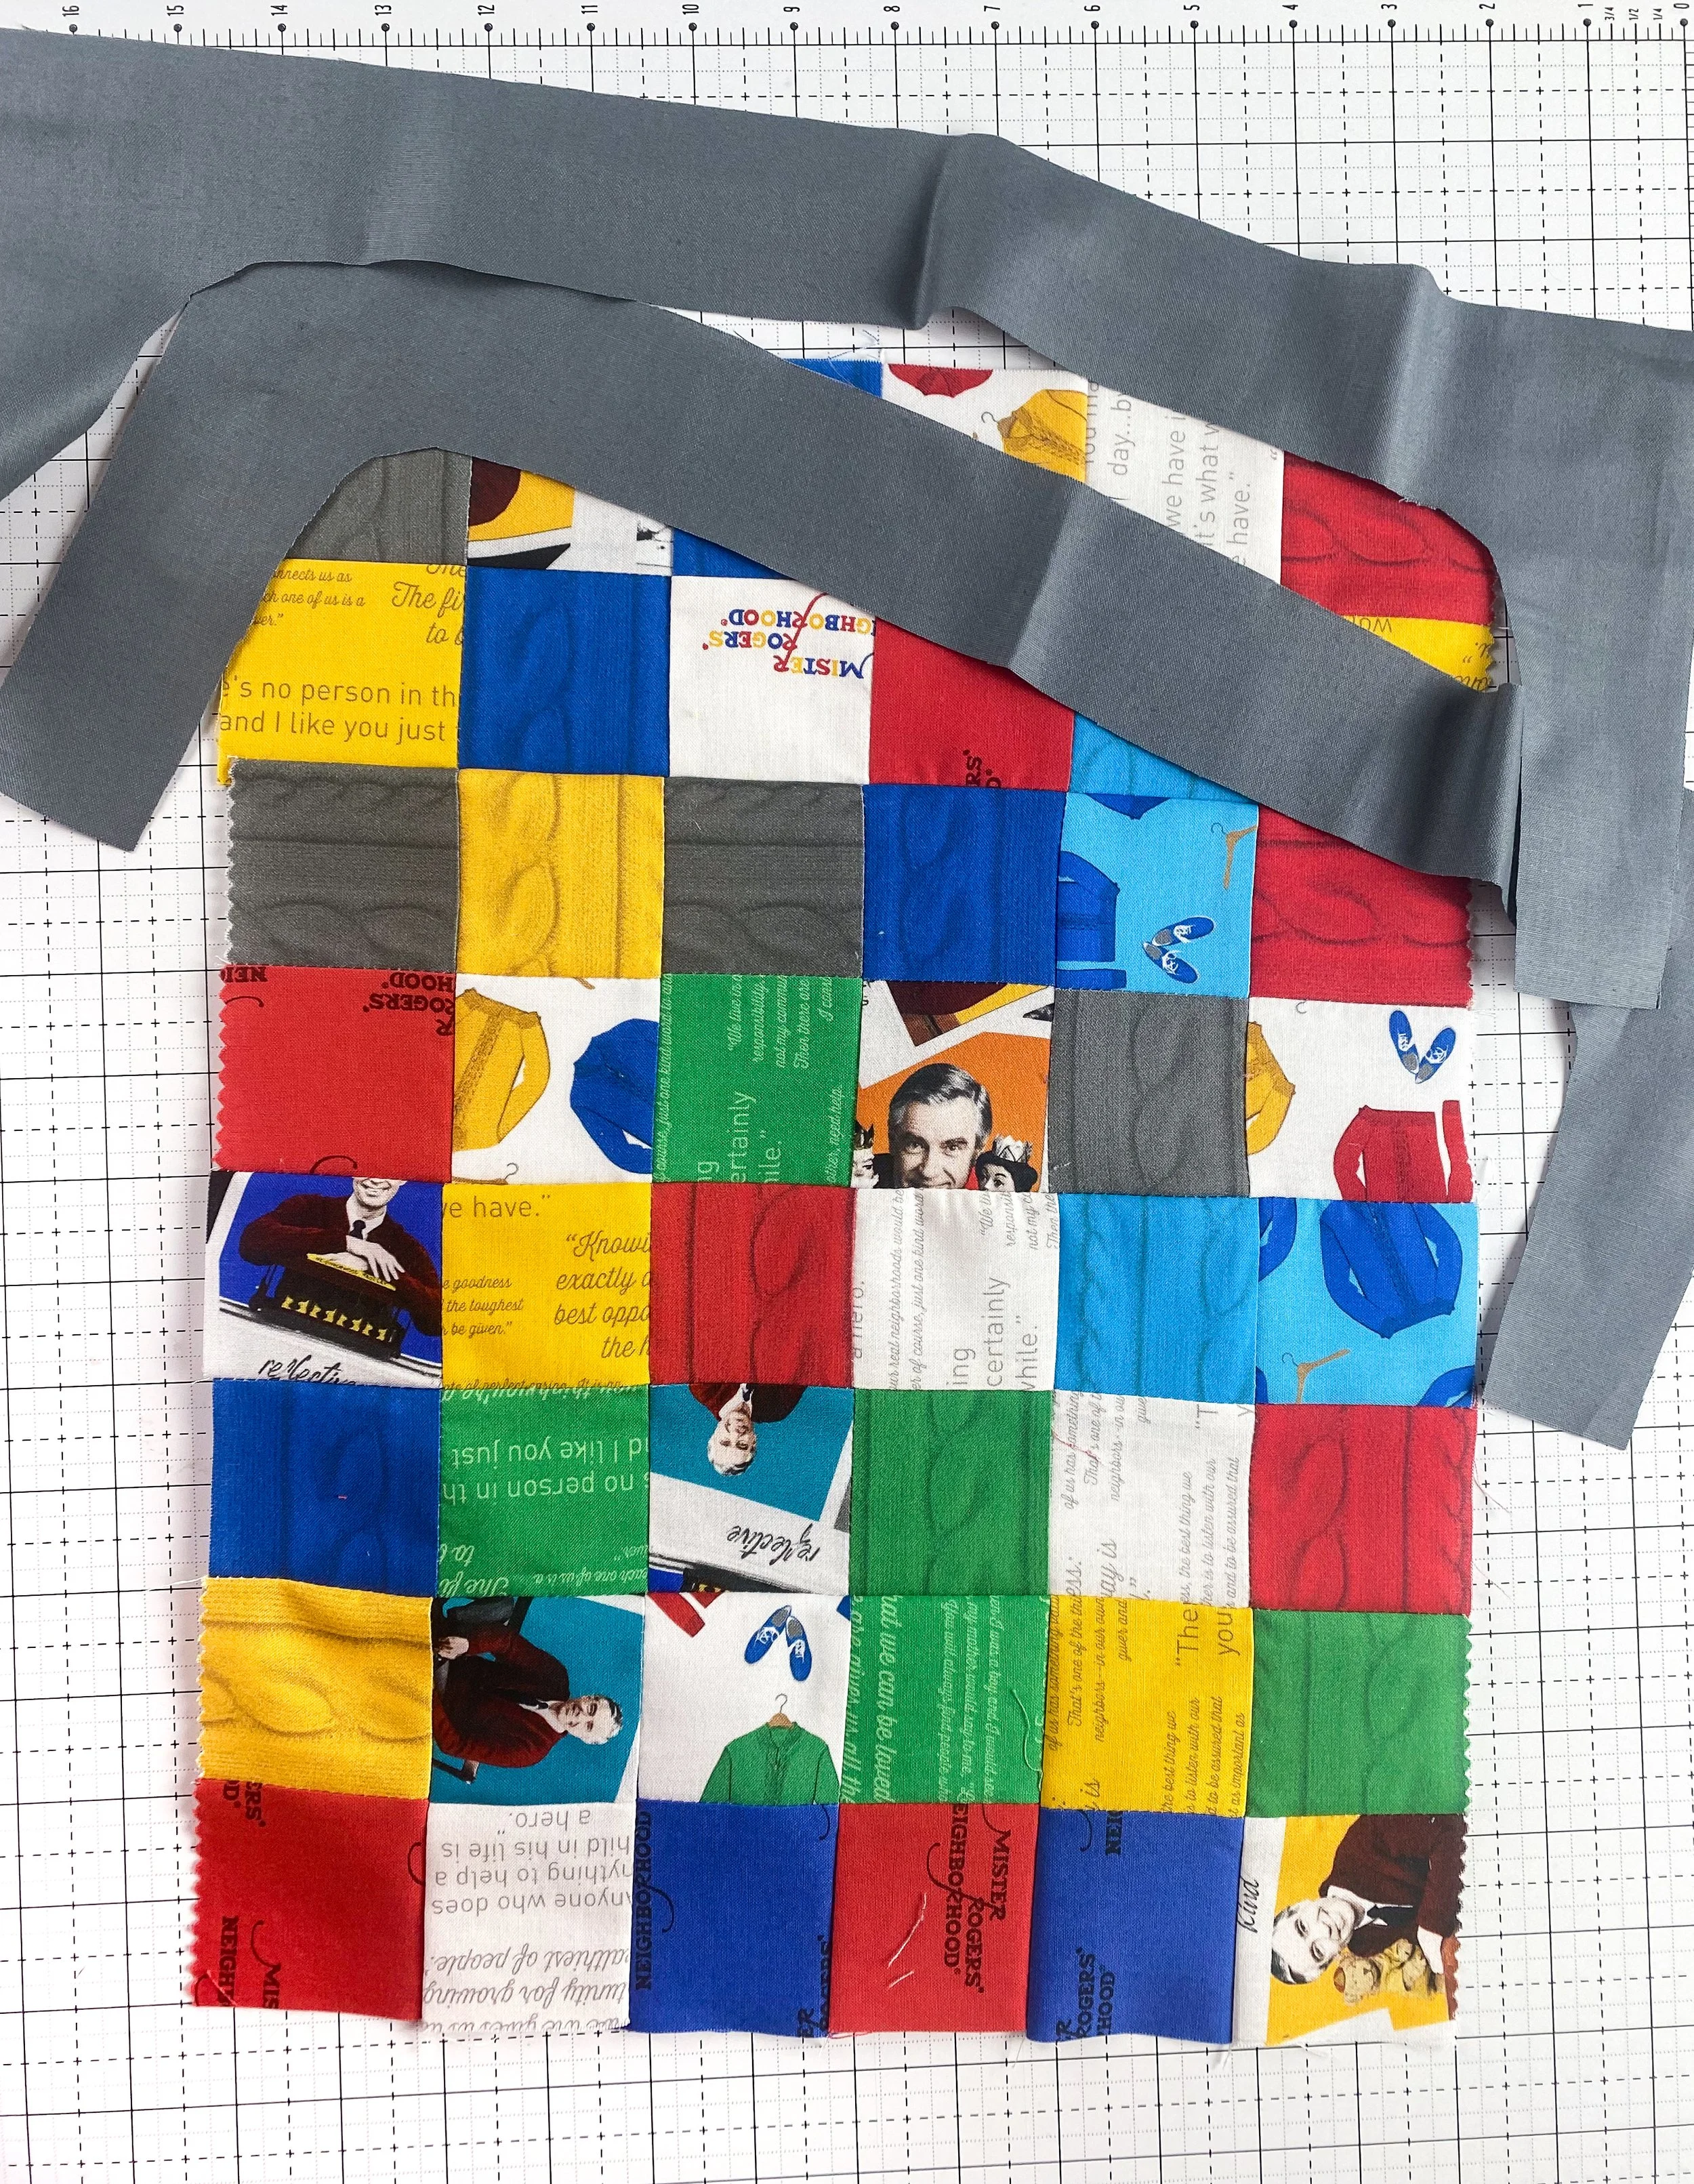
I started with a 5” stacker of the Mister Rogers’ Neighborhood fabric. To make the first placemat, I cut several of the 5” squares into fourths, creating a stack of 2 1/2” squares. Then I stitched them together using a 1/4” seam allowance, sewing 8 rows across and 4 rows down. If you like placemats larger or smaller, it’s a simple thing to add or take away rows.
Next I drew a template onto a piece of paper. What I wanted was an L-shape that would fit in one corner of the placemat, and I wanted it to have a rounded inner corner, like a vintage t.v. Once I had my template drawn, I placed it on the fold to create one long strip that ran across the top half of the placemat. I repeated this to create another piece for the bottom half. After sewing the short ends together, I had a television frame.

To add the frame to the placemat, I had to do some simple reverse appliqué. I snipped the inner curved corners a little less than 1/4”. Snipping the curves makes it so you can turn them under. After snipping all of the corners, I turned the fabric 1/4” under and pressed all around the frame. Then I pinned it all into place (see above).

Next, I top stitched the frame into place. Here is where I had an uh-oh moment. I wanted these placemats to be quilted. I realized I should have quilted the patchwork piece before adding the frame. Well, it was quite a bit of work getting the frame just right, so there was no going back. I decided I would quilt it afterwards. Not my first choice, but it would be fine.

For the second placemat, I decided to alternate 5” squares with four-patch blocks I made from the leftover stack of 2 1/2” squares I cut for the first placemat. I decided to quilt this in tight rows 1/4” apart. I like doing this for table toppers and placemats because the tight quilting adds stability, and these projects don’t need to be soft and cuddly like quilts do.

Same process after this — cut out the frame, pressed the inner edges under, and top stitched it to the patchwork center.

I decided to add three more rows of top stitching on the t.v. frame, and repeated this on the first placemat as well. No reason, except I liked the look of it. After that, I trimmed the sides and added binding. I wanted a more narrow binding for the placemats, so instead of cutting my usual 2 1/2” strips I use on quilts, I cut them to 2 1/4” wide.
I also cut out a black circle for the television knob and top stitched it to the corner of the t.v. Not sure how I feel about it. It definitely helps define it as a vintage t.v., but I think it might be better, or more realistic, if I were to embroider the numbers onto it.

Overall, I’m pleased with how they turned out. Such a cute way to highlight a favorite show from my childhood! The Mister Rogers’ Neighborhood fabric line is available now in stores! Happy Quilting!