Chain Piecing Trip Around the World Blocks
There are so many variations on the classic Trip Around the World quilt design. Scrappy, chunky, intricately detailed, modern, vintage, designs that radiate from the center, designs that form individual diamonds…you name it!

Just as there are many looks to a Trip Around the World quilt, there are also many ways to piece the blocks. Three methods seem to be the most popular: the tube method, individual piecing method, and chain piecing.

I opted to use the chain piecing method for this little quilt for three reasons: 1) Time. I was on a schedule, so individual piecing was immediately ruled out. 2) Block size. My blocks are 12” square, with sixteen squares in each block. This means I had four rows across and four rows down. It didn’t seem like there was any time saving benefit to using the tube method for such a small number of rows. 3) Control. I wanted to have control over the placement of my darker squares, and while I could make it work with the tube method, it felt more intuitive for me to chain piece.
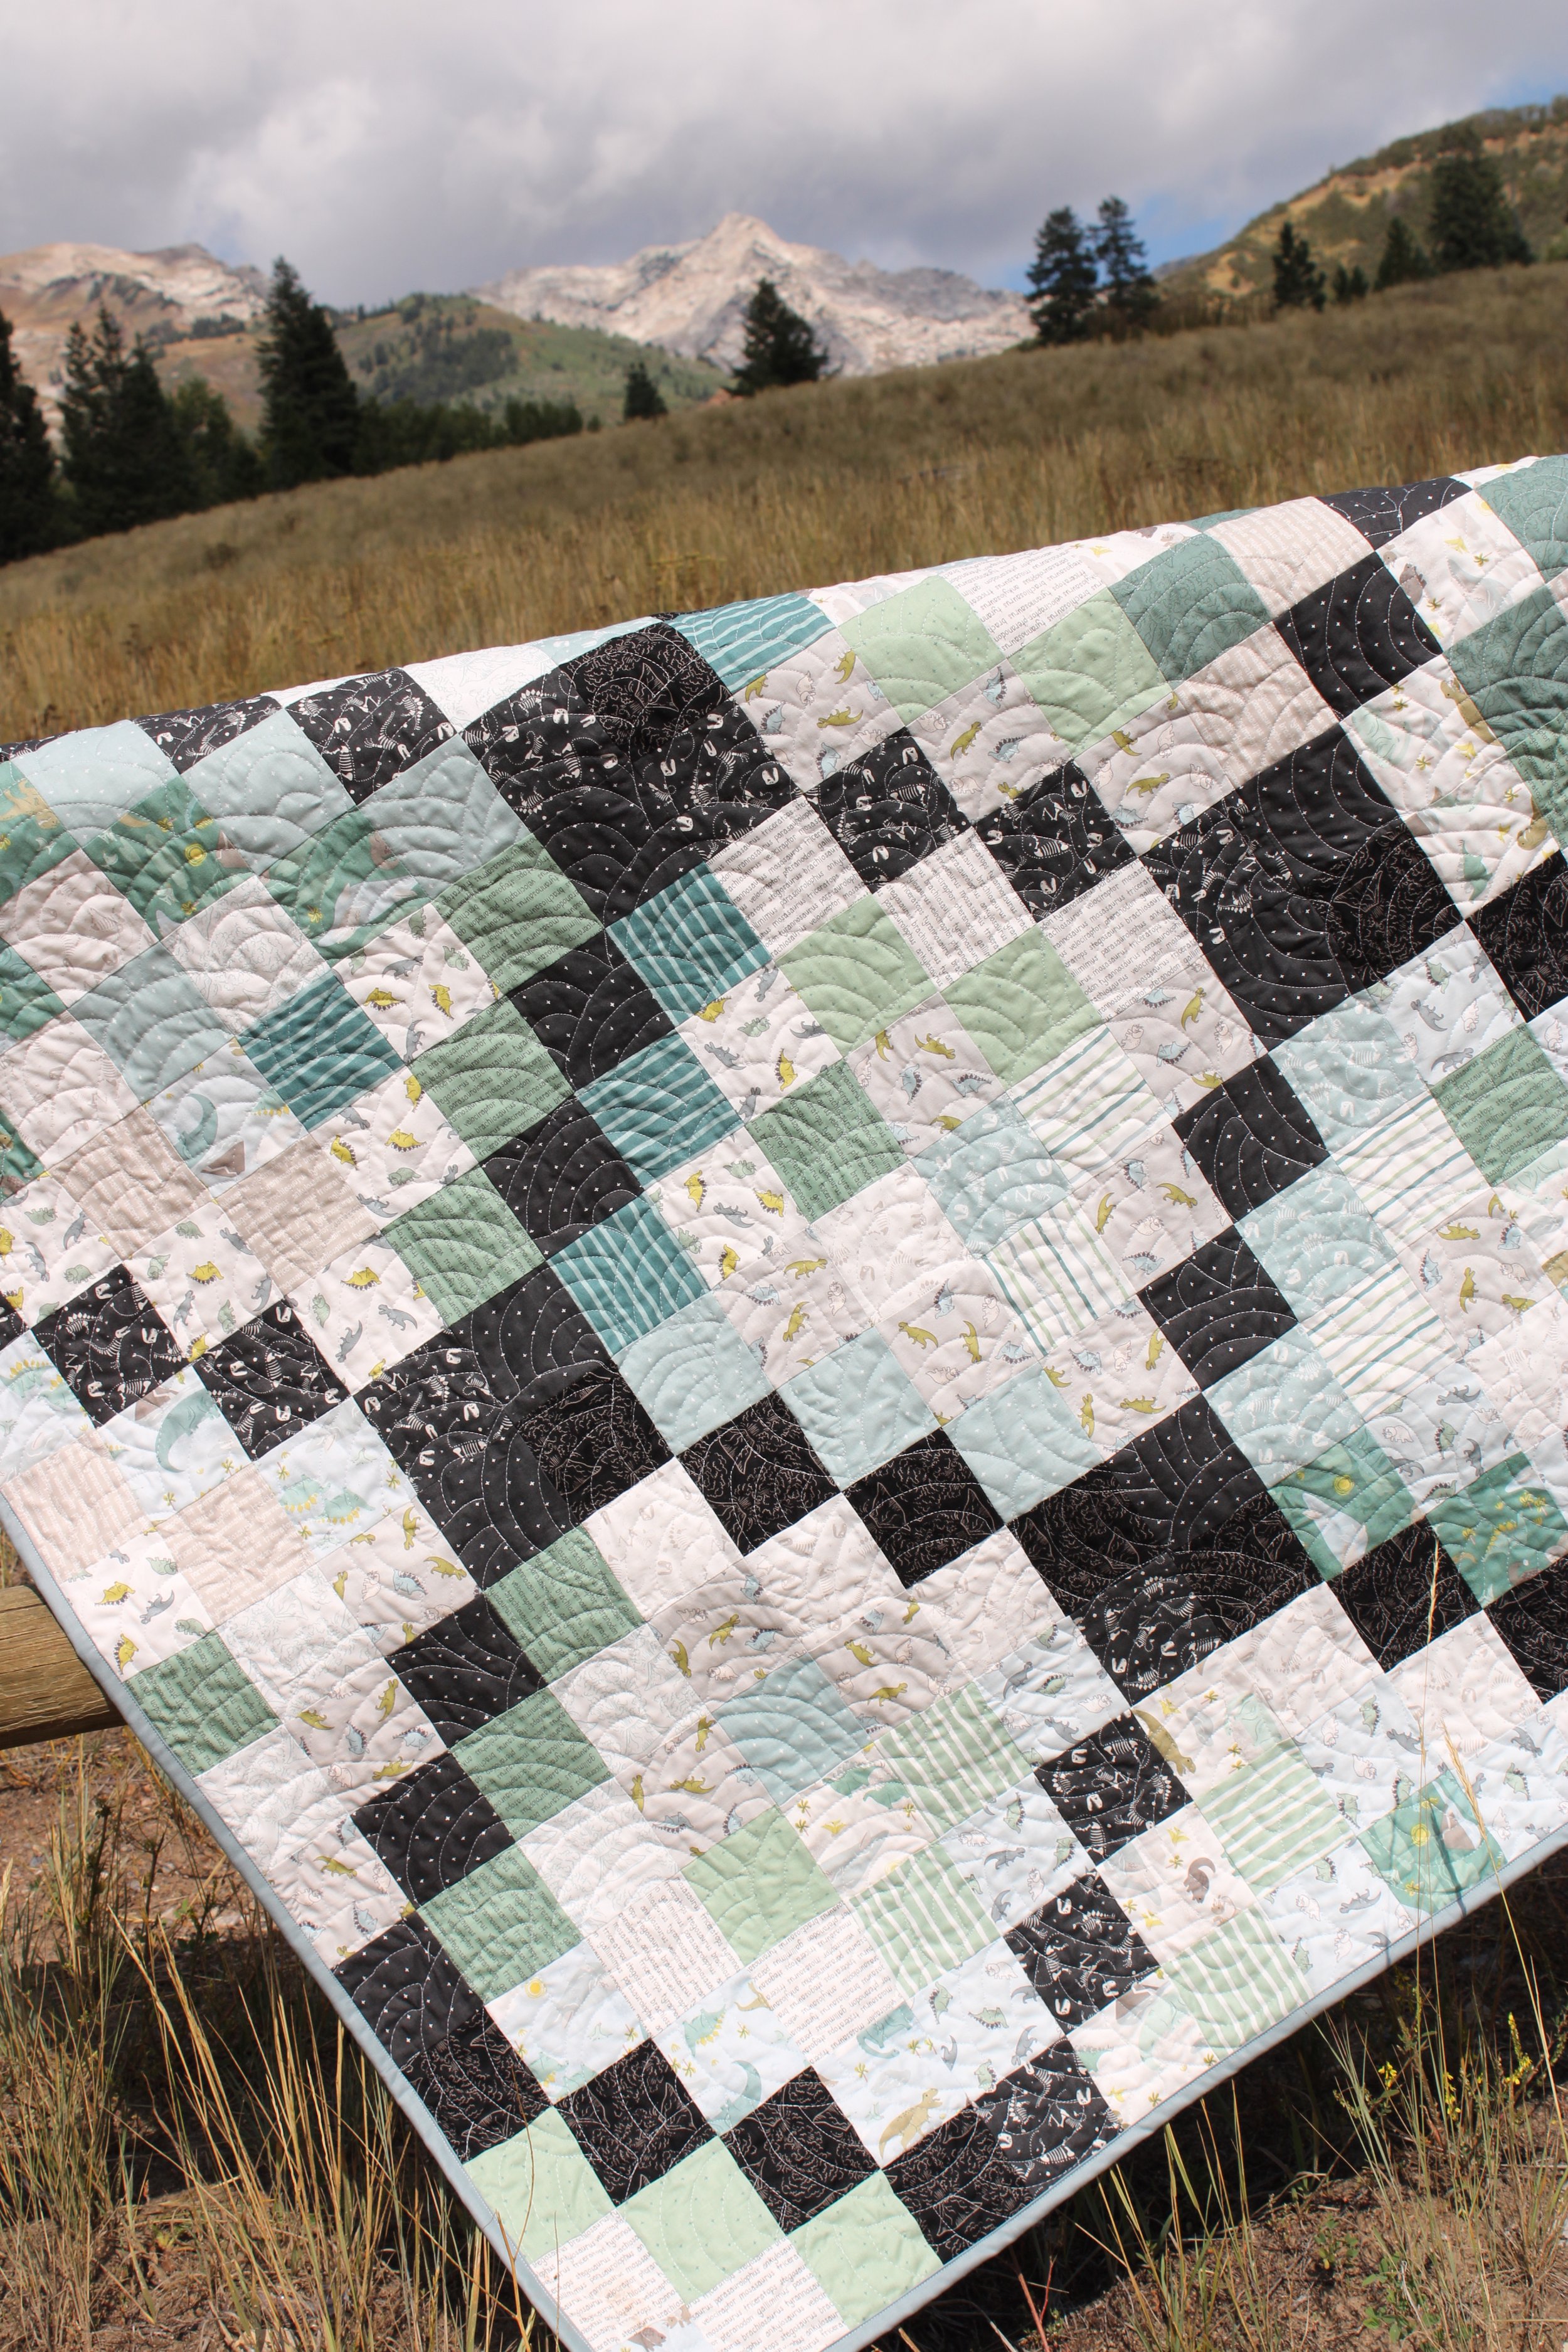
This quilt measures approximately 48” x 48”, making it the perfect size for a toddler or crib quilt. The nice thing about Trip Around the World blocks is that you can adjust the block size or the number of blocks to create any size quilt you want.

So let’s take just a moment to talk about how I chain pieced these blocks. It can be difficult to keep the order of the squares straight in your head, so I recommend starting out with a simple diagram. For my sixteen piece block, I drew a diagram that looked like this.

Fabric “A” represents my dark grey/black print. All of the other prints vary from block to block, but each letter will represent a different fabric, giving you a total of four different fabrics per block. I like to select prints that vary in color, scale, and print. If you want more than four rows, you can certainly add as many as you wish, just make sure you have letters to match up with the fabrics you are using. For example, if you use six different fabrics, you’ll want six rows “A-F”.
Once you have fabrics selected, cut them into squares. For my 12” blocks, I used 3 1/2” squares. You can use smaller or larger squares. Anything from tiny postage stamp squares to chunky oversized squares. You can plan and customize the size of your squares and your blocks to be anything you want!
I created a video here showing exactly how I chain piece the blocks. Be sure to leave a comment with any questions you may have.

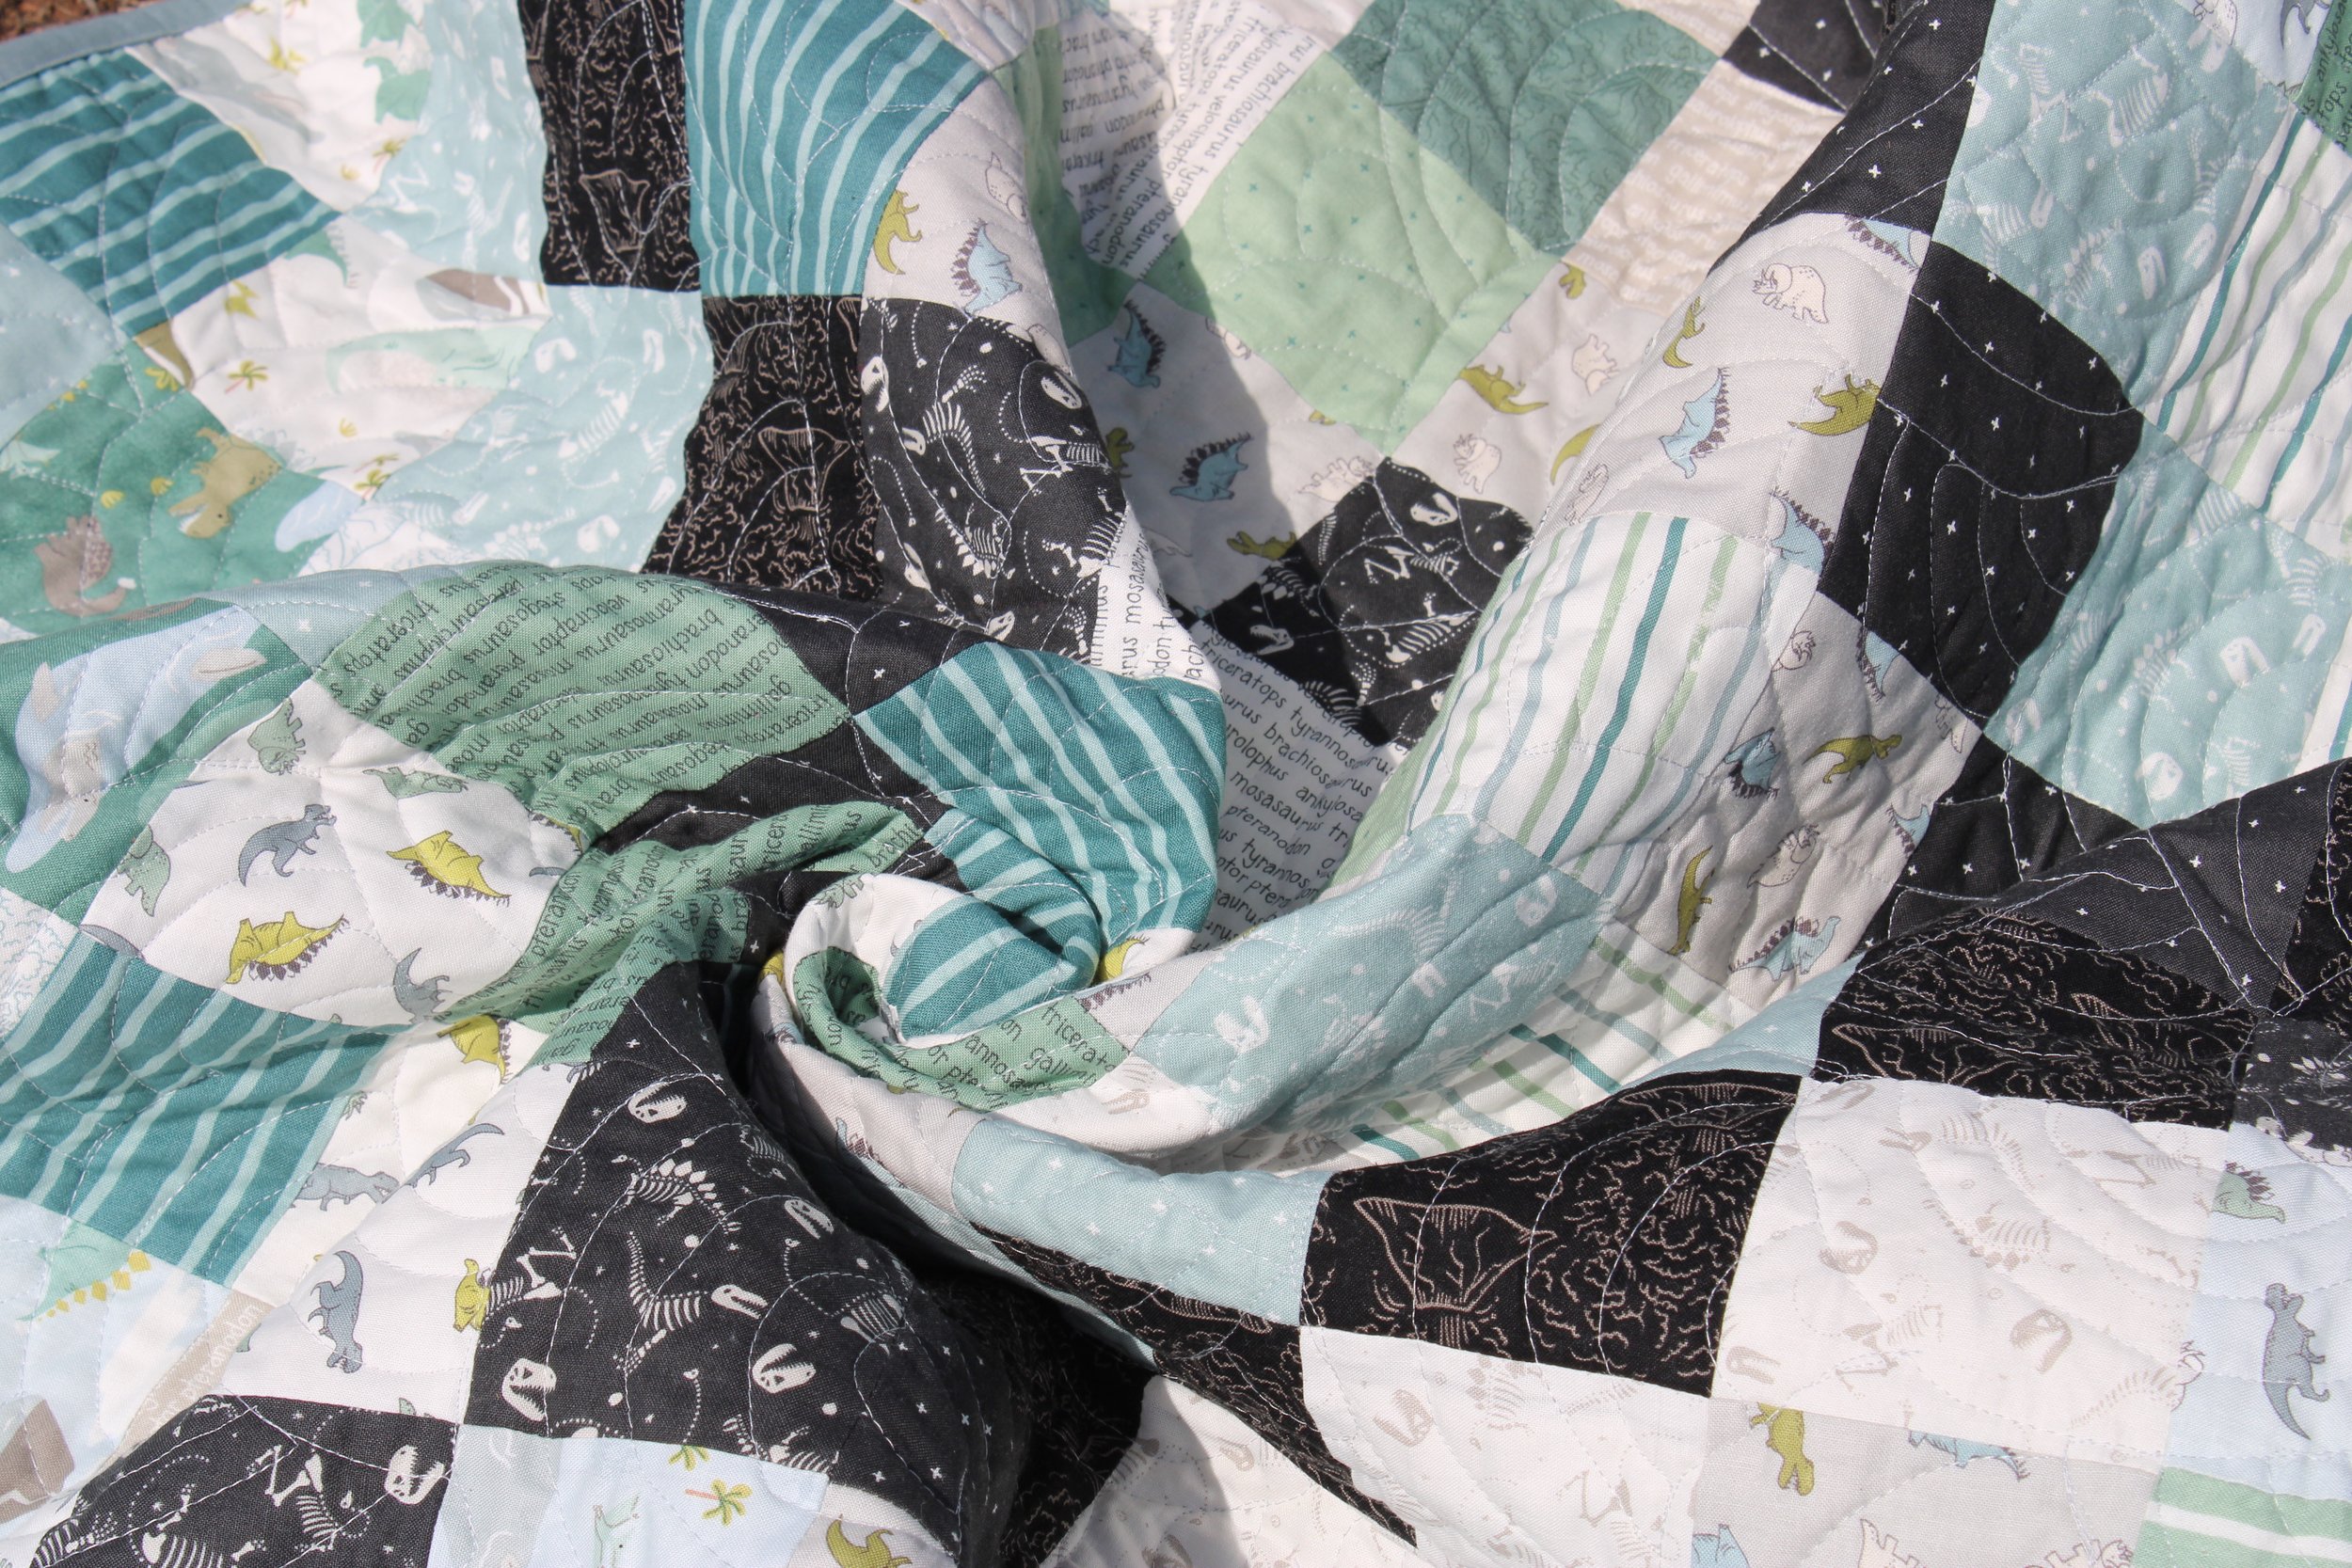
Once you get a hang of the chain piecing, this quilt is a snap to put together. I am confident I’ll be making more of these in the very near future!
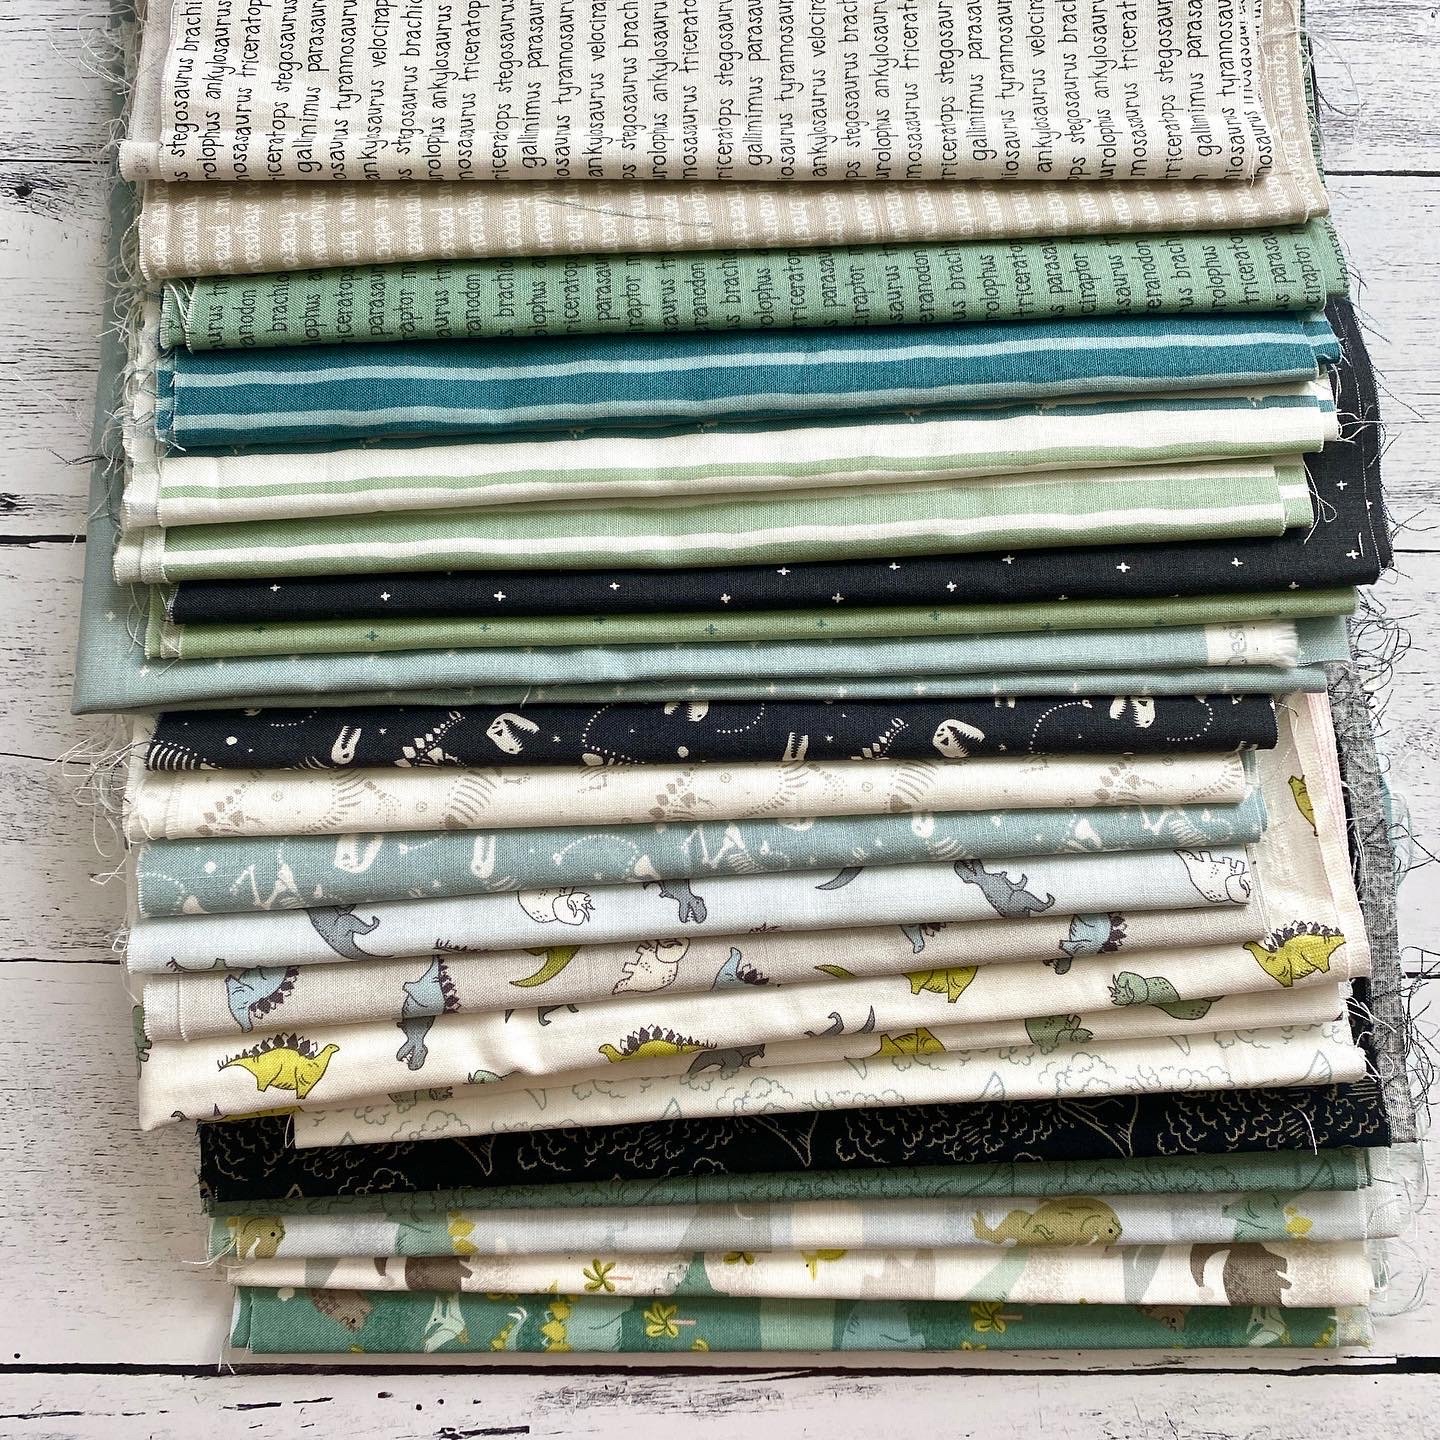
The fabric for this quilt comes from the Roar collection designed by Citrus & Mint Designs for Riley Blake Designs. Roar is filled with adorable dinosaurs, fossils, text, and supporting prints. The colors are soft, muted, and somewhat earthy. I LOVE this sweet little collection!
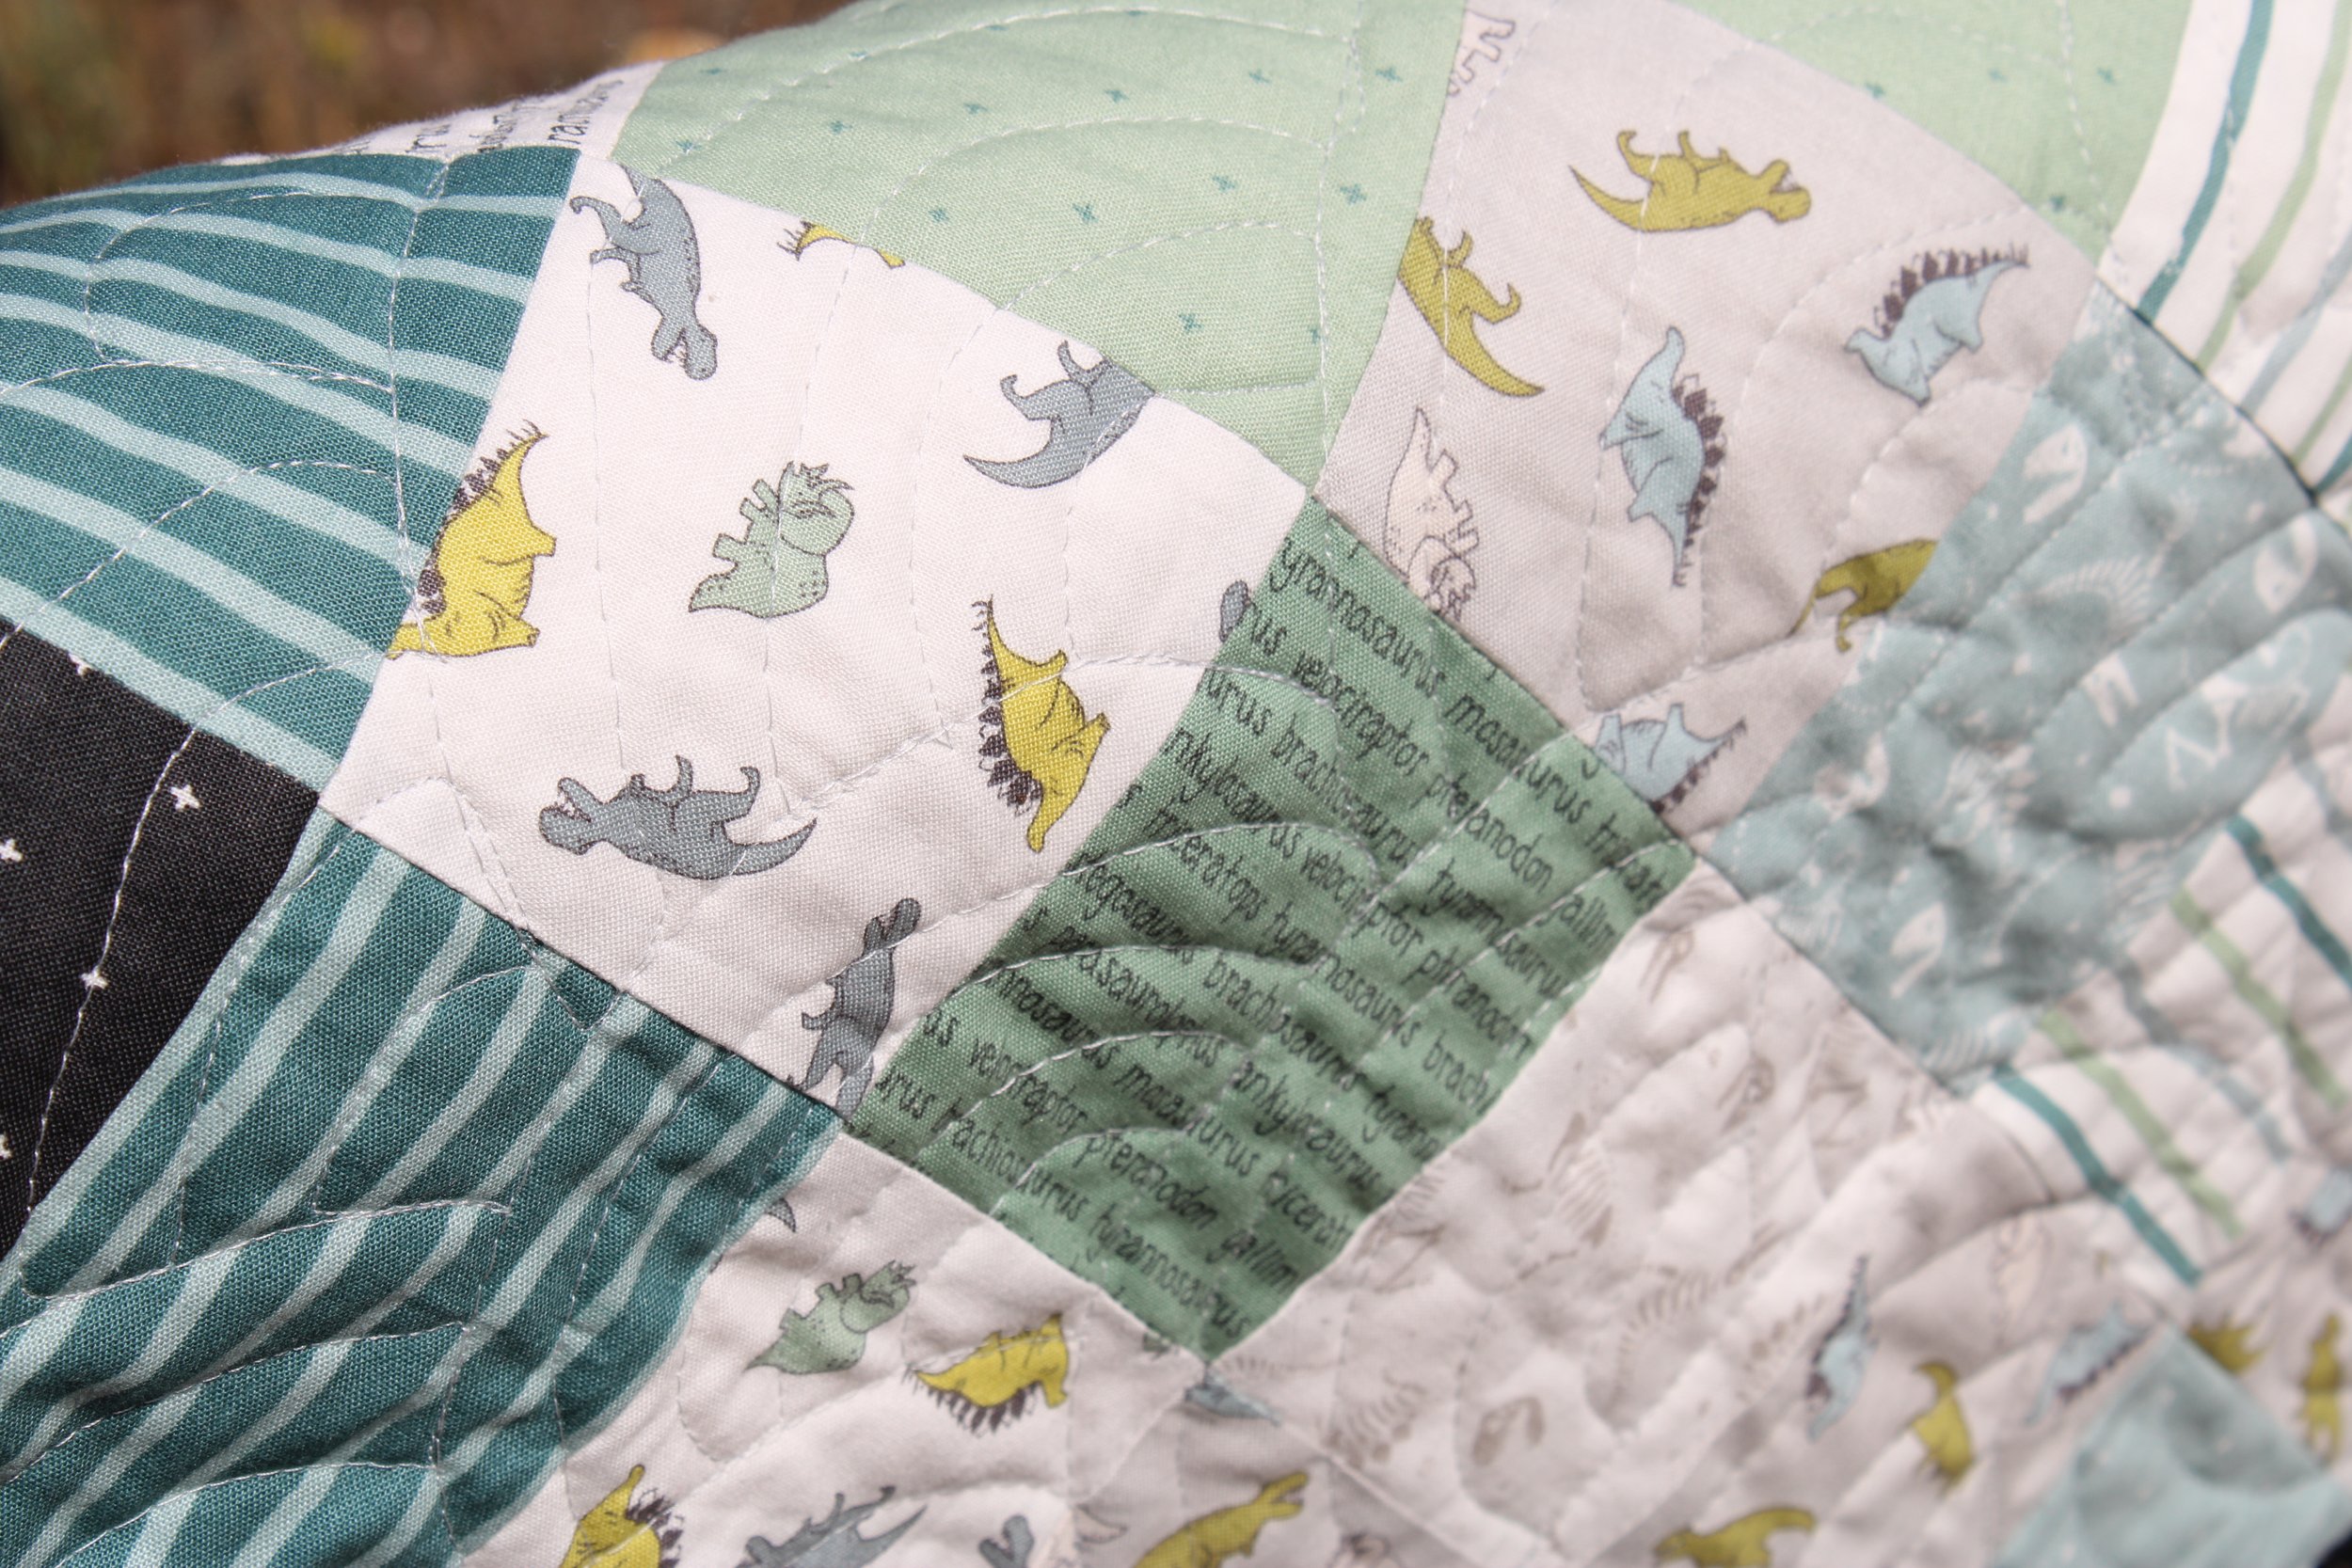
How cute are those little dinosaurs?!
I hope you’ll take a quick moment to follow me on Instagram and subcribe to my YouTube Channel, and most of all, I wish you a very blessed day!