Improv Curves Crib Quilt
Are you feeling like you want to practice some curvy sewing, but you need a relaxed, no pressure-of-perfection starting point? Look no further! Improv blocks are the perfect way to dive in and get a feel for curvy piecing.

This Improv Curves Crib Quilt is made up of just one block repeated and turned in different directions. Easy!

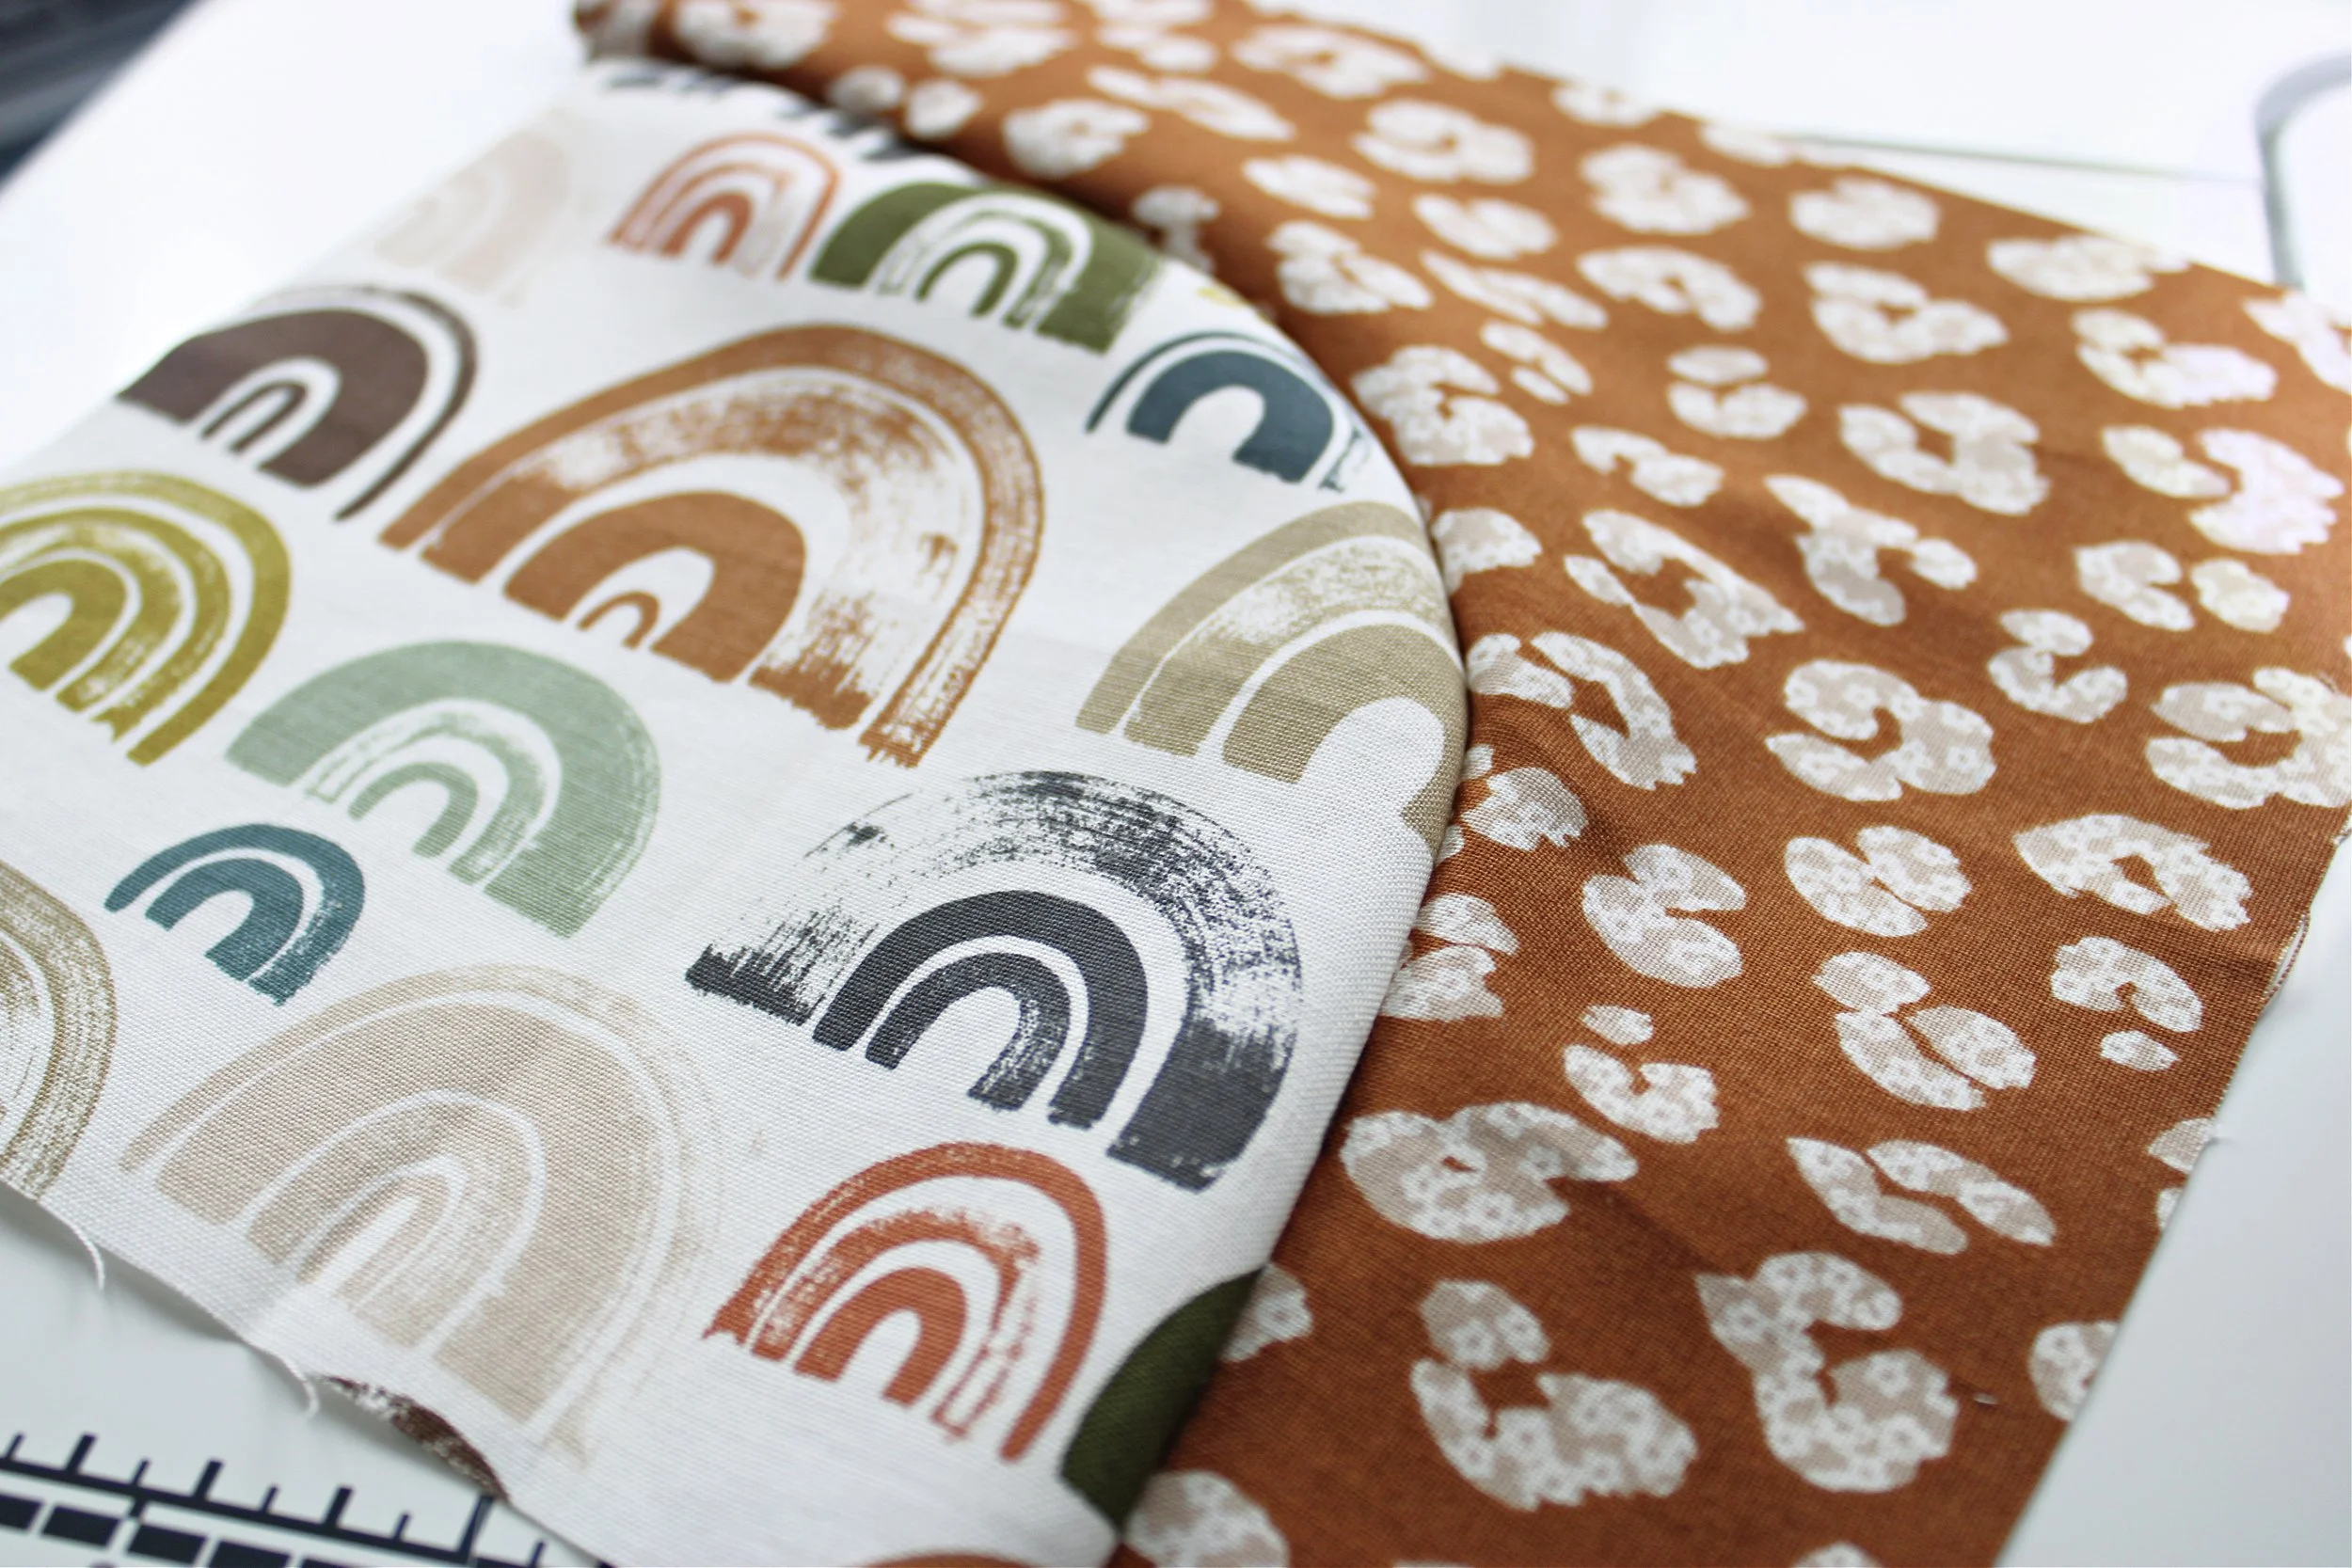
I used fabric from The Waterhole collection designed by Gabrielle Neil for Riley Blake Designs. I love everything about these fabrics — the earthy color palette, the textures and patchwork prints, the adorable little Meerkats….and I seriously heart those rainbows!

The large scale of these blocks is what makes this so beginner-friendly. Larger curves are much easier to navigate then smaller curves.
I love how all of the colors and prints play together. For these blocks you are mixing and matching prints, and it was really fun to see the various pairings.
I needed a fast and simple quilt, and this one fit the bill. I was able to make the quilt top in an afternoon and quilt it the next morning. Perfect! The quilt measures 45” square and is the perfect size for a crib or lap quilt.
To make this quilt, you will need:
36 - 9” squares in various prints and colors
5 - 2 1/2” x WOF strips for binding
batting
fabric for the quilt back

To make this quilt, I started by stacking 4 different squares on top of each other.
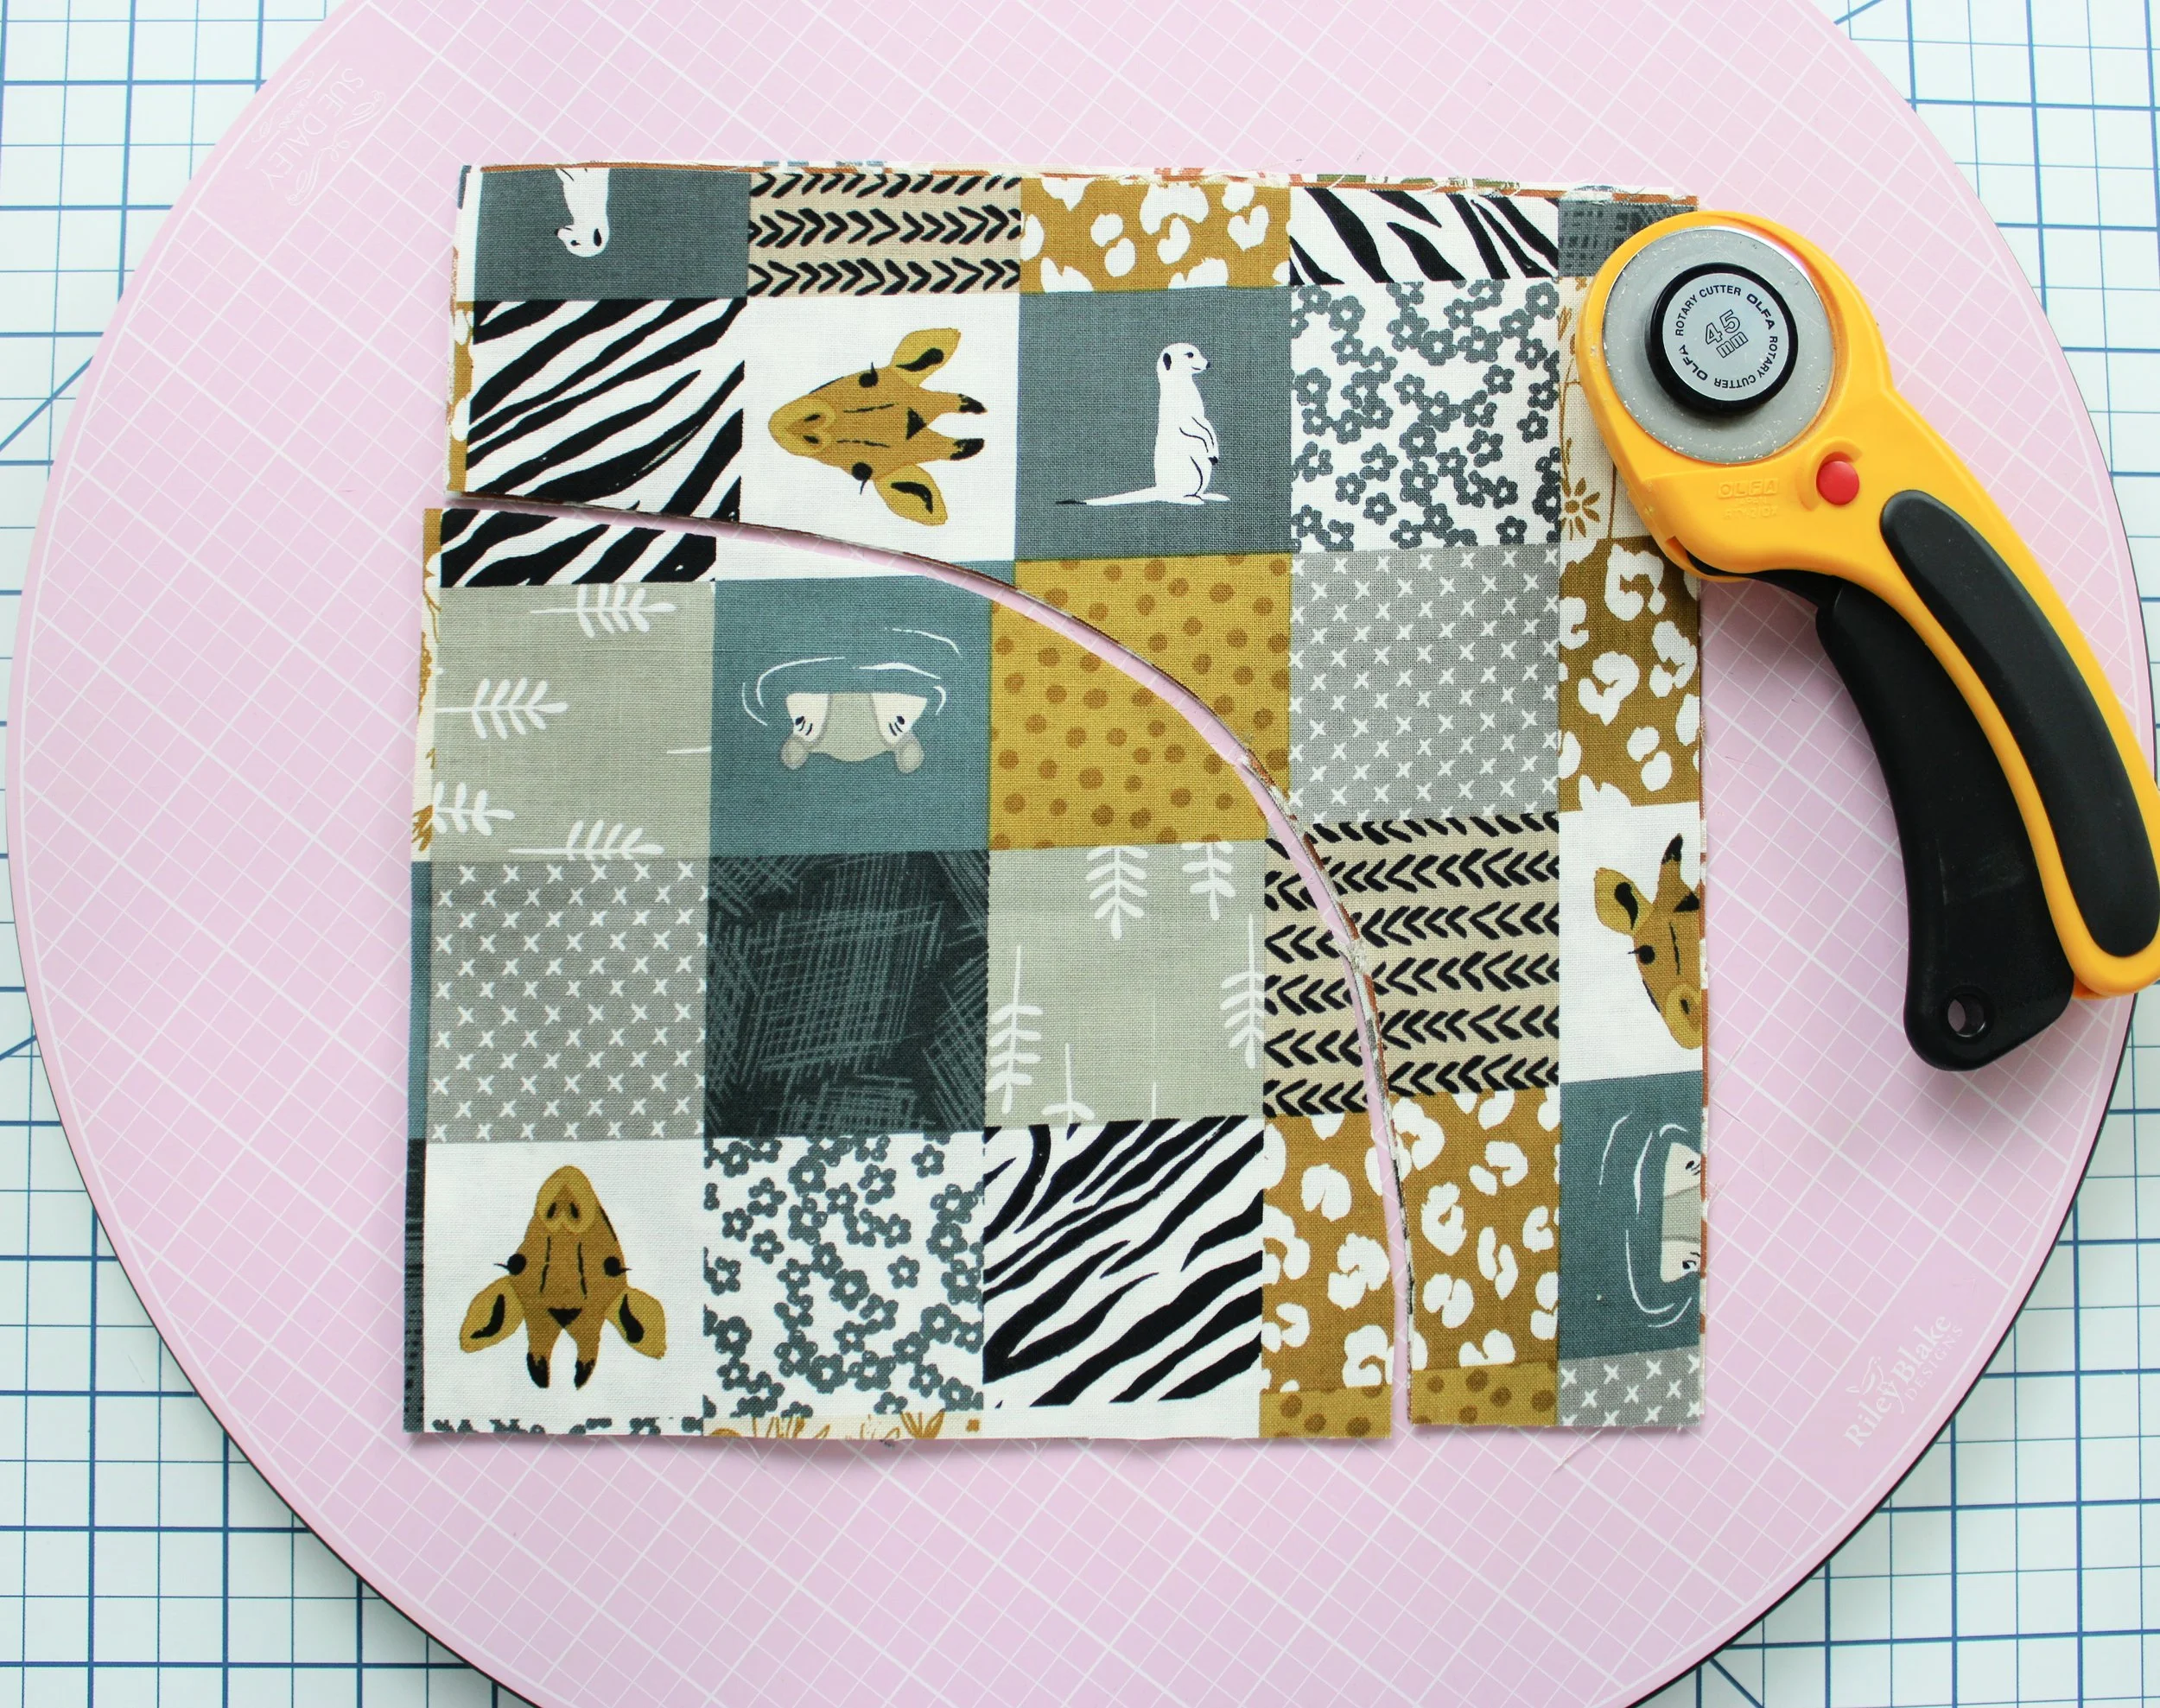
Next, I used my rotary cutter (scissors would work fine) to cut a random curve, as shown above. *Some of my curve cuts were larger and some smaller. I intentionally wanted variation with each group.

After making the curve cut, I took a fabric marker and made a mark at the approximate center point. The mark should go across the cut so it ends up on the outer and inner curve, as shown.

Keep the stack in place, and carefully flip each piece and continue marking in the same spot on both the inner and outer curves.

Now for some fun! Lay out all four blocks, mixing up the pieces so that each block is unique. The first block I made, I only cut two squares, so I was simply reversing the same fabrics on either block. Using 4 squares allows the fabric to be mixed up so that each finished block is unique.

Now line up those markings and pin in place. You are matching up a convex and concave curve which will feel awkward at first, but trust me, this is how you want it to look.

Start at the center marking and begin stitching outward. As you stitch, gently adjust the top fabric so the curved edge matches up with the bottom fabric curved edge. Take it nice and slow.

Your piece will look like this.

Flip the piece over and repeat — starting at the center mark, slowly stitch while aligning the curved edges as you go. You will have a little extra fabric on each end of the outer curved piece. That is normal.
Here is what your piece will look like. Take it to the iron and press. I like to press inward toward the smaller curve, but you can press any way that works for you.
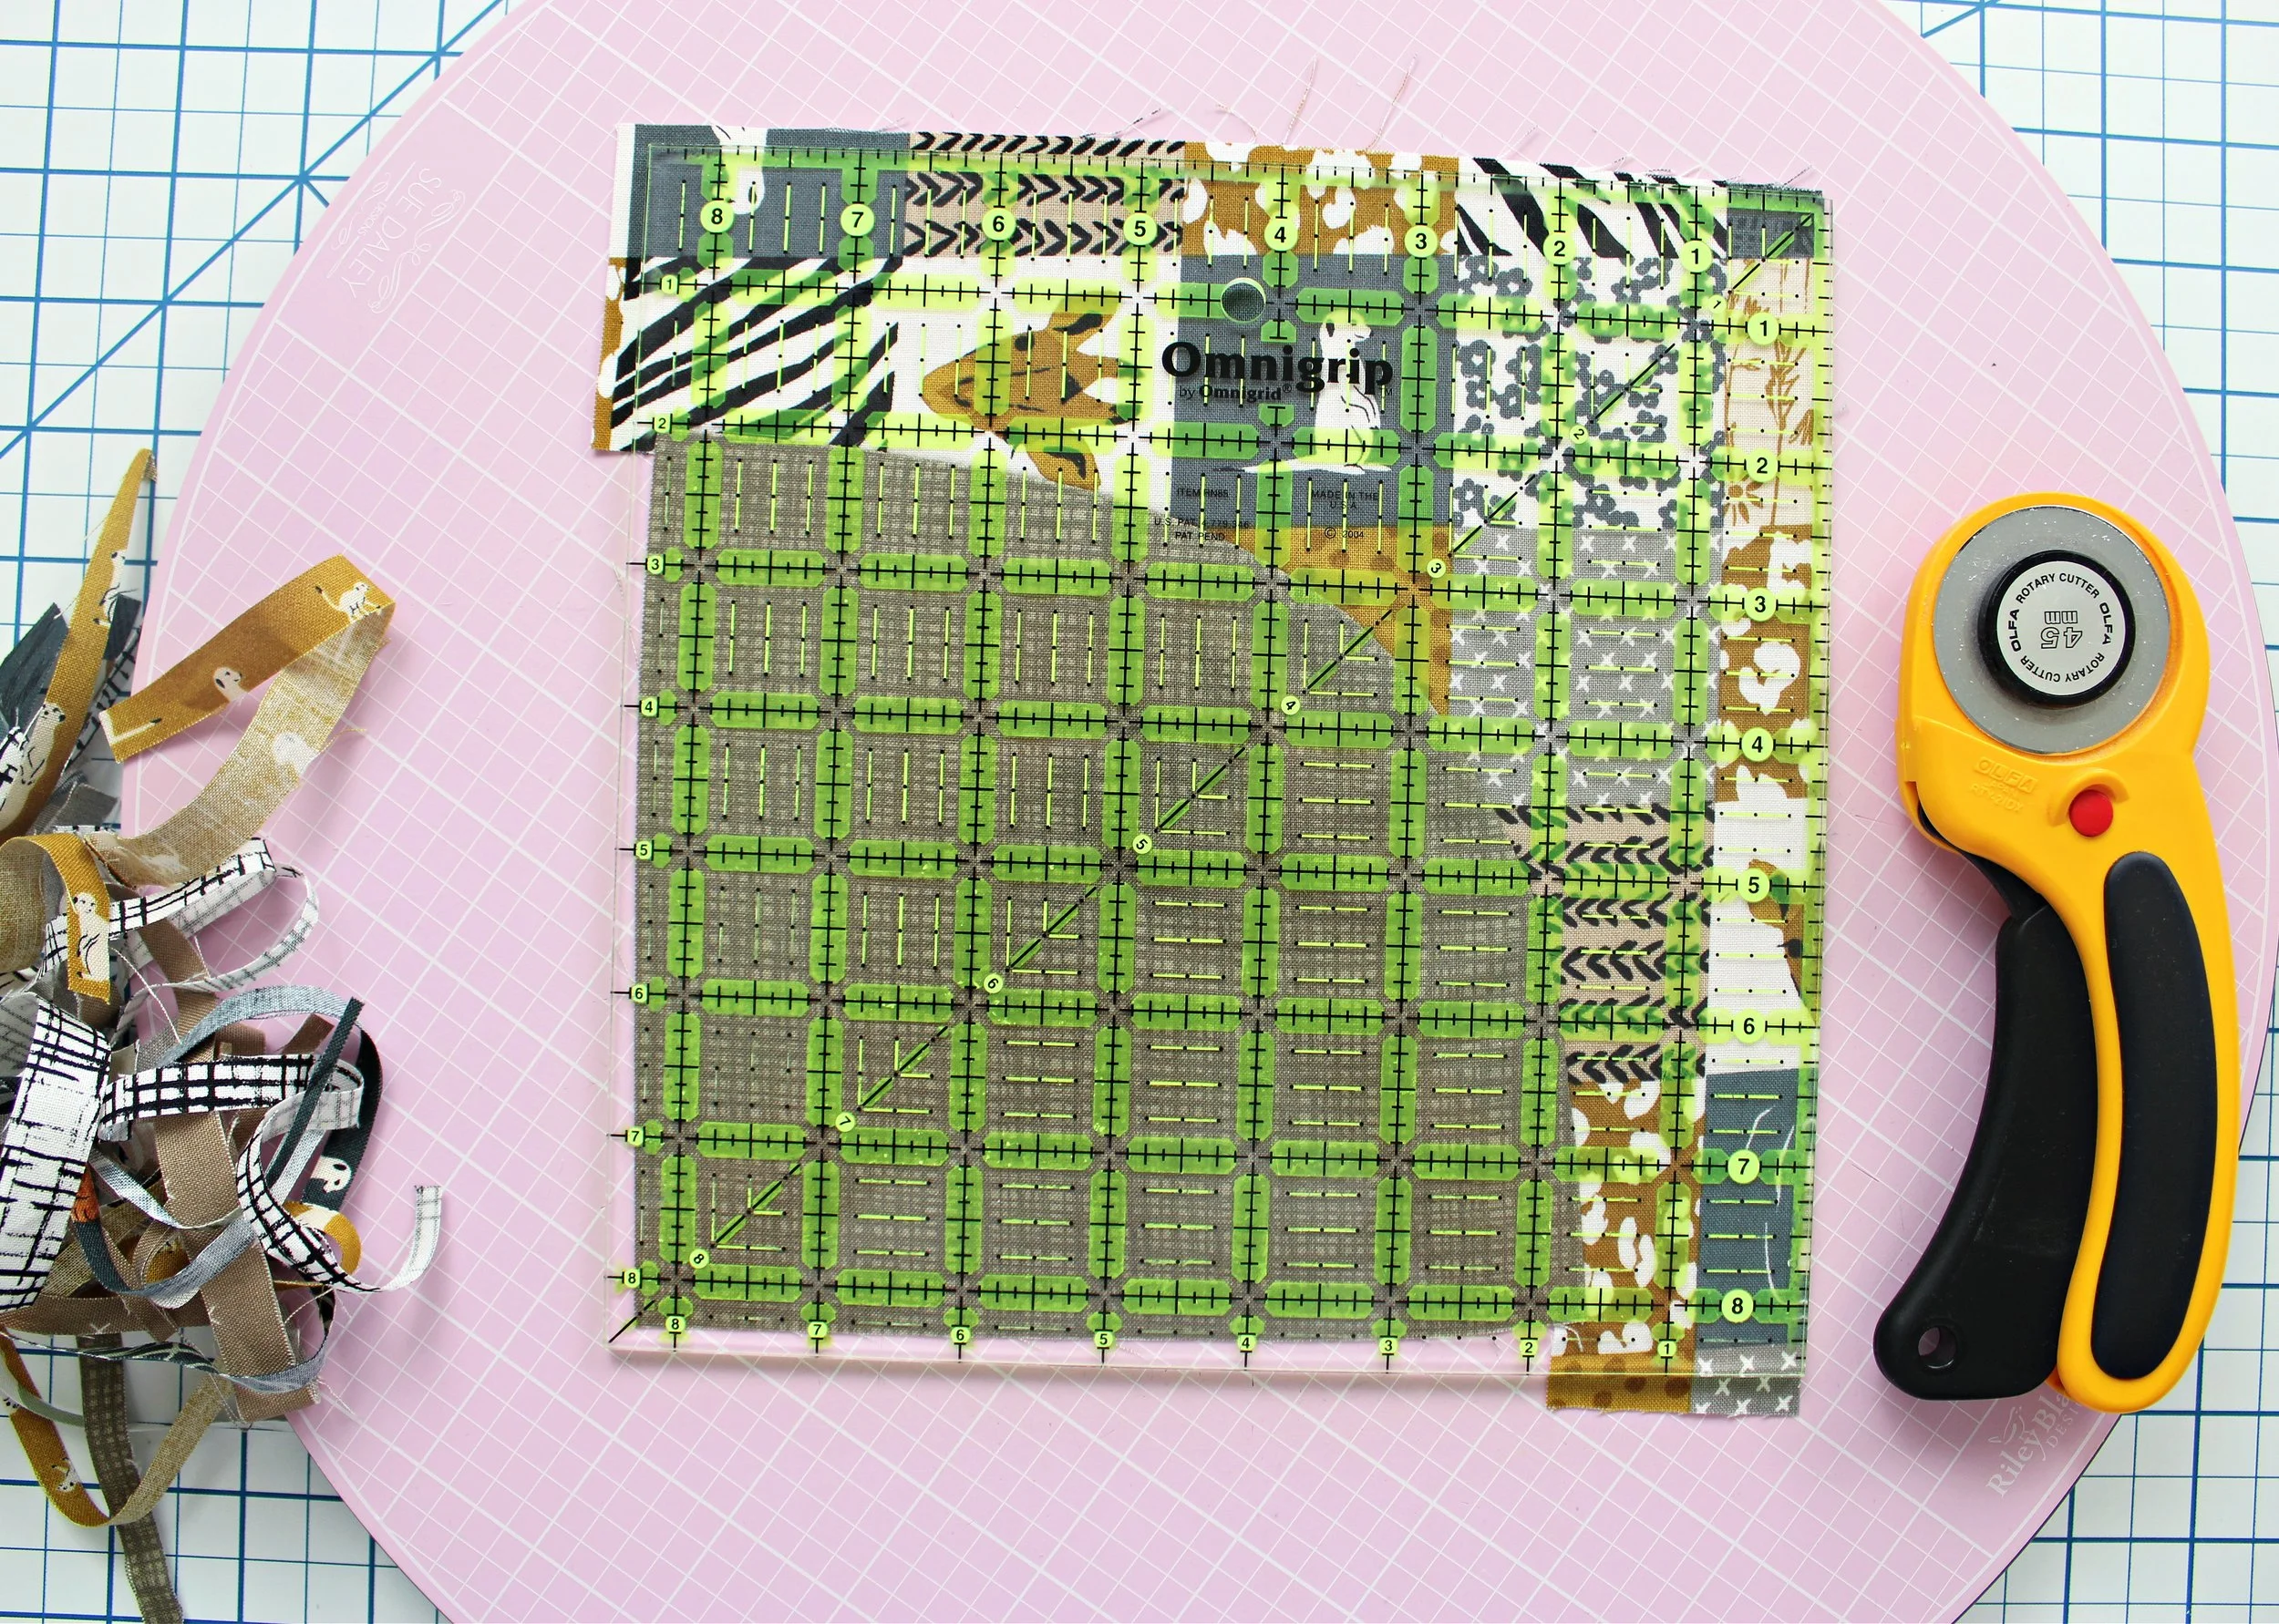
Trim the blocks to 8” square.

And here they are all trimmed and ready to go! Repeat these steps for all 36 squares.
After all of your squares are finished, arrange them in six rows of 6 blocks each. I arranged mine to form circle shapes, but you can turn the blocks any direction and create an arrangement that speaks to you.
Sew the rows of blocks together, pressing the seams in opposite directions.
Next, sew the rows together. With the seams facing opposite directions, you can nest them to reduce bulk as you go.
Press the row seams open.

Make your quilt sandwich and quilt with any design you choose. I used the patchwork-looking cheater print for my quilt back, so I decided to use the back as my quilting guide. Easy peasy! I used Riley Blake Designs Mediterranean Confetti Cotton for my binding.

I had so much fun playing with curves and embracing the irregular look of improve sewing. It’s such a great way to take a break from structured sewing and free yourself to completely embrace imperfection and the unexpected.

You can repeat the process laid out above with any size squares you want. Use a 5” stacker to create adorable mini curves, or start with a 10” stacker and play with an oversized modern look. Once you are comfortable with one curve, you can start adding more. Why not?!

And if you are looking for a dreamy new fabric collection to play with, you’ll absolutely want to grab yourself a bundle of The Waterhole by Gabrielle Neil for Riley Blake Designs. Thanks for stopping by! Be sure to follow me on Instagram @bayhillstudio for more fun project ideas and inspiration, and subscribe to my YouTube Channel for a growing list of video tutorials. Happy Quilting!