Easy Burrito Method Monogram Pillowcase
You know I love fast and easy projects — especially projects that are easy enough for a beginner to learn. This Monogrammed Burrito Method Pillowcase is the perfect project for any level sewist. Whether you are an absolute beginner or have years of experience under your belt, this is for you!
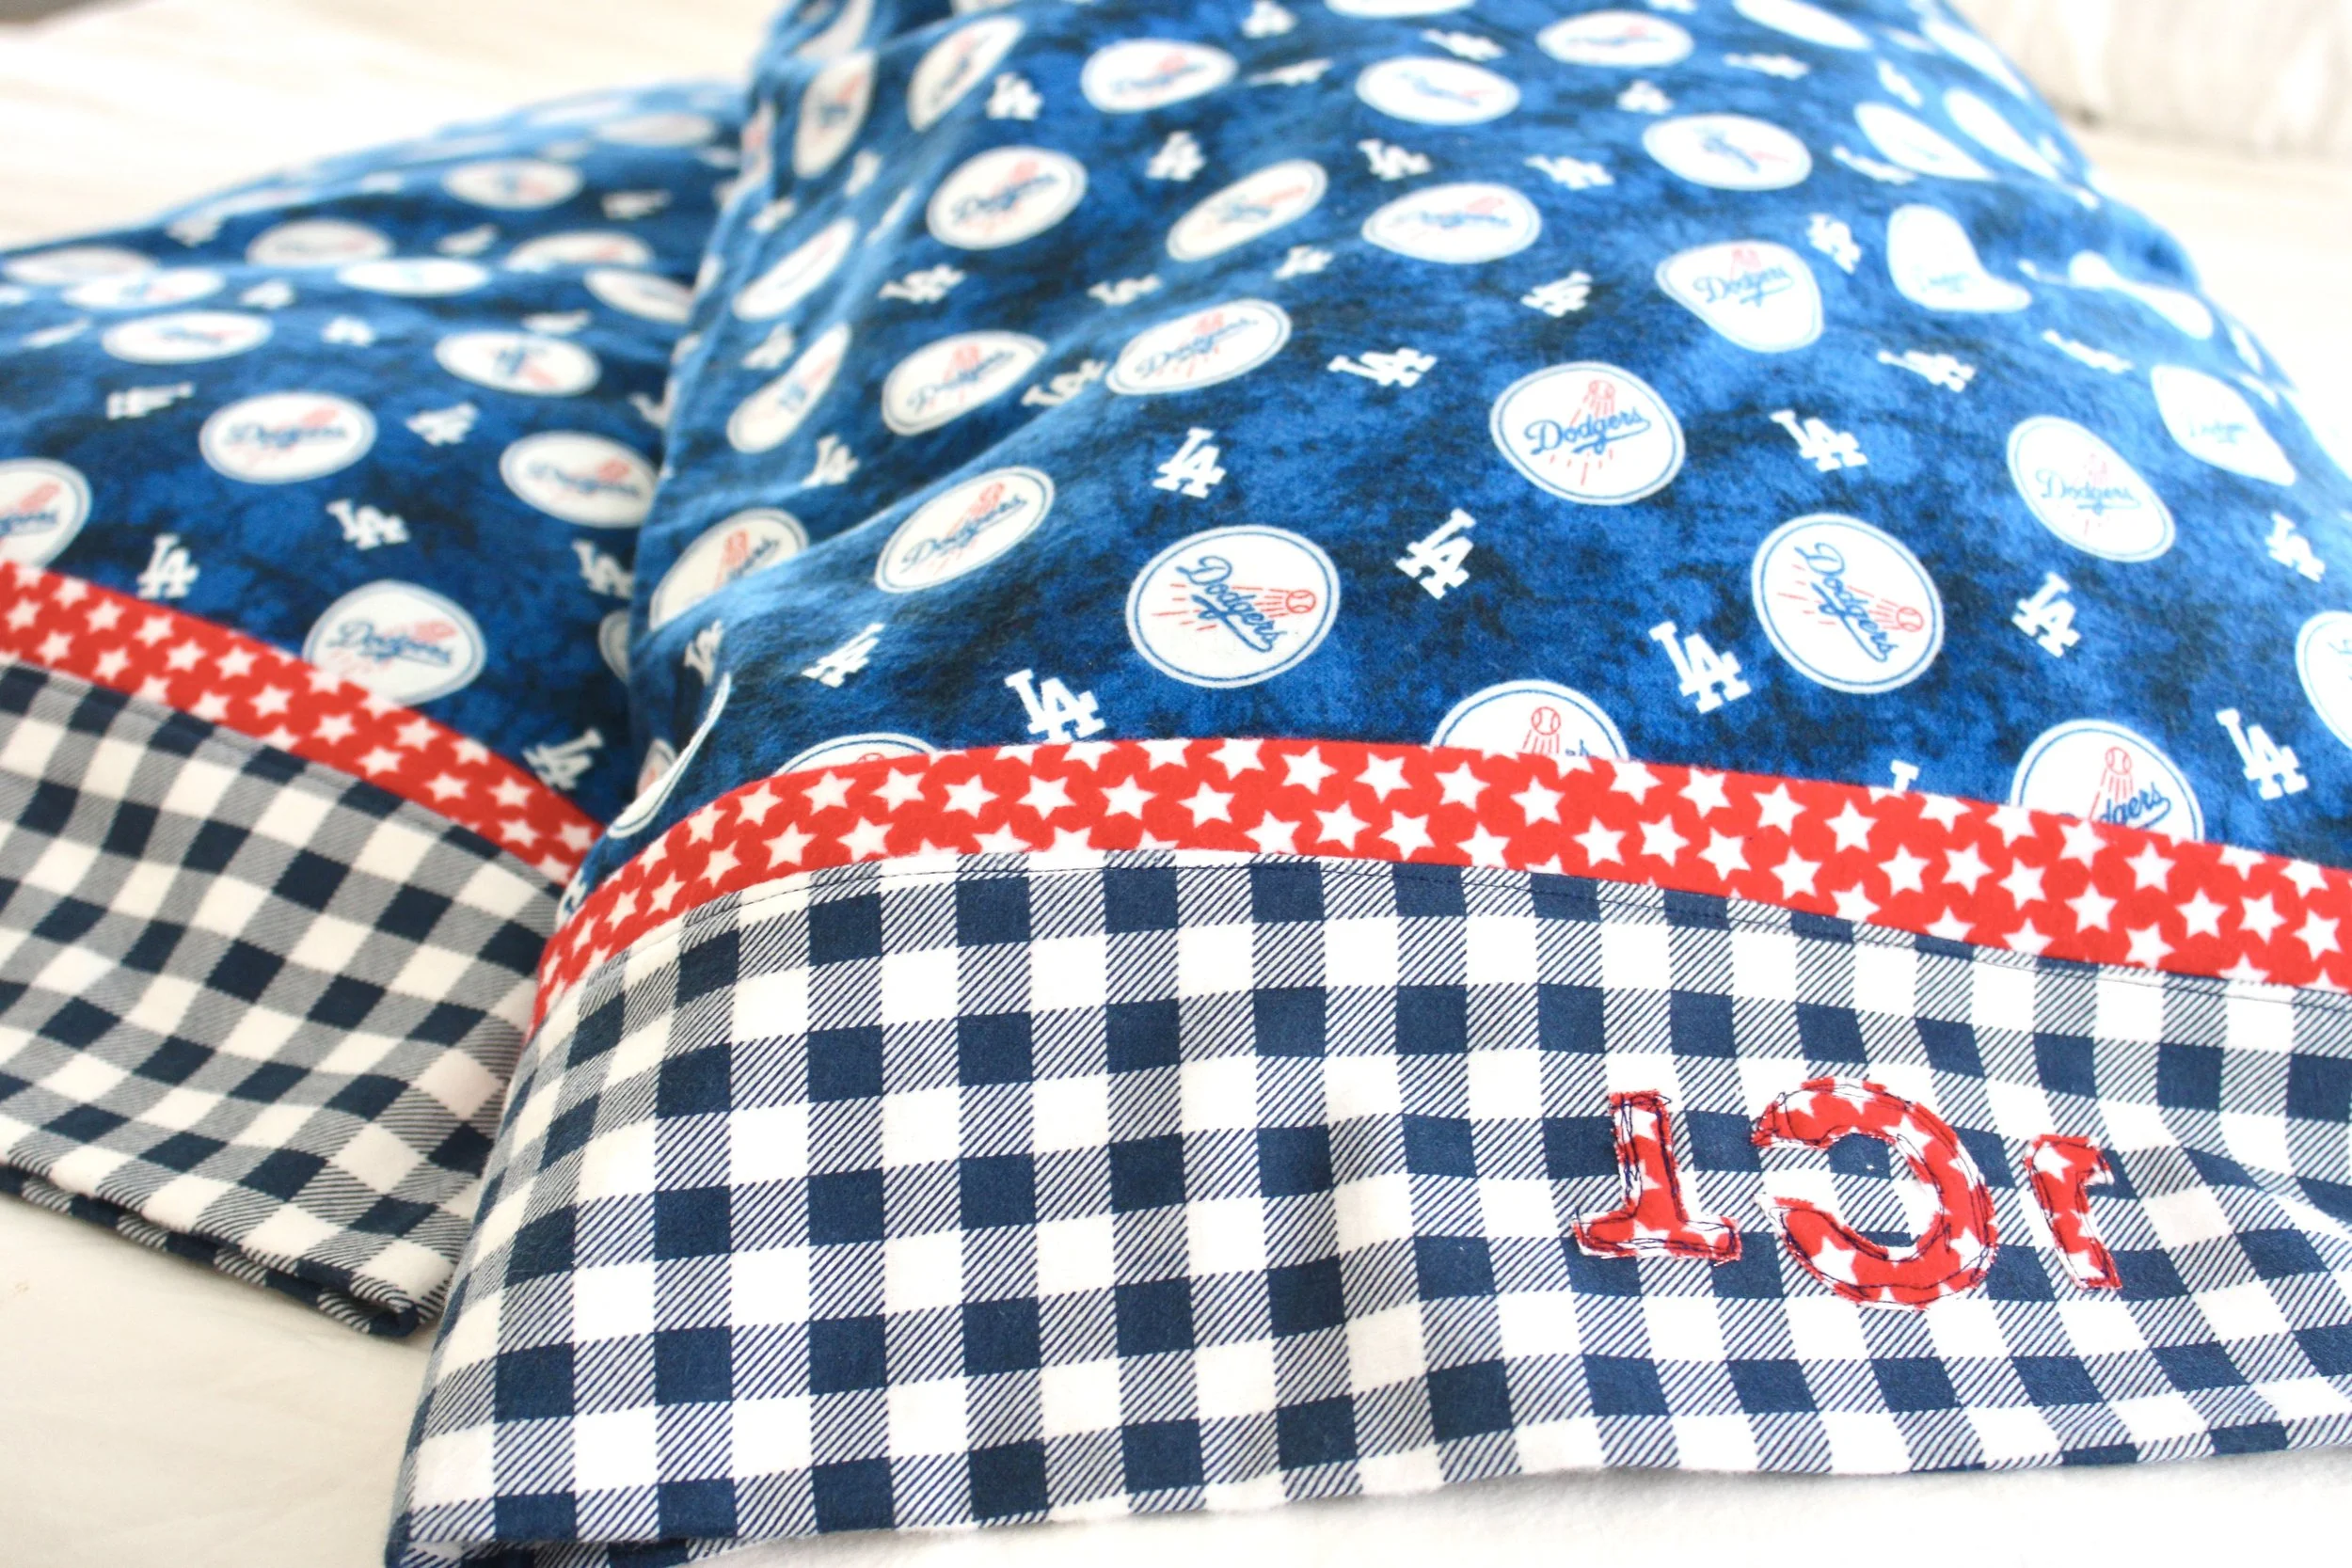
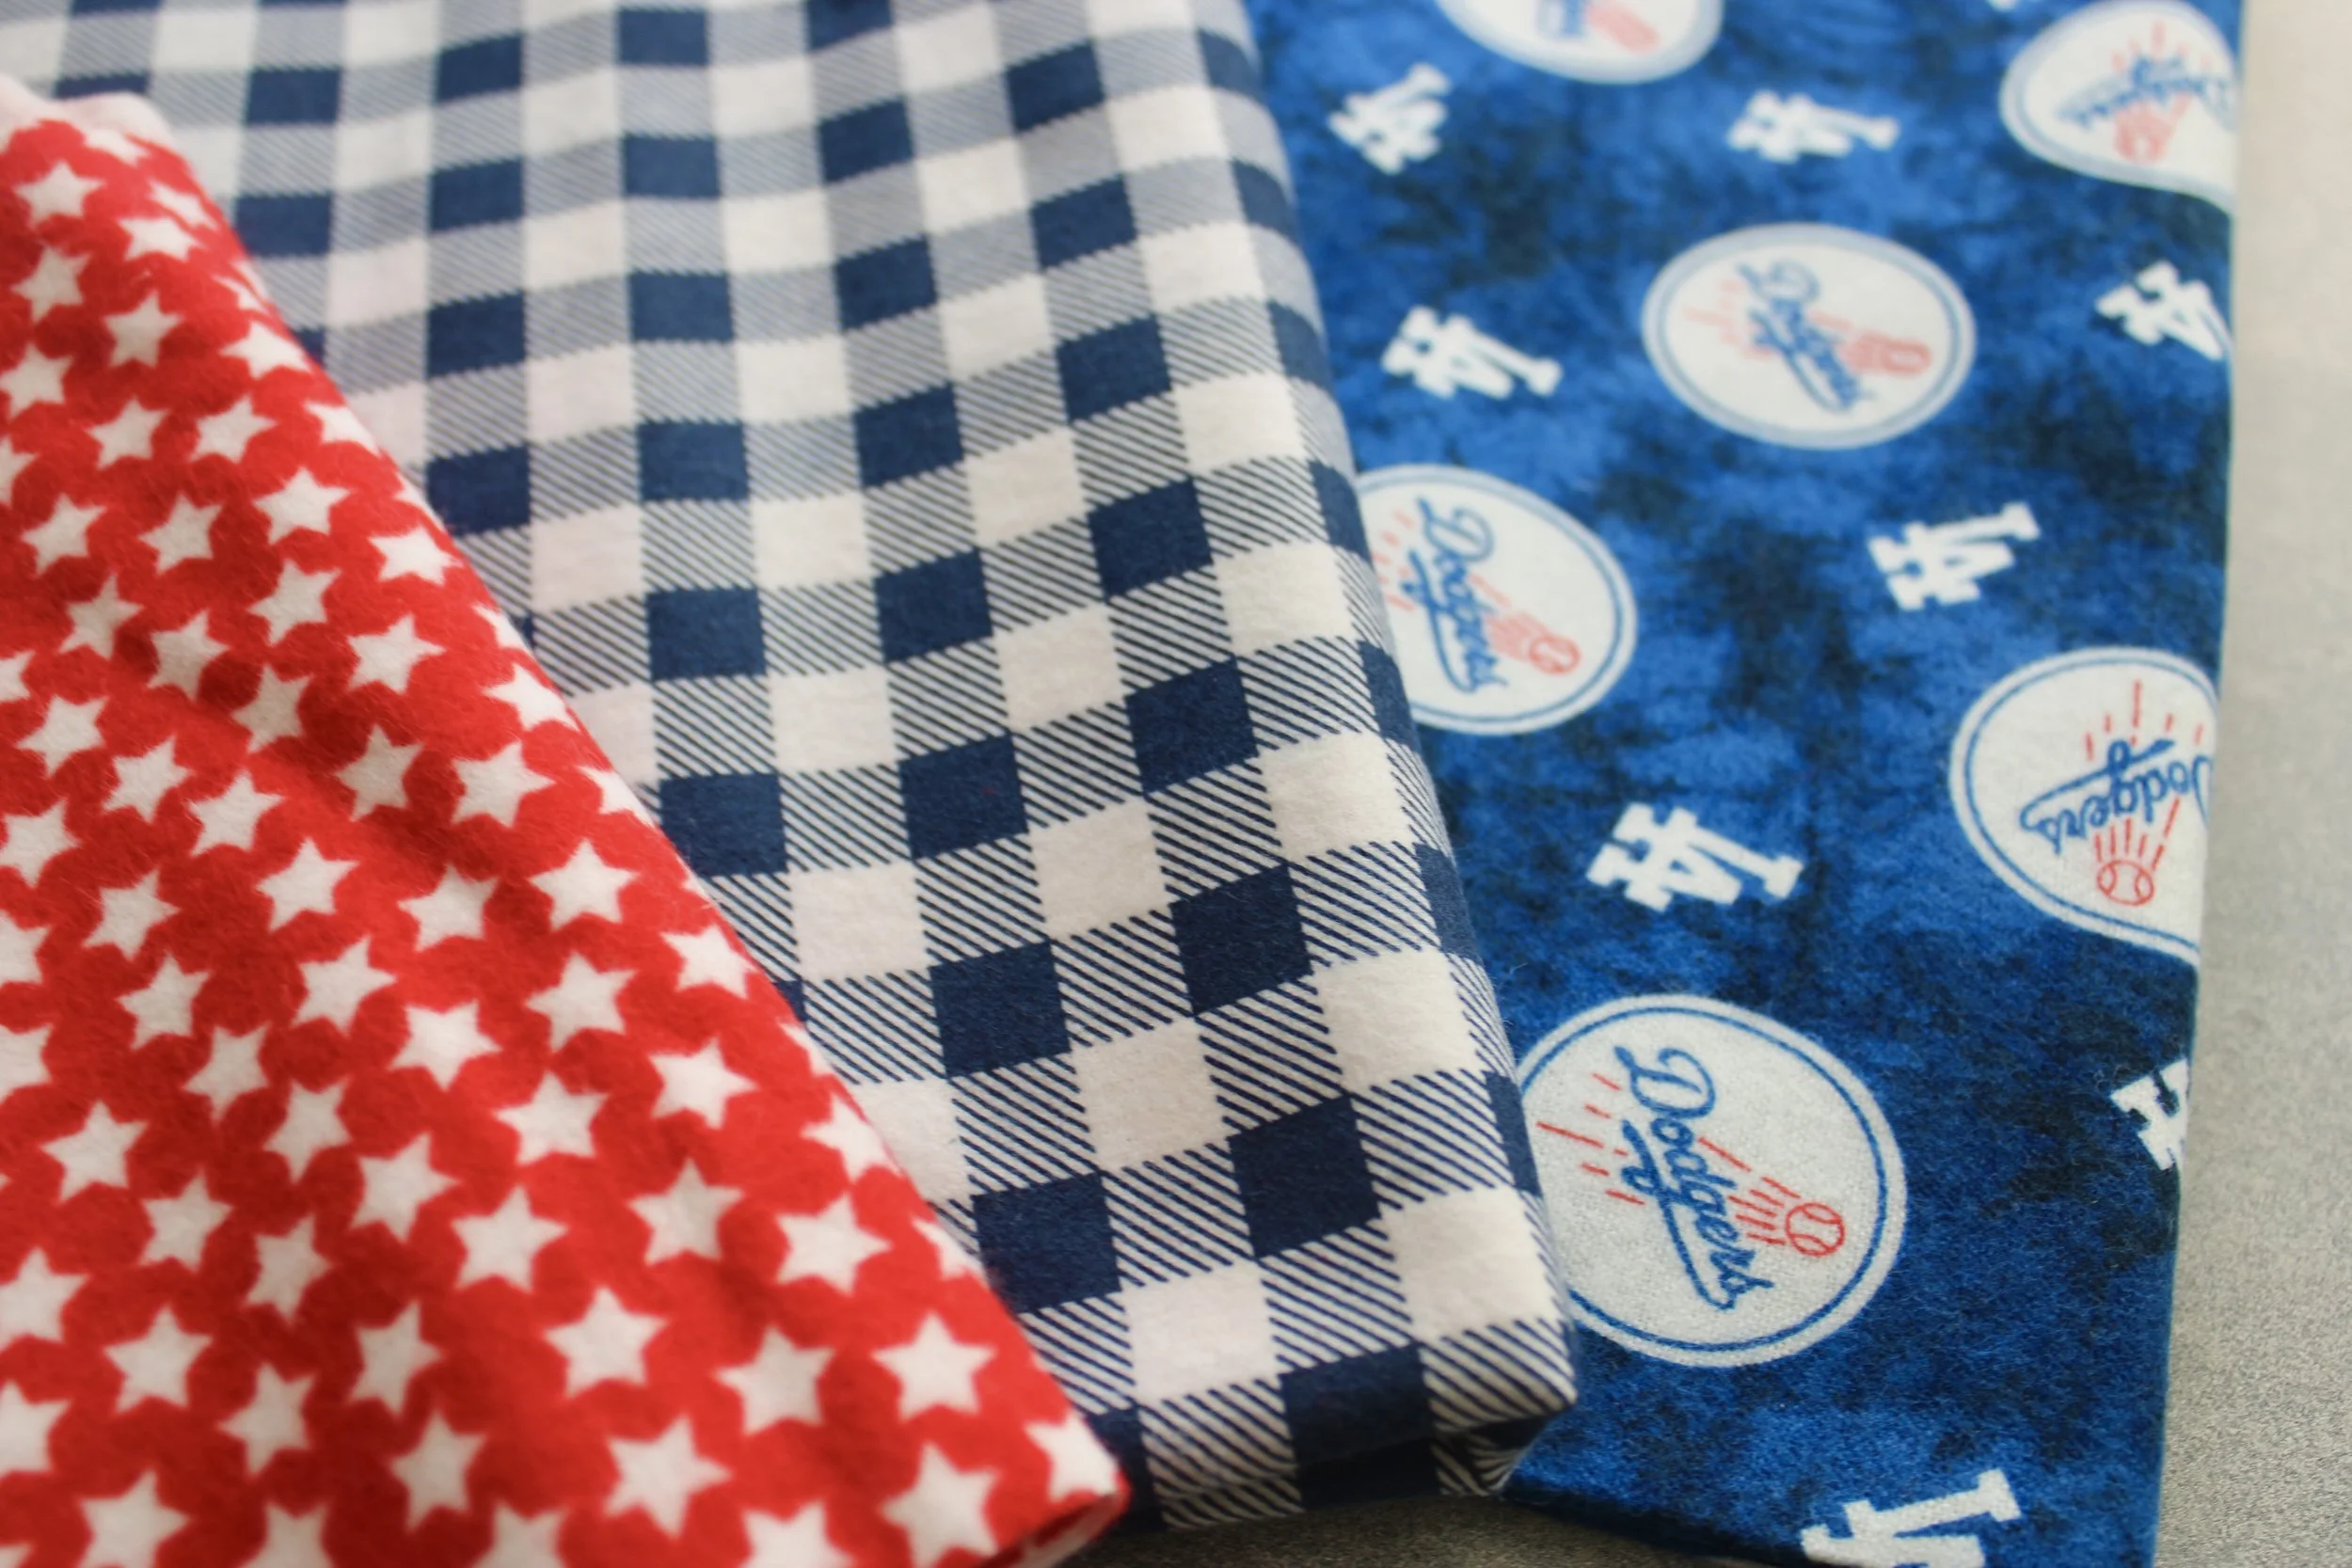
The fun fabrics in these pillowcases were provided by the Flannel Queen. Flannel Queen is your ultimate source for flannel fabric. When I saw they had Dodgers fabric in stock, I knew I had to play with it! In addition to Dodgers flannel, Flannel Queen has Steelers, Brewers, Chicago Cubs, Seahawks, Chiefs, 49ers, Buffalo Bills, Angels and Cincinnati Reds. So many fun options!

My family have been Dodgers fans for generations — it’s pretty much in the blood. My grandmother was so invested in her team, she always took down the stats as she listened or watched! Go grandma!

There are a few ways you can modify this pattern. The pillowcase can be made in flannel (seen here) or cotton. So feel free to adapt the fabric to the climate and season you are in. You can completely omit the monogram step for a clean, simple cuff. You can omit the contrasting trim (red star fabric in my examples) for a very beginner version.
And finally, you can finish off the inside seams with a serger or zigzag stitch. I will be demonstrating how to finish off the edges with a french seam, which will completely enclose the seams, giving it a clean, finished look. This is a great option if you don’t have a serger or prefer something other than a zigzag stitch finish.
To make this project you will need:
3/4 yard (27” x width of fabric) fabric for the main body of the pillowcase
1/4 yard (9” x WOF) fabric for the cuff
2 1/4” x WOF fabric strip for the accent trim
OPTIONAL: PDF Download alphabet for Monogram step
about 4” strip of Heat n Bond Lite if you are adding a monogram

Step 1
Press the small strip of trim fabric in half lengthwise. Set aside.
Lay out the 1/4 yard of cuff material so the right side is facing up. On top of that, lay the 2/3 yard pillowcase body fabric, with right side also facing up. Align the long raw edges so they match up. Finally, if you want to add the trim to the pillowcase, lay it on top of the previous two fabrics so the raw edge is lined up with the raw edges of the other two fabrics as shown here. Pin or clip along the long raw edges, holding them all together.

Step 2
Here is the “rollup” step. Roll the main body fabric (Dodgers fabric in my example) in a long, thin roll so it is pretty close to the trim. You want to roll it up enough that it can be encased by the cuff fabric in the next step.

Step 3
Fold the cuff fabric over the roll so that the remaining raw edge is now meeting the raw edges of the other fabrics.

Step 4
Redo the pins or clips so that they hold all of the layers together. It will now look like one long tube.
Step 5
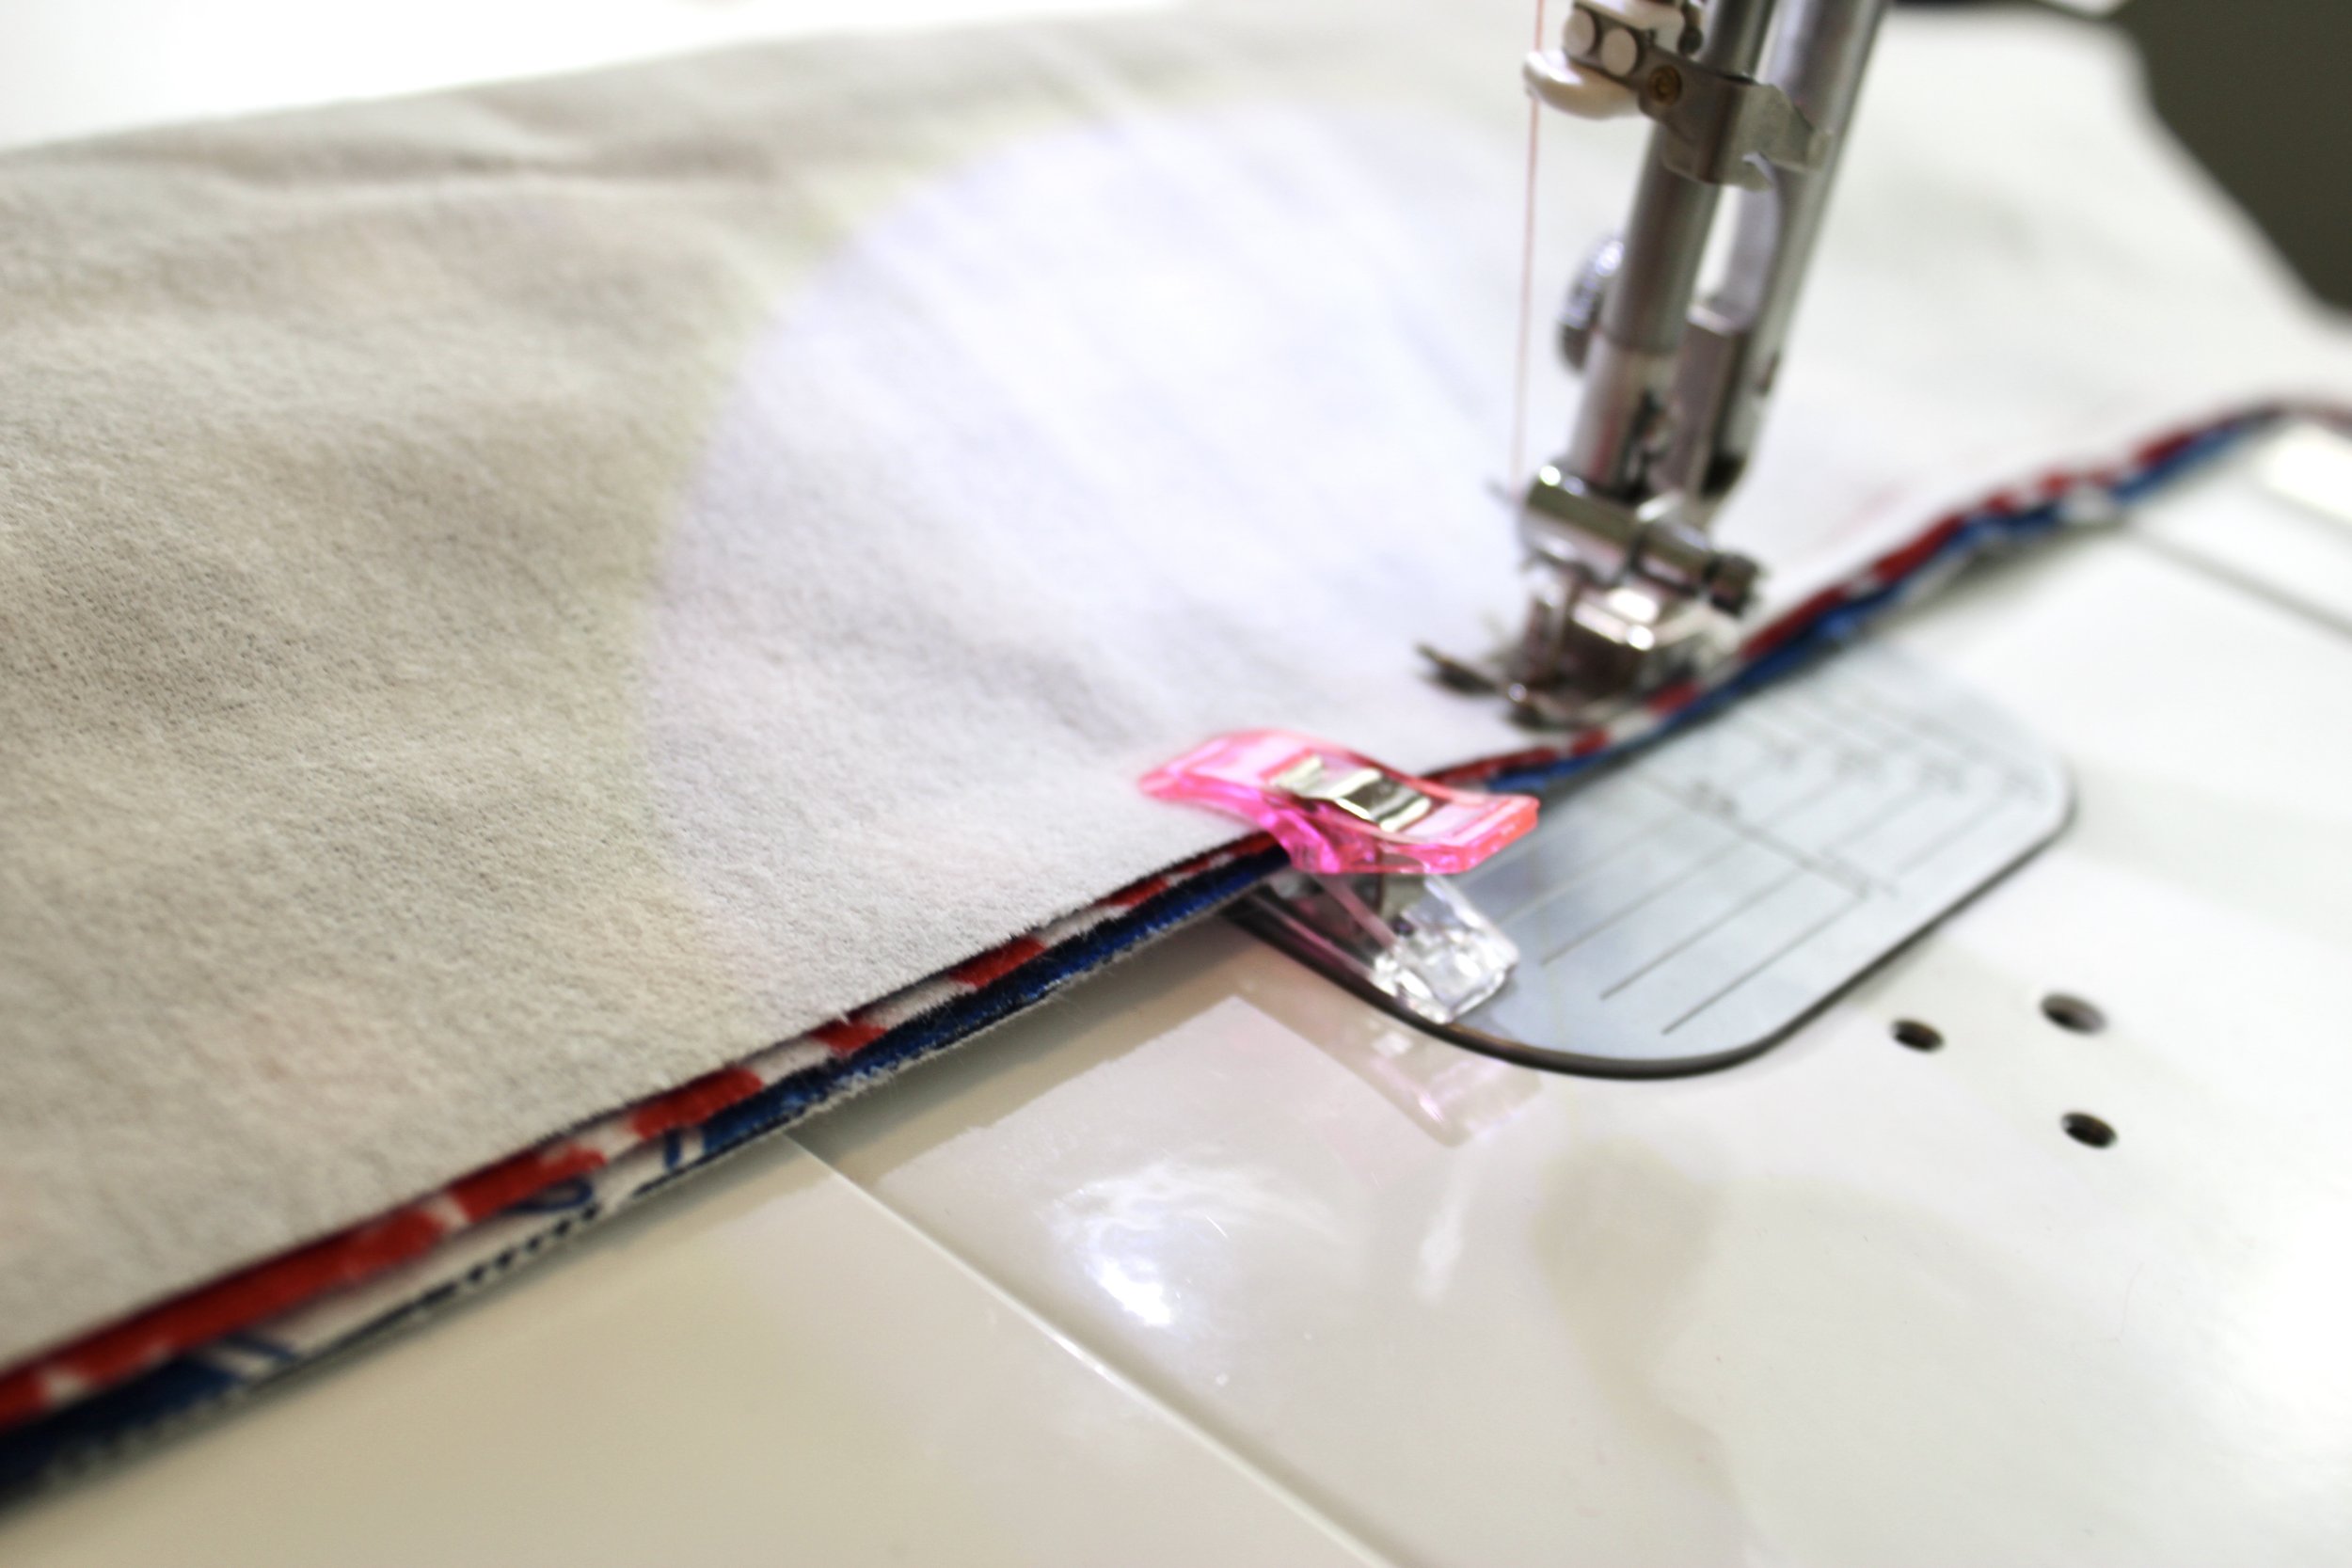
Stitch 1/4” seam allowance. This stitch line will encompass all of the raw edges. Take it slow to make sure the fabric doesn’t slide or shift (especially if you are using flannel) as you go.

Step 6
Reach into the tube and grab the main body fabric (Dodgers fabric in my example) and gently pull it out of the tube. Doing this turns the whole thing right side out.

Here is how it will look when you pull it all right side out.

Step 7
Press both sides of the cuff so it is nice and crisp and ready to topstitch.

Step 8
Topstitch on the cuff portion of the pillowcase. I like to stitch a scant 1/4” (or just under 1/4”) away from the seam so I catch all of those layers of raw edges in my stitching, which helps prevent fraying and adds to the durability of the project.

Step 9
You may have difference in fabric widths between your cuff, trim and main body fabric. If so, Trim the sides so they are even.
To make the french seam, fold the pillowcase in half WRONG SIDES FACING TOGETHER, making sure the seams from your trim and cuff match up.
Stitch 1/8” along the side and bottom of pillowcase.

Step 10
Now turn the pillowcase WRONG side out.
Press the side and bottom seams so everything is nice and crisp.
Stitch 1/4” along the side and bottom. In doing this, you are encasing the 1/8” seam you created in the previous step.
Turn the pillowcase right side out.
If you are not adding a monogram, press the pillowcase and you are done!

Step 11
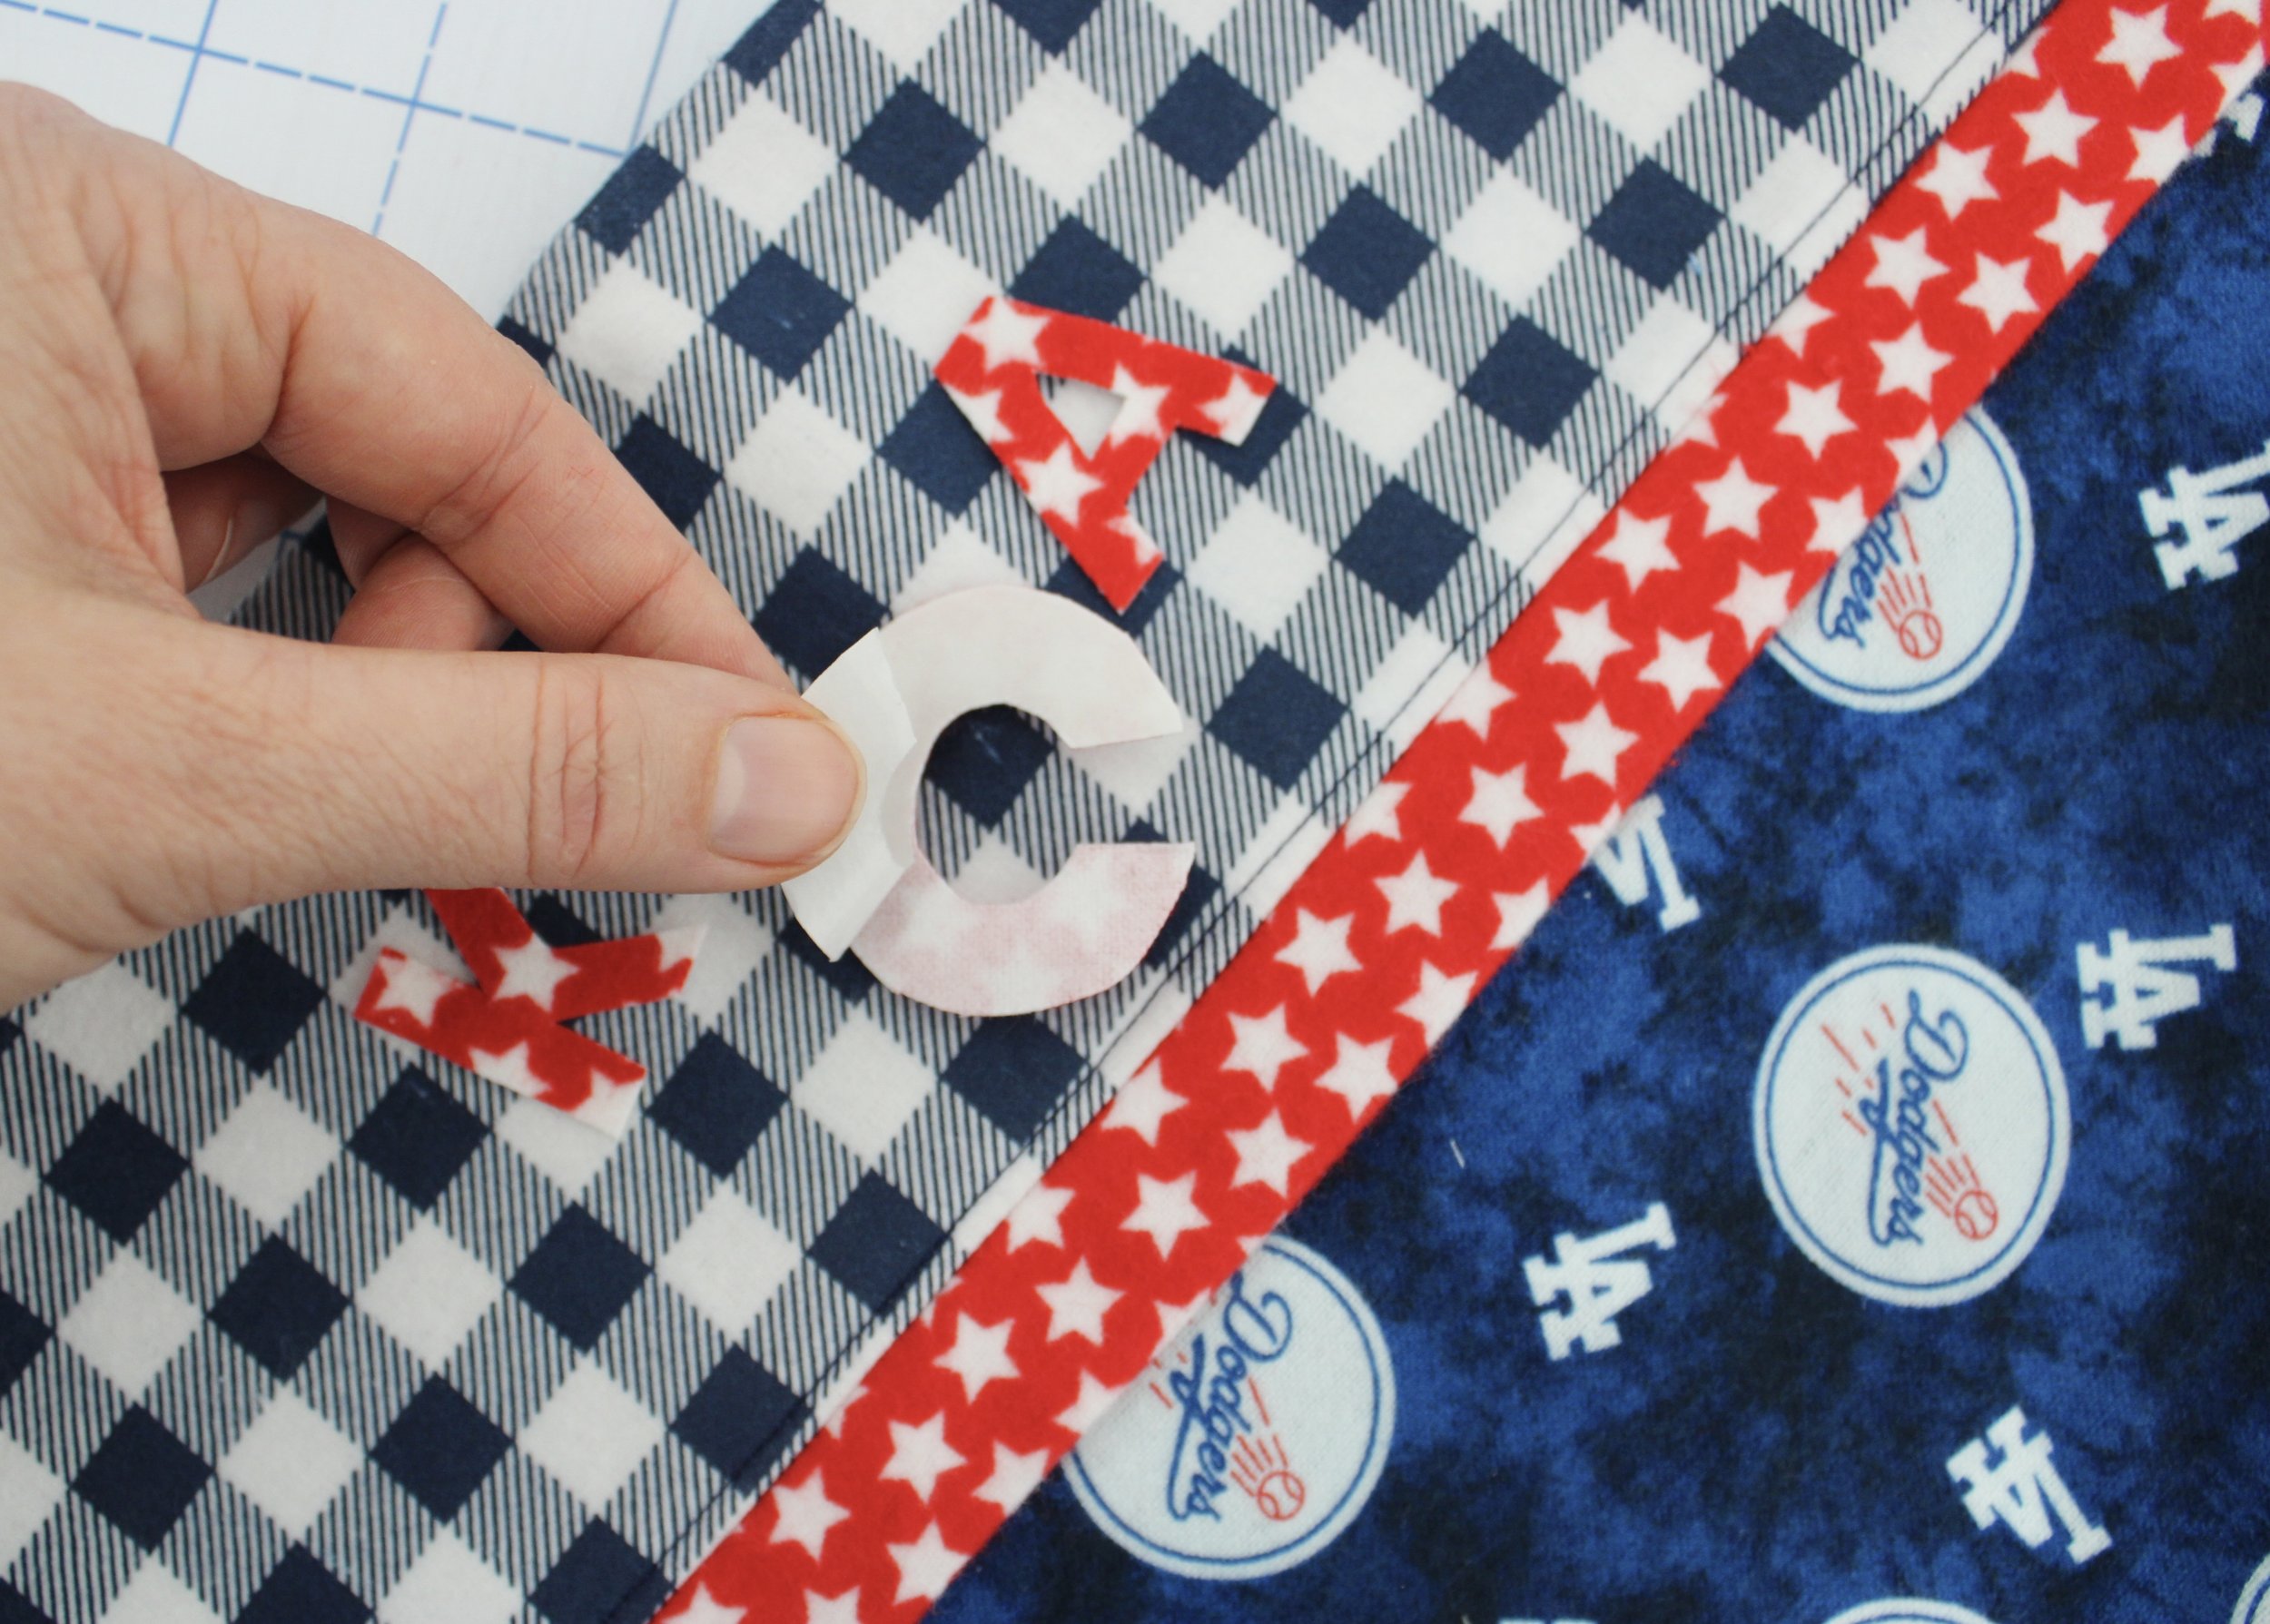
Cut out the letters you will be using for the monogram. Typically you cut out a large letter for the last name initial, and two smaller letters for the first and middle name initials. You will also need a small amount of Heat n Bond Lite or another double sided fusible adhesive.

Step 12
Press the bumpy glue side of the Heat n Bond to the back side of your monogram fabric. The pin the letters to the right side of the fabric.
Cut out the letters.
Step 13
Peel off the paper backing. Arrange the letters so the large initial representing the last name is in the center. The letter representing the first name initial is placed to the left side, and the middle name initial is placed to the right side.
Step 14
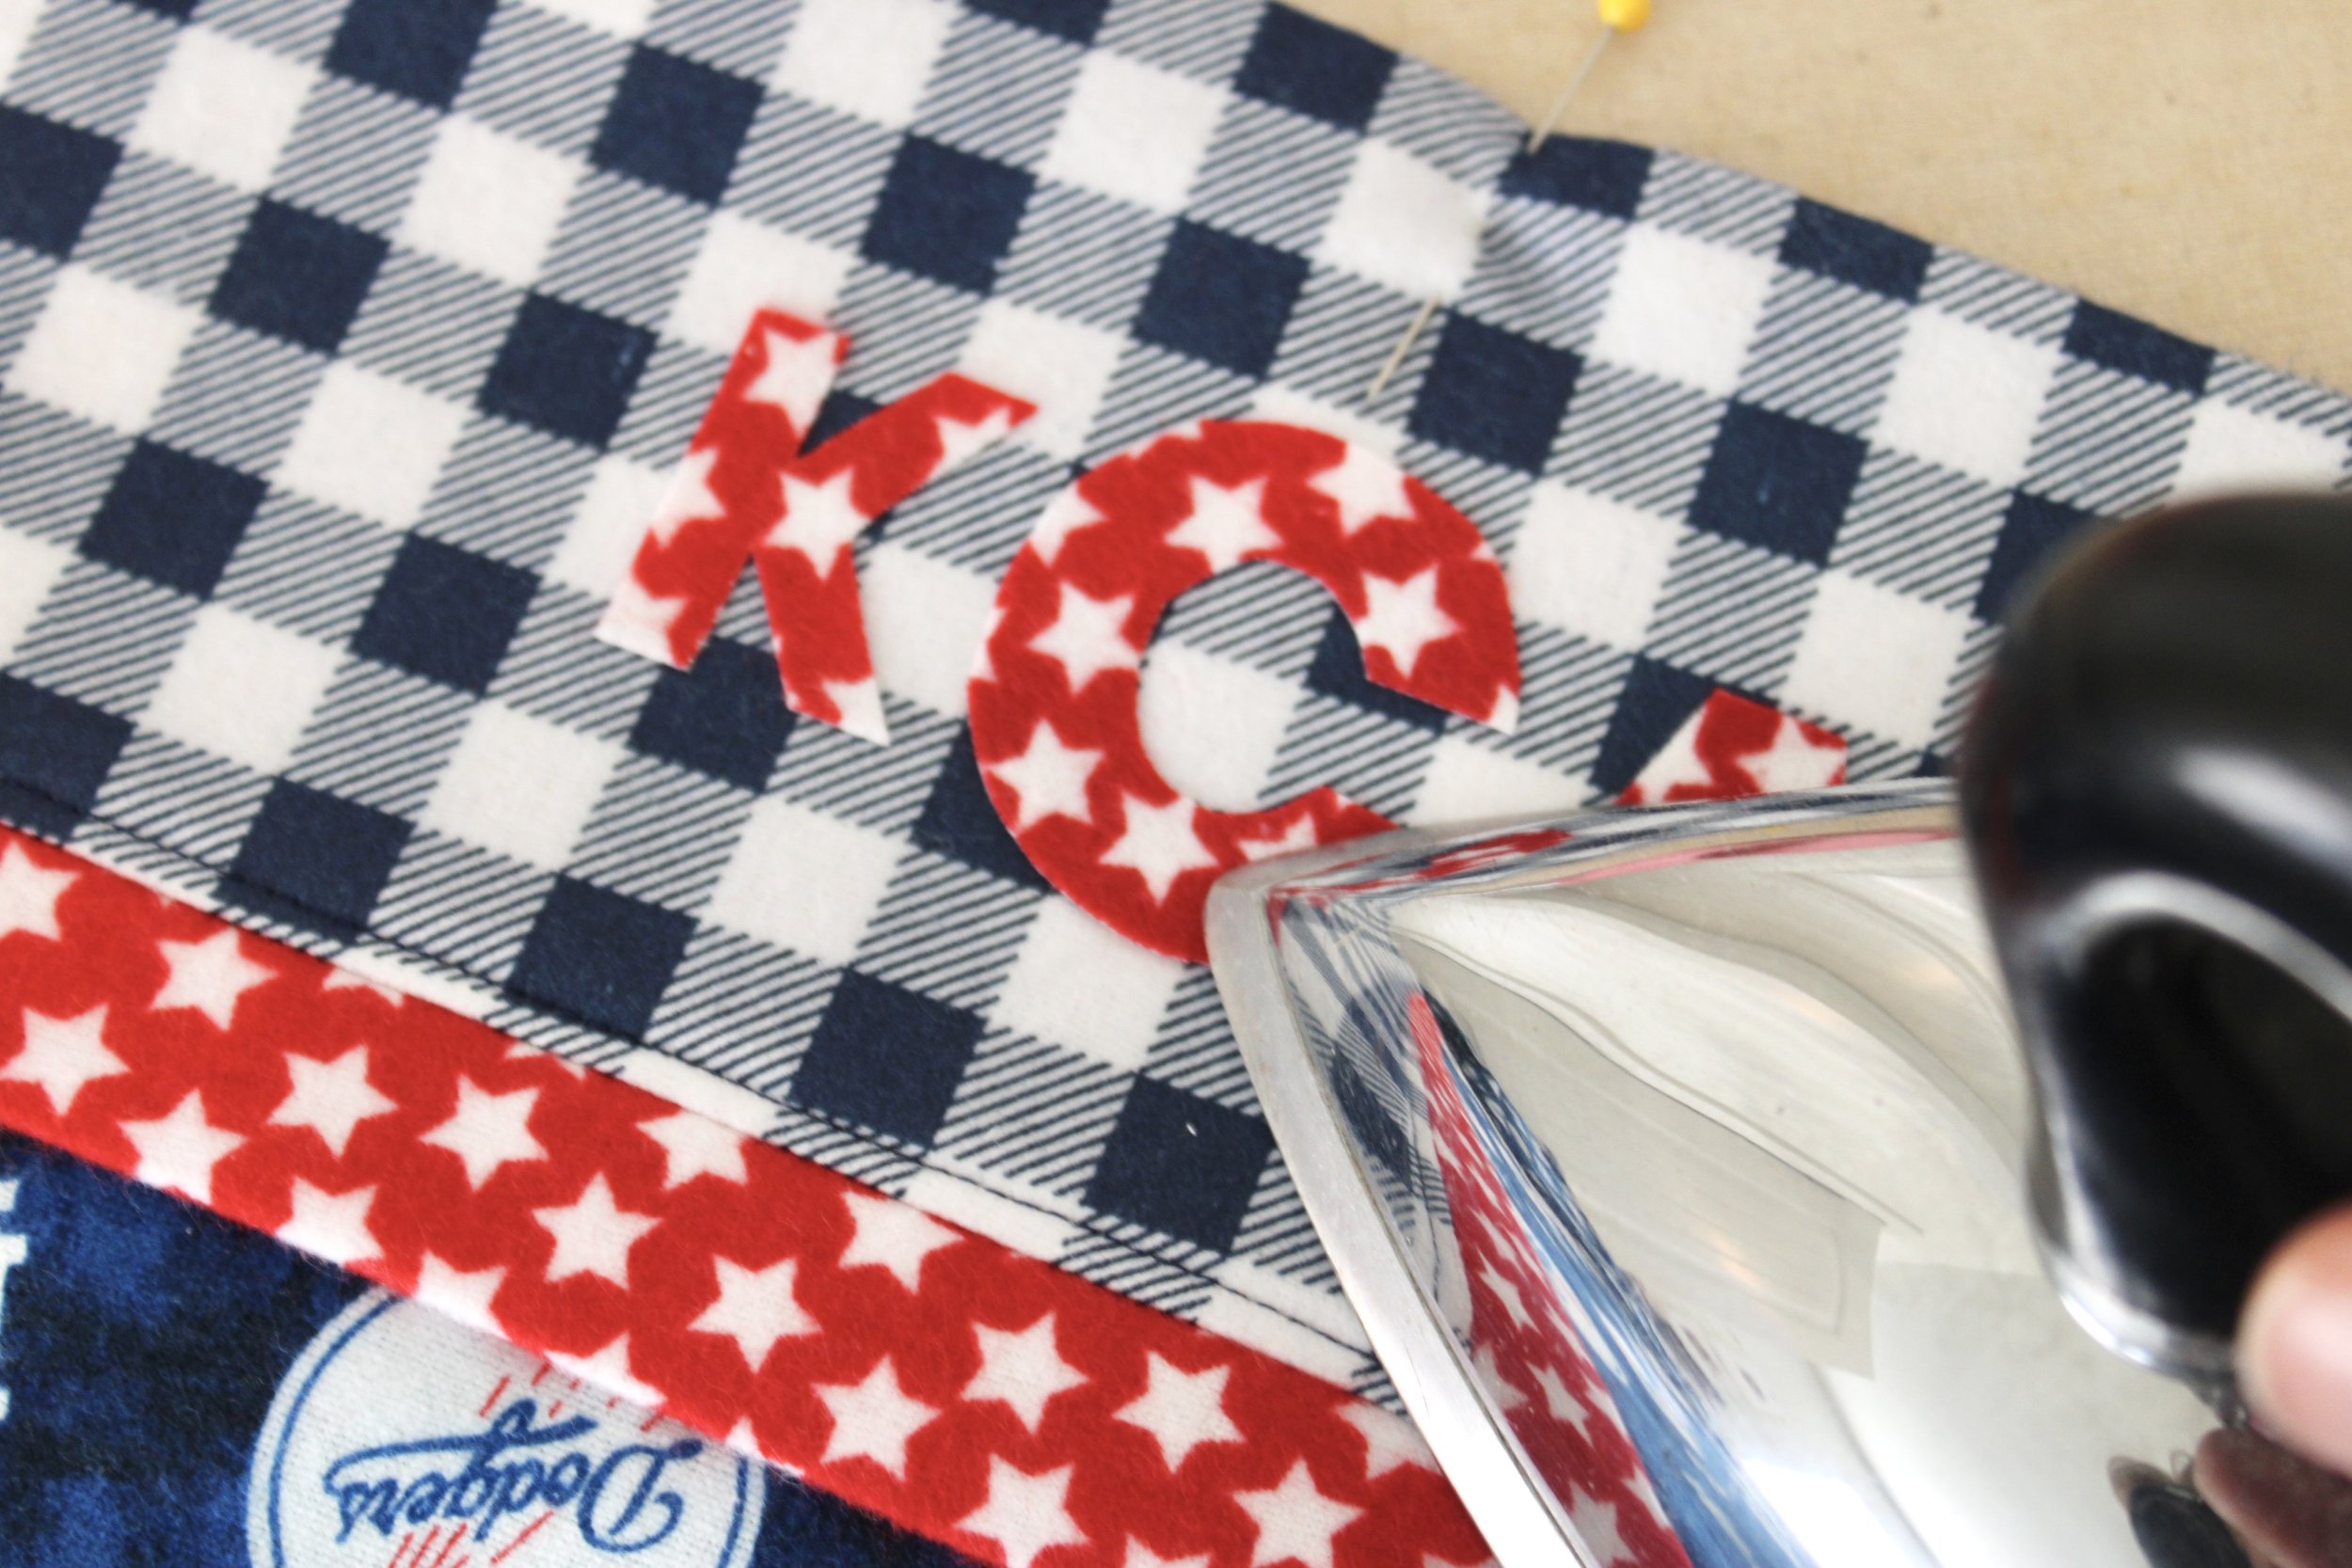
Press the letters in place.

Step 15
To secure the letters permanently, you can zig zag stitch around the edges, straight stitch, or do a simple scribble stitch like I did here.

Scribble Stitch
To scribble stitch, remove your presser foot and replace it with a free motion presser foot. Lower your feed dogs. I also set my stitch length to 0. Begin free motion stitching around the edges in a scribble like fashion — very irregular and “messy.” If you don’t have a free motion quilting option, you can also imitate a scribble stitch with a standard presser foot and straight stitch.
Take a look at this video where I walk you through the entire assembly. If you are a beginner, I encourage you to watch this video as you go.

And that’s all there is to it! Seriously easy and a fun gift to give to loved ones of all ages! This would also be a super fun gift to give out at sleepovers.

You can find all of these fabrics at the Flannel Queen shop. I will be tagging Flannel Queen in my Instagram posts, so be sure to check them out and follow for everything new in flannel! Happy Sewing!